# Using Newsletter
This guide is for editors who manage newsletter audiences and owners deciding how to sync subscribers to an email provider. Every step uses the labels you see on screen.
## Using Newsletter (editor how-to)
### How to prepare a newsletter audience
1. Open **Marketing Studio > Subscribers** and confirm the people you want to contact are subscribed.
2. Use **Newsletter Tags** and **Segments** to group the audience.
3. In **Marketing Studio > Advanced**, check **Provider Connections** and **Provider Audiences** so the audience syncs to the right email service.
4. Author, test, schedule, and send the newsletter in the connected provider.
### How to hand a segment to the provider
1. Open **Marketing Studio > Segments** and choose the subscriber group you need.
2. Create or edit a **Static** or **Saved filter** segment, set its site, handle, filters, and active state, then save it.
3. Confirm the selected provider audience and any interest mappings are appropriate for the audience.
4. Review **Sync Attempts** after the provider sync runs.
5. Continue the campaign workflow in Mailchimp, Kit, Campaign Monitor, or your connected provider.
### How to check your dashboard stats
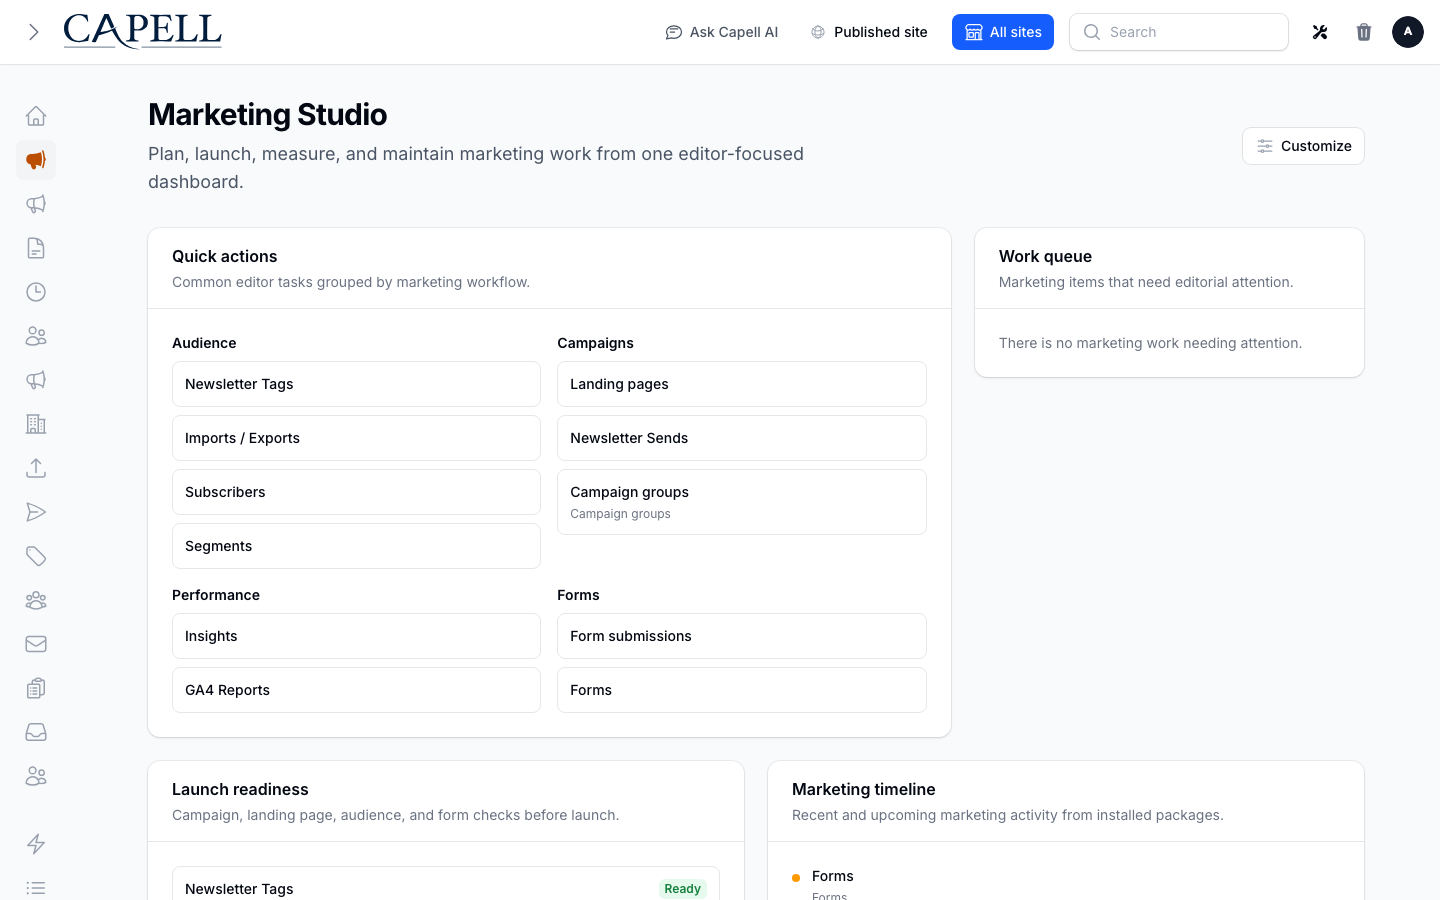
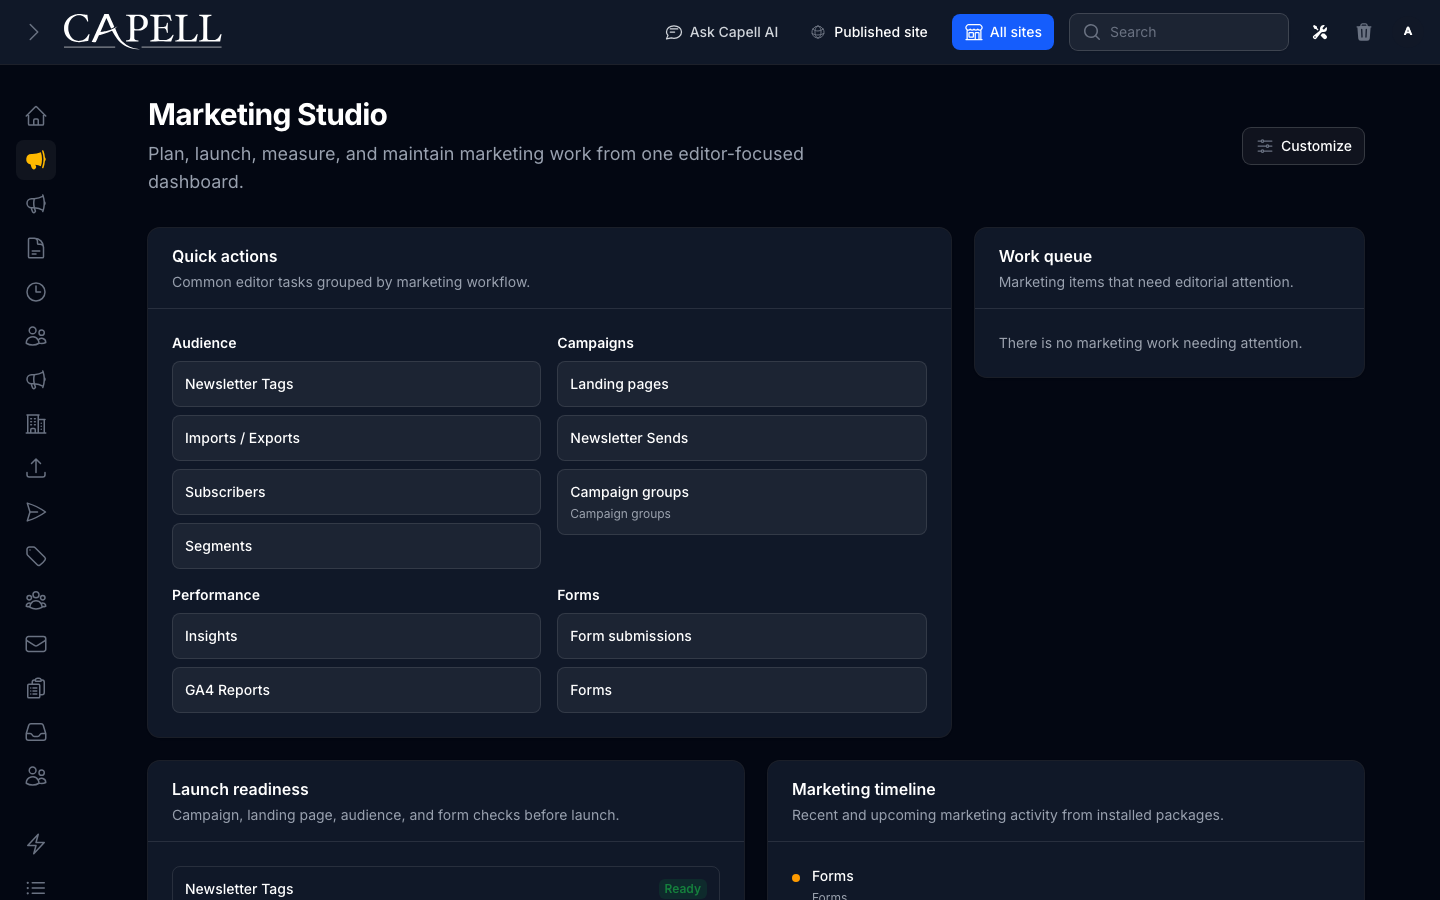
1. Open **Marketing Studio** to see the overview dashboard.
2. Read the headline numbers for subscribed, pending, and sync failures.
3. Use these to spot problems early, such as a rising number of failures.
 ### How to manage subscribers
1. Open **Marketing Studio > Subscribers**.
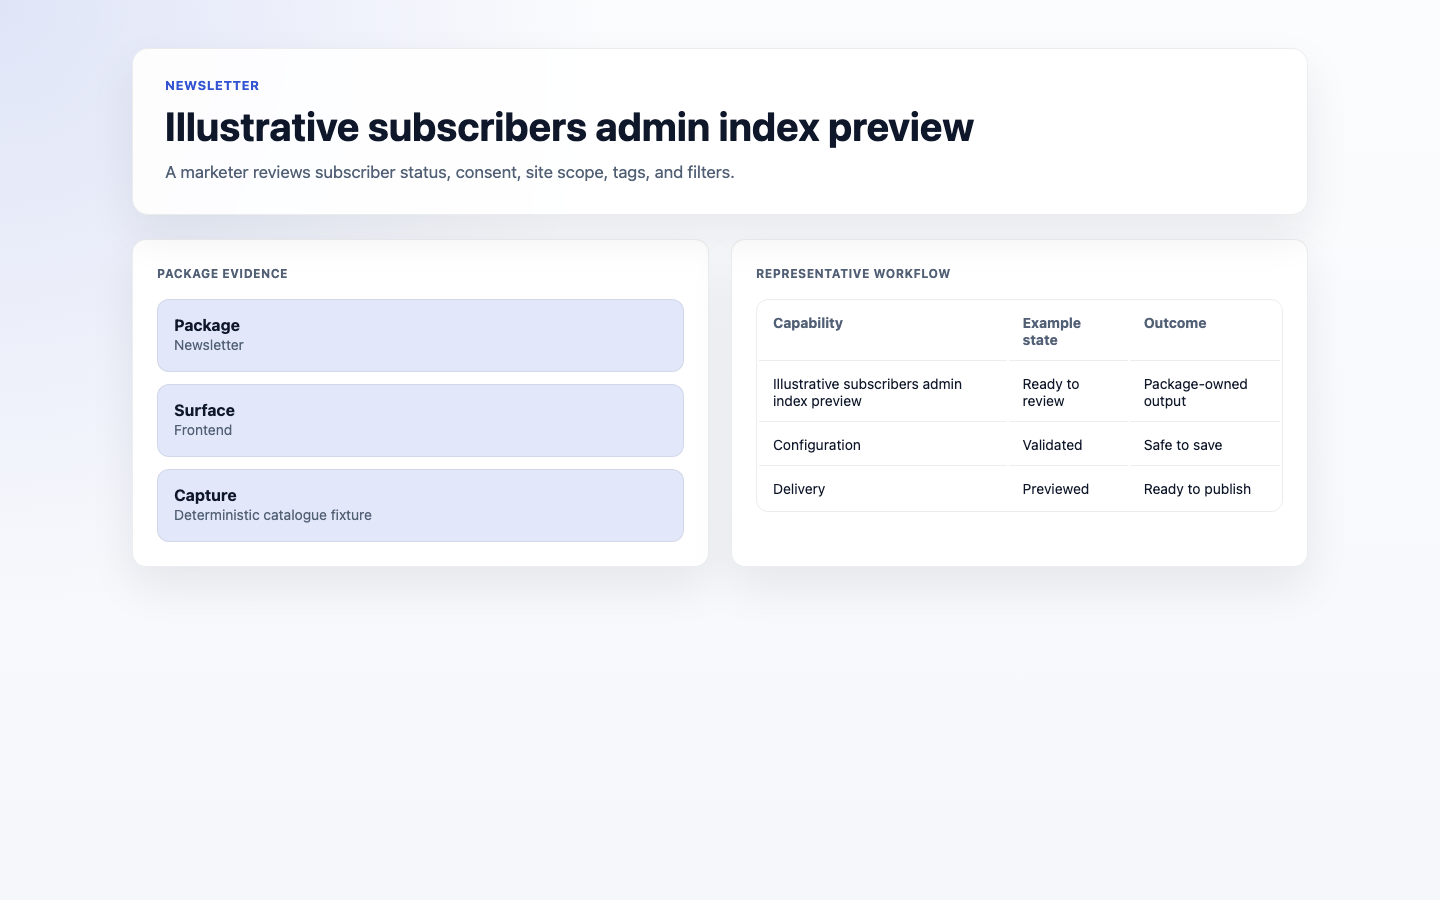
2. See who is subscribed, their status, site scope, tags, and consent.
3. Use the filters at the top to narrow the list, for example by status or site.
4. Export the list when you need a copy.
### How to manage subscribers
1. Open **Marketing Studio > Subscribers**.
2. See who is subscribed, their status, site scope, tags, and consent.
3. Use the filters at the top to narrow the list, for example by status or site.
4. Export the list when you need a copy.
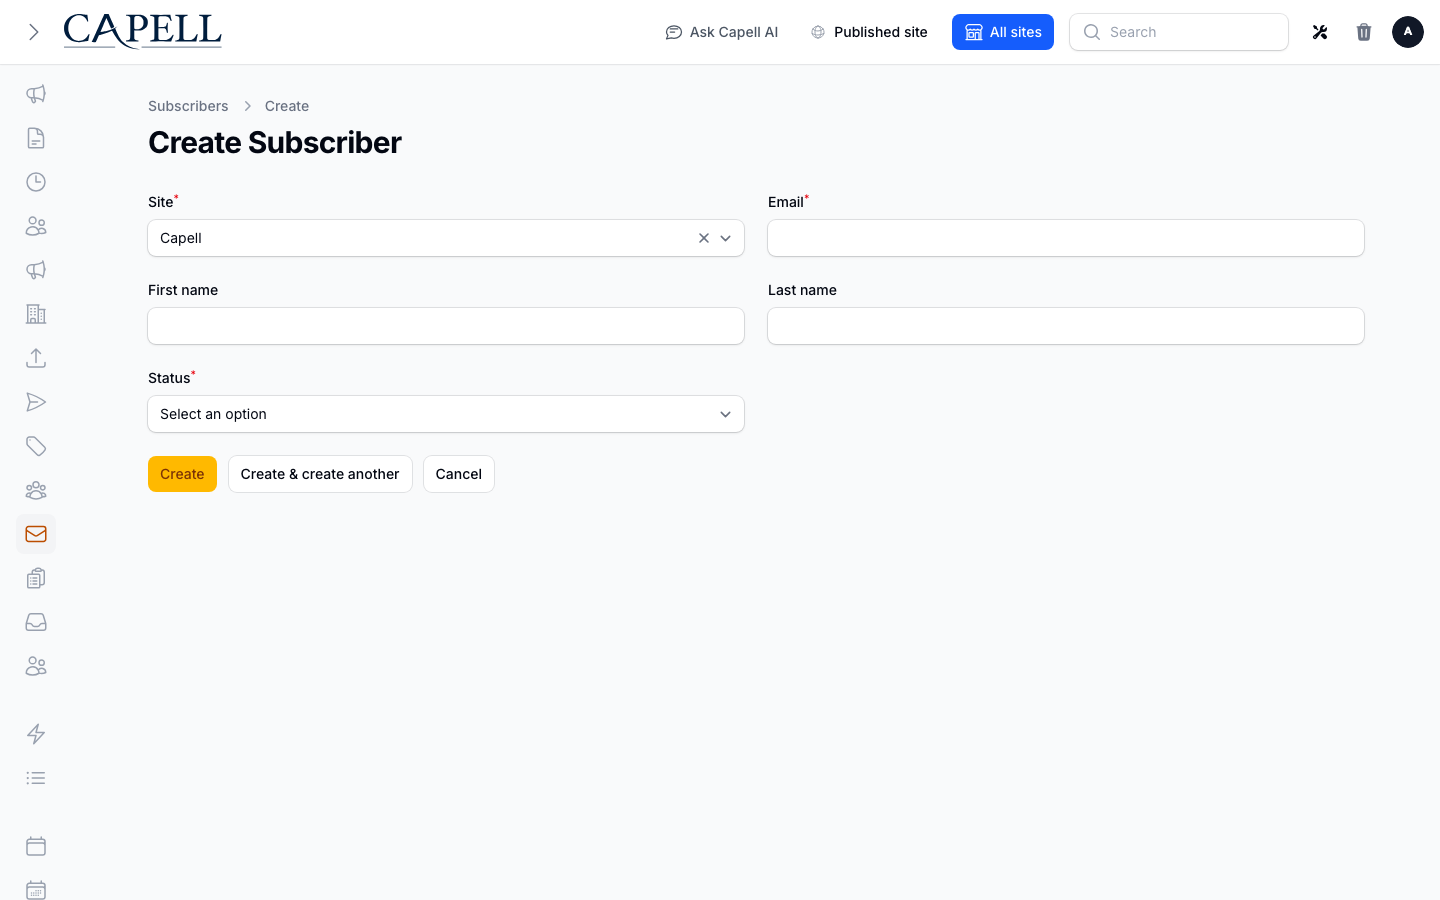
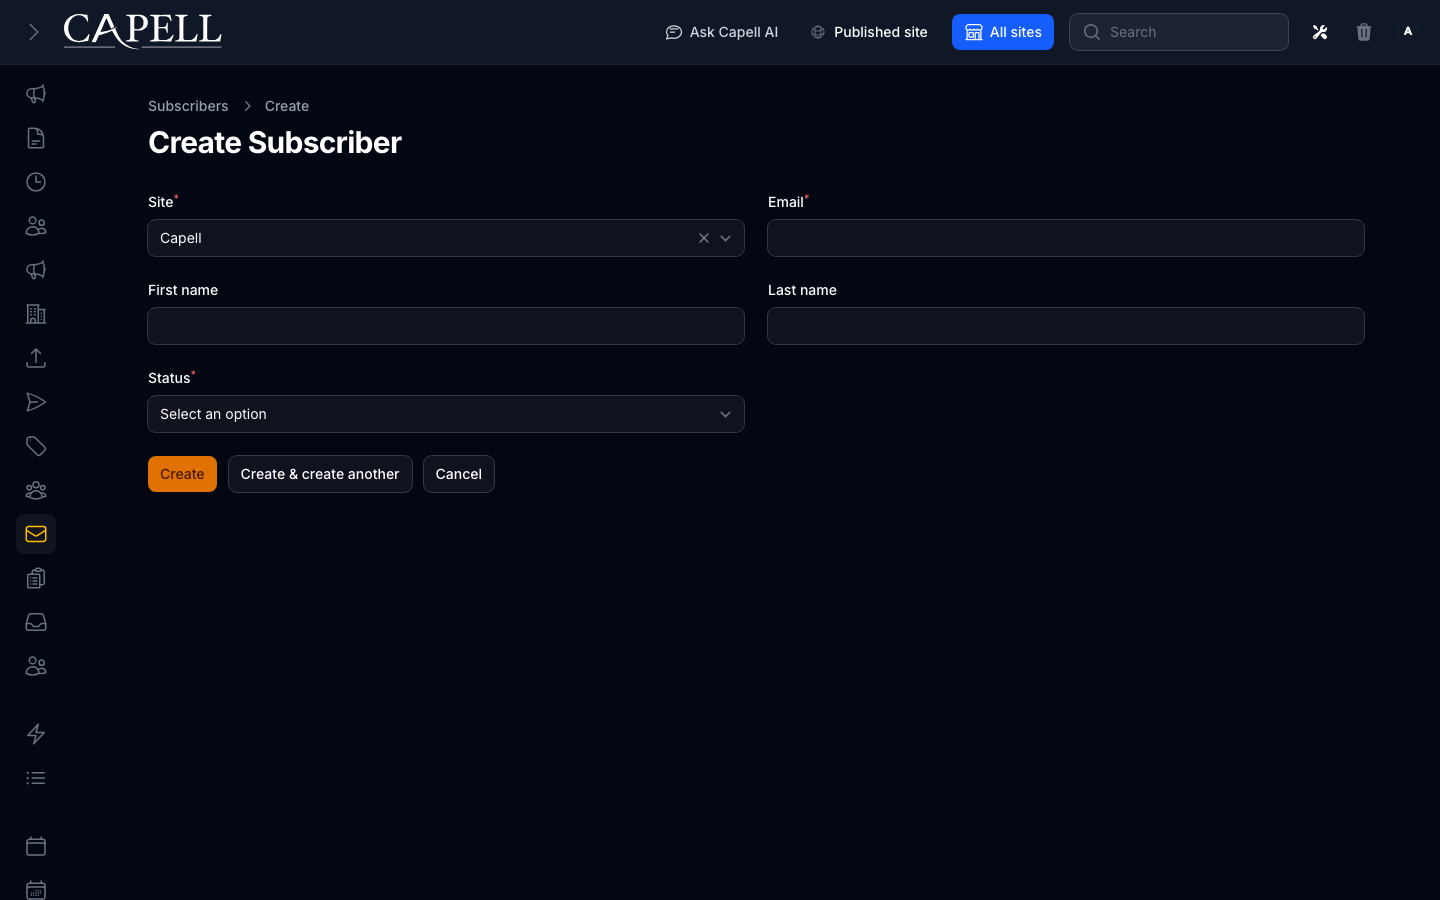
 ### How to add or edit a subscriber
1. In **Marketing Studio > Subscribers**, open an existing person or start a new one.
2. Set their email and name, status, site, and tags.
3. Fill in the consent details so you have a record of how they opted in.
4. Save.
### How to add or edit a subscriber
1. In **Marketing Studio > Subscribers**, open an existing person or start a new one.
2. Set their email and name, status, site, and tags.
3. Fill in the consent details so you have a record of how they opted in.
4. Save.
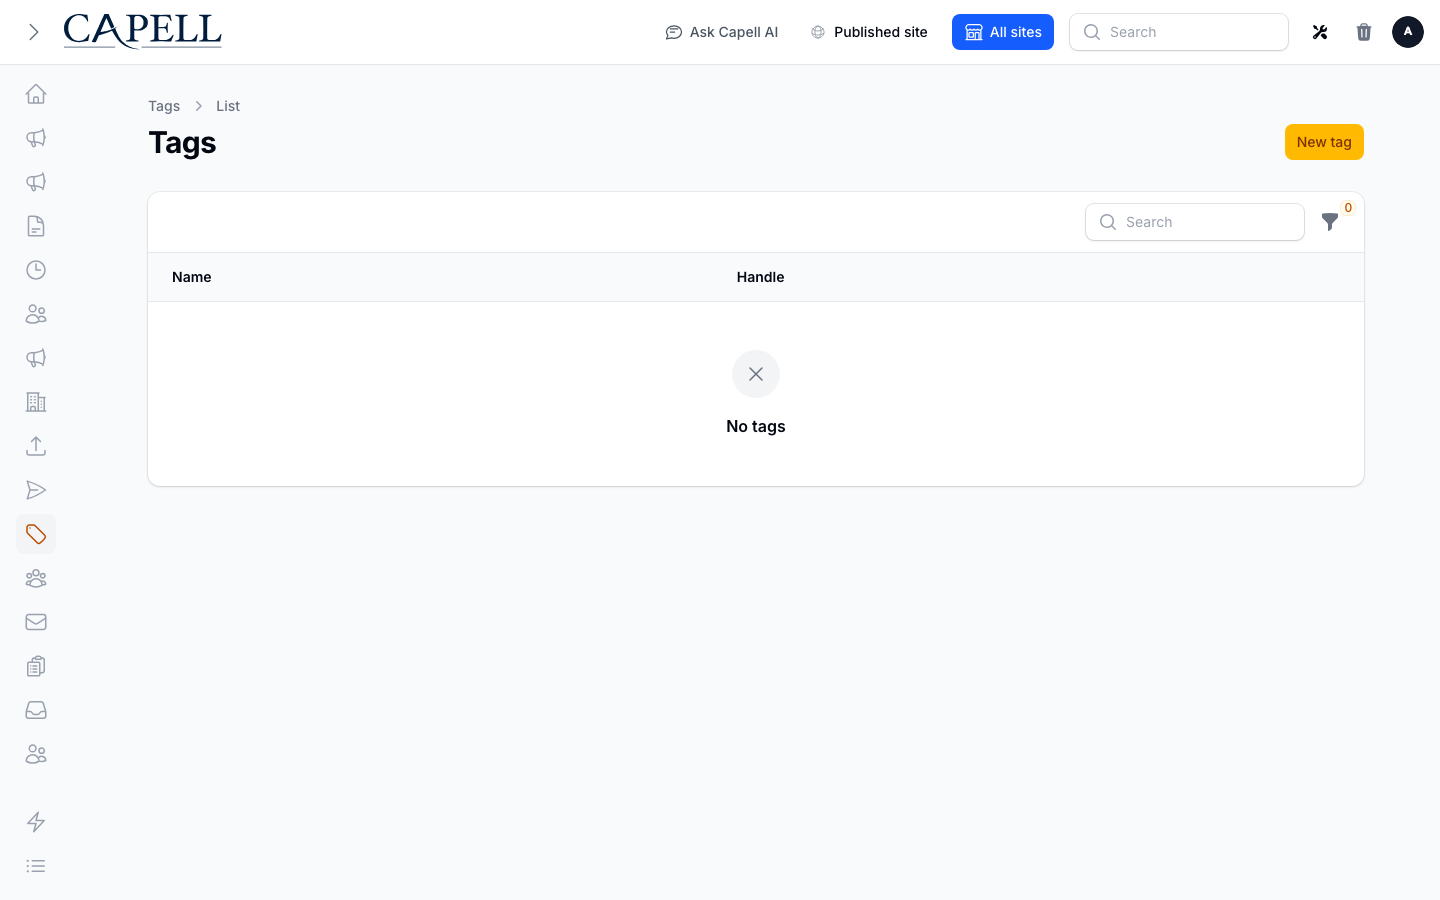
 ### How to manage newsletter tags
1. Open **Marketing Studio > Newsletter Tags**.
2. Create the tags you want to group subscribers by, such as interests or topics.
3. Edit or remove tags as your needs change.
### How to manage newsletter tags
1. Open **Marketing Studio > Newsletter Tags**.
2. Create the tags you want to group subscribers by, such as interests or topics.
3. Edit or remove tags as your needs change.
 ### How to build segments
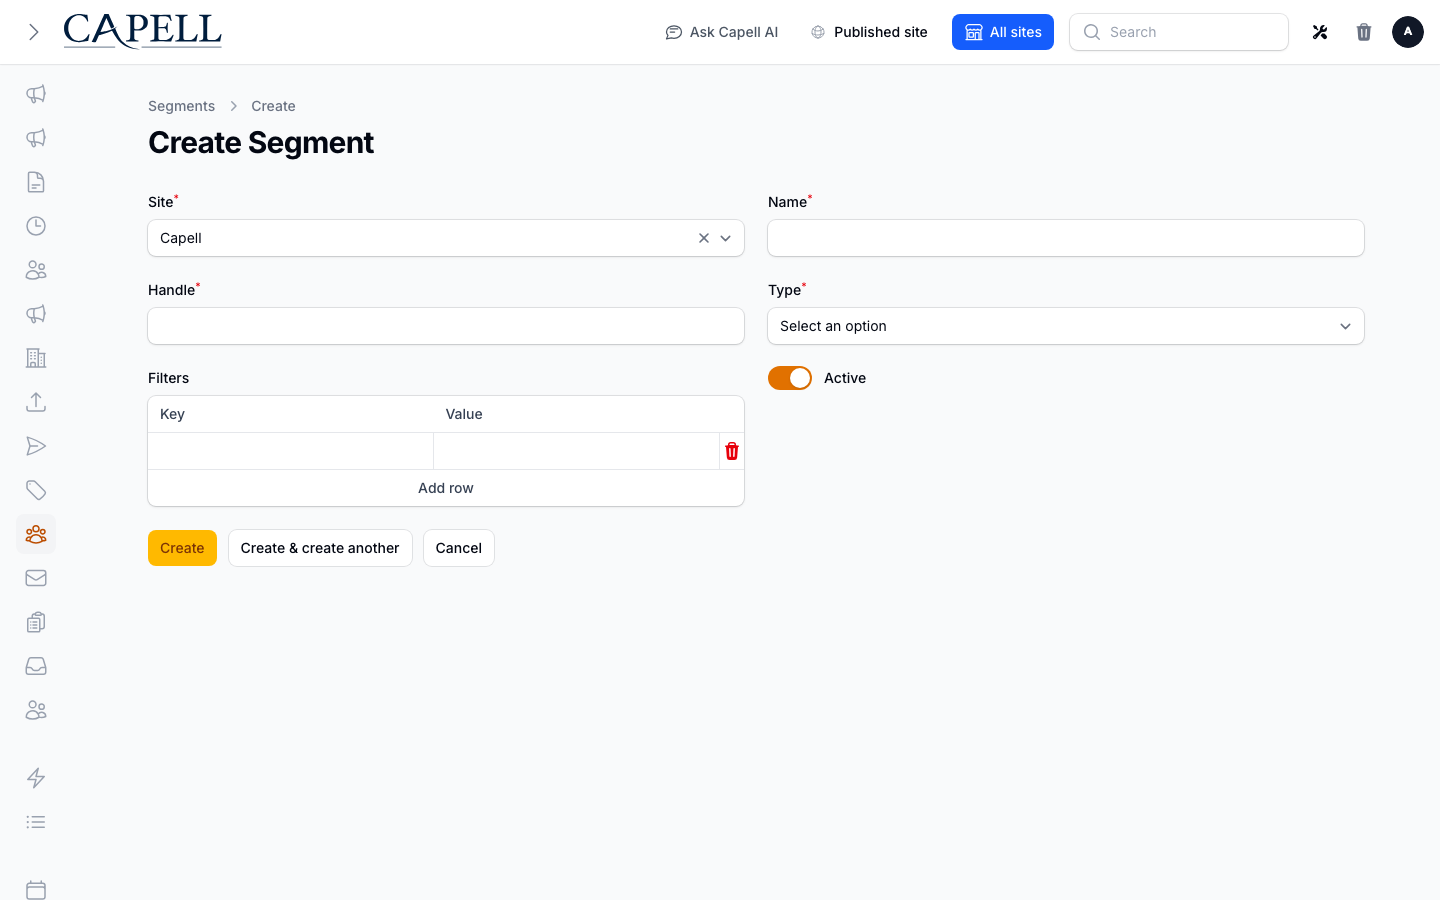
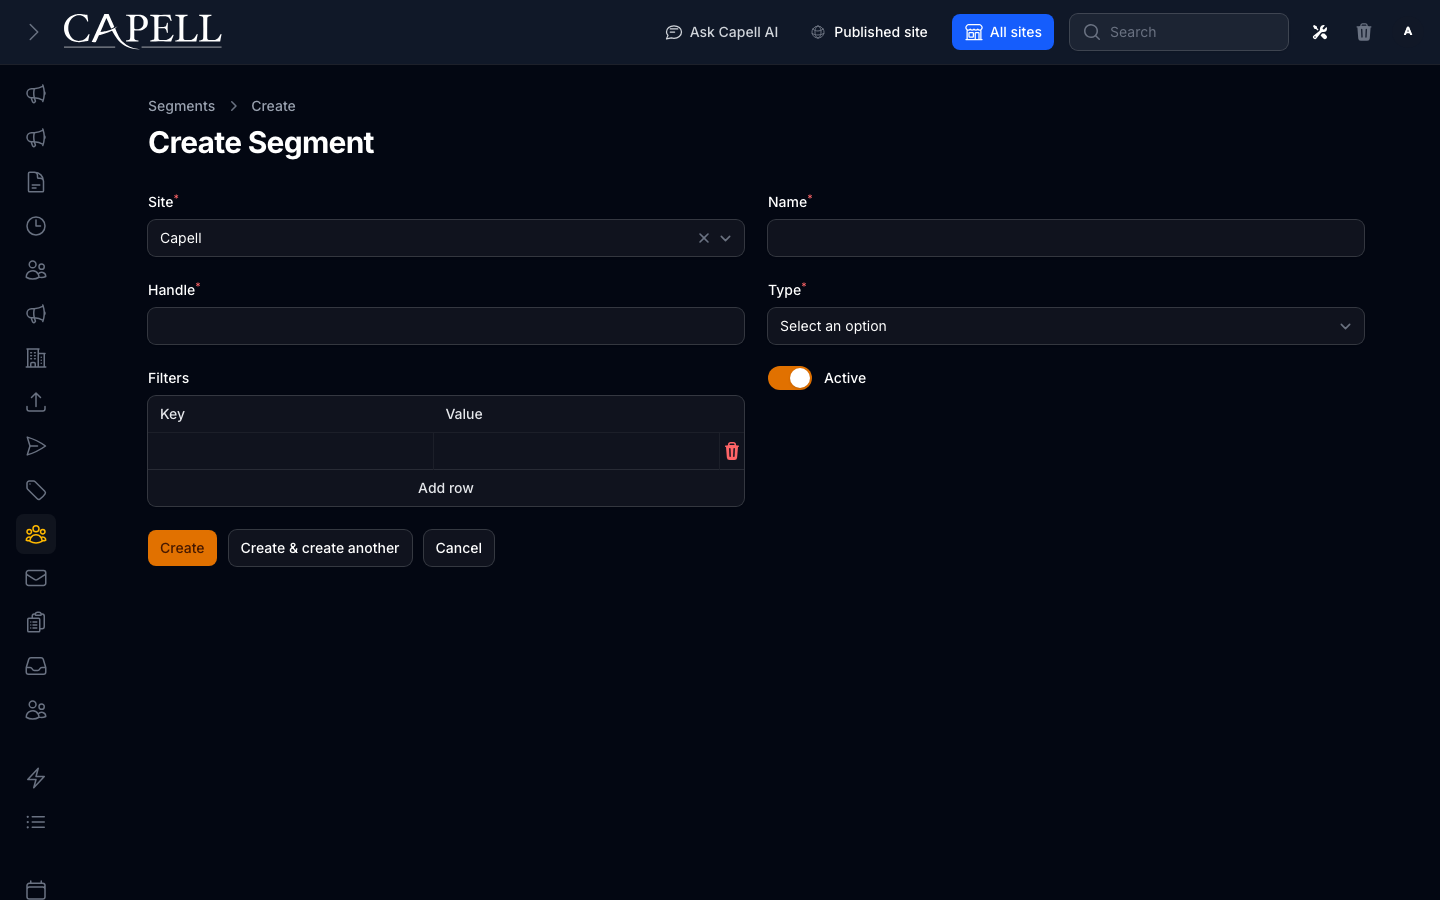
1. Open **Marketing Studio > Segments**.
2. Create a segment to target a group of subscribers.
3. Choose **Static** or **Saved filter**, then set the segment's site, handle, filters, and active state.
4. Save, then use the segment in your connected provider workflow.
### How to build segments
1. Open **Marketing Studio > Segments**.
2. Create a segment to target a group of subscribers.
3. Choose **Static** or **Saved filter**, then set the segment's site, handle, filters, and active state.
4. Save, then use the segment in your connected provider workflow.
 ### How to connect an email provider
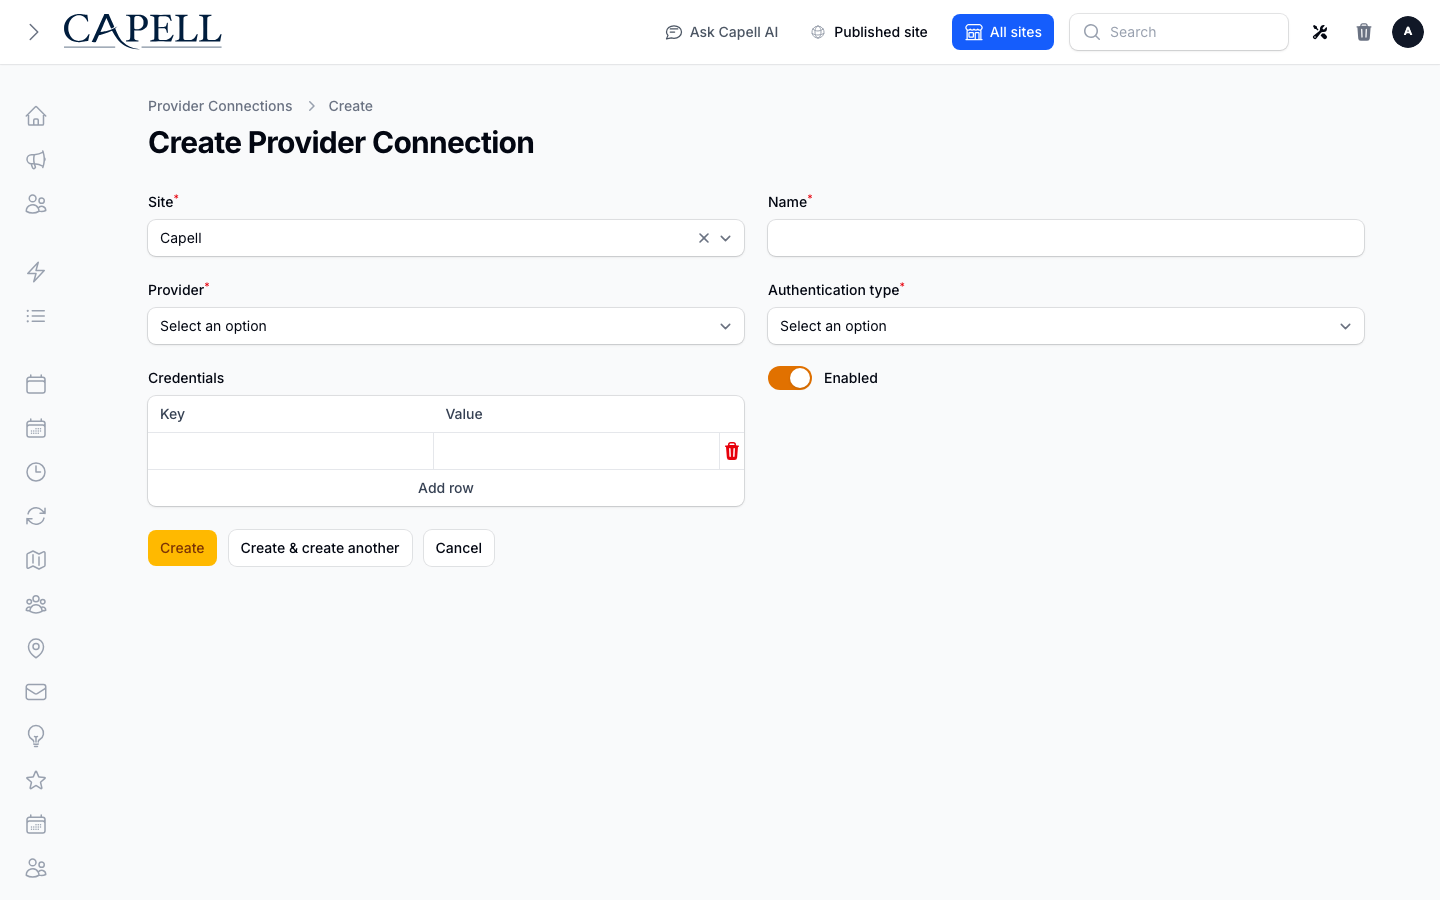
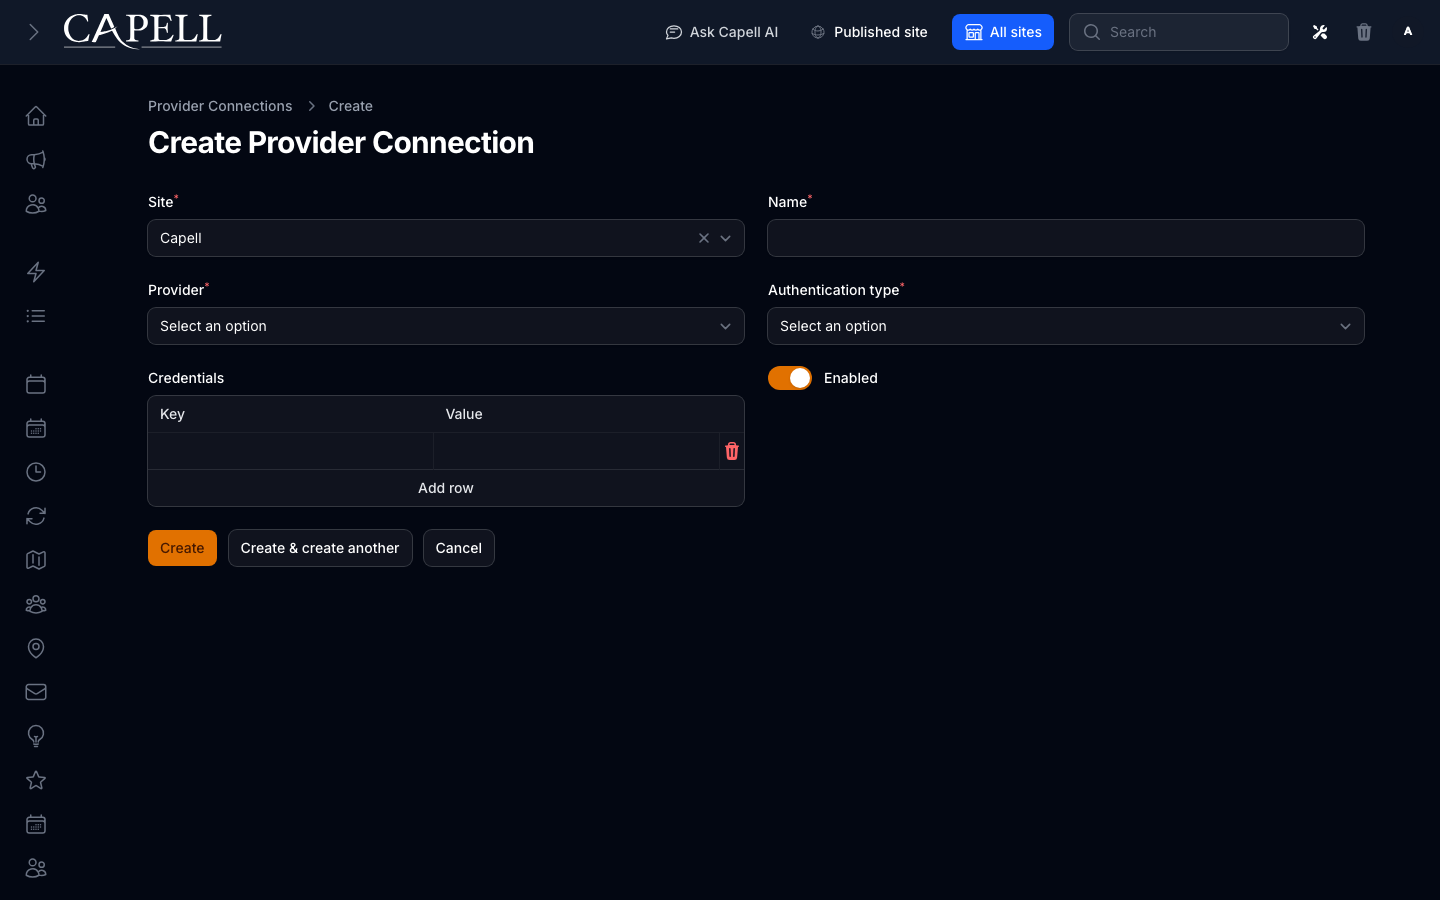
1. Open **Marketing Studio > Advanced > Provider Connections**.
2. Add your email service and enter its credentials.
3. Save. This is the service that actually delivers your newsletters.
### How to connect an email provider
1. Open **Marketing Studio > Advanced > Provider Connections**.
2. Add your email service and enter its credentials.
3. Save. This is the service that actually delivers your newsletters.
 ### How to map sites to provider audiences
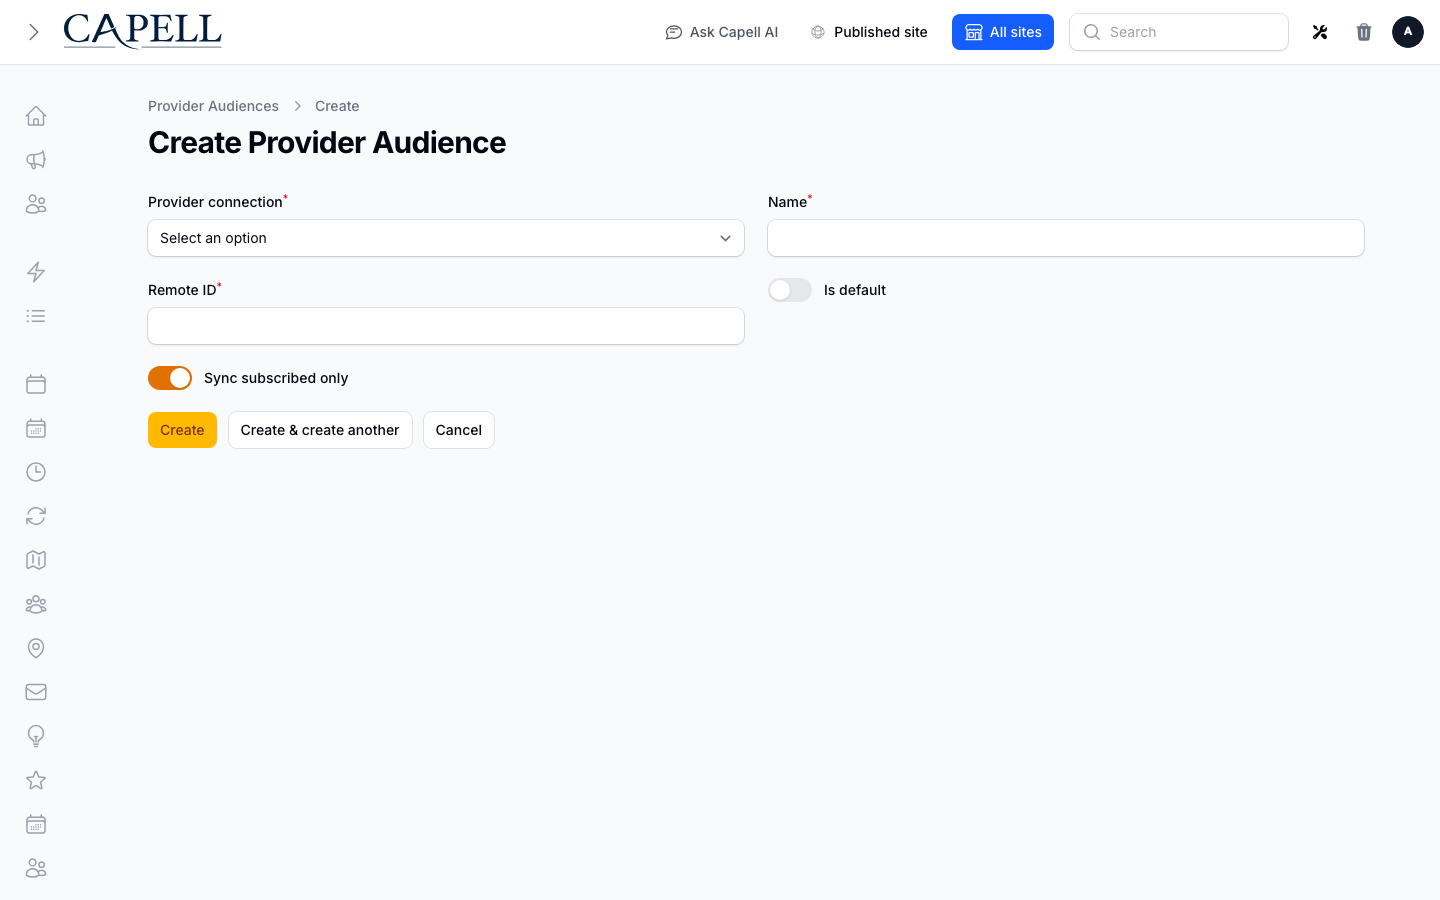
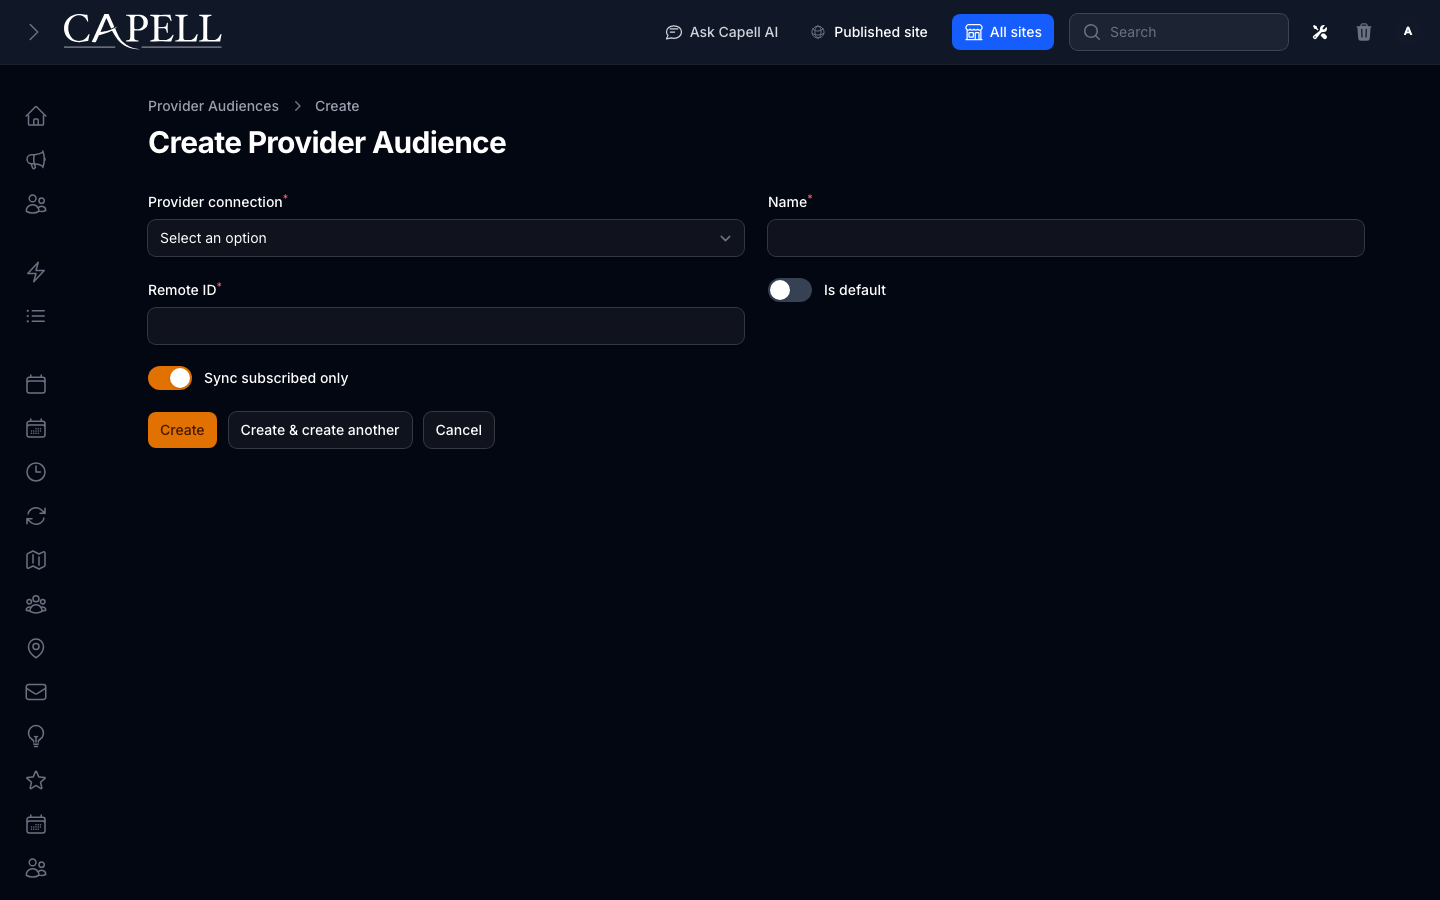
1. Open **Marketing Studio > Advanced > Provider Audiences**.
2. Match each of your local sites to the matching audience on the provider.
3. Save, so subscribers sync into the right audience.
### How to map sites to provider audiences
1. Open **Marketing Studio > Advanced > Provider Audiences**.
2. Match each of your local sites to the matching audience on the provider.
3. Save, so subscribers sync into the right audience.
 ### How to map provider interests to tags
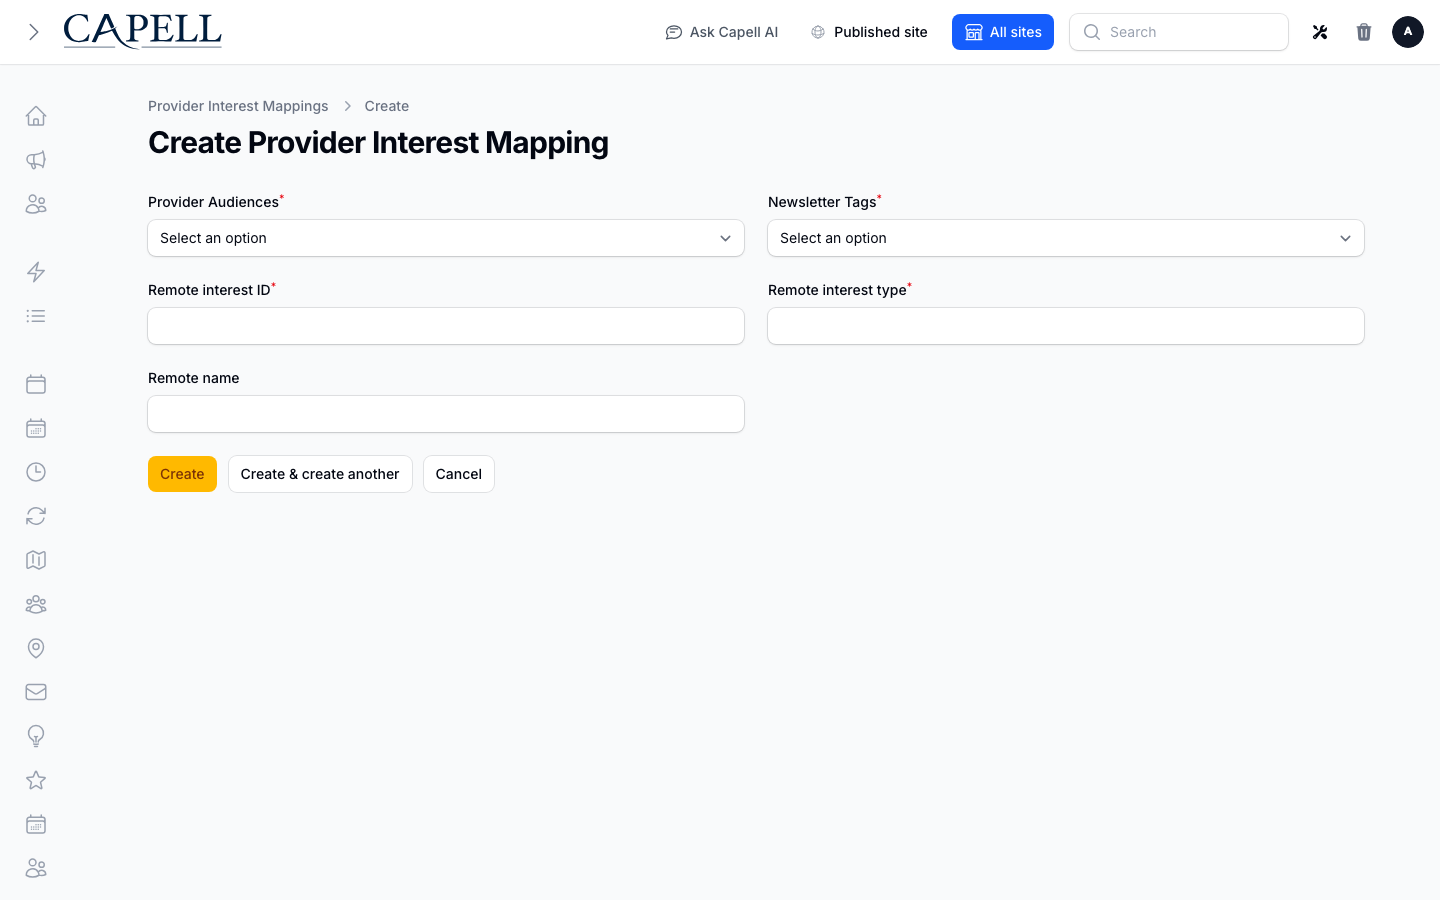
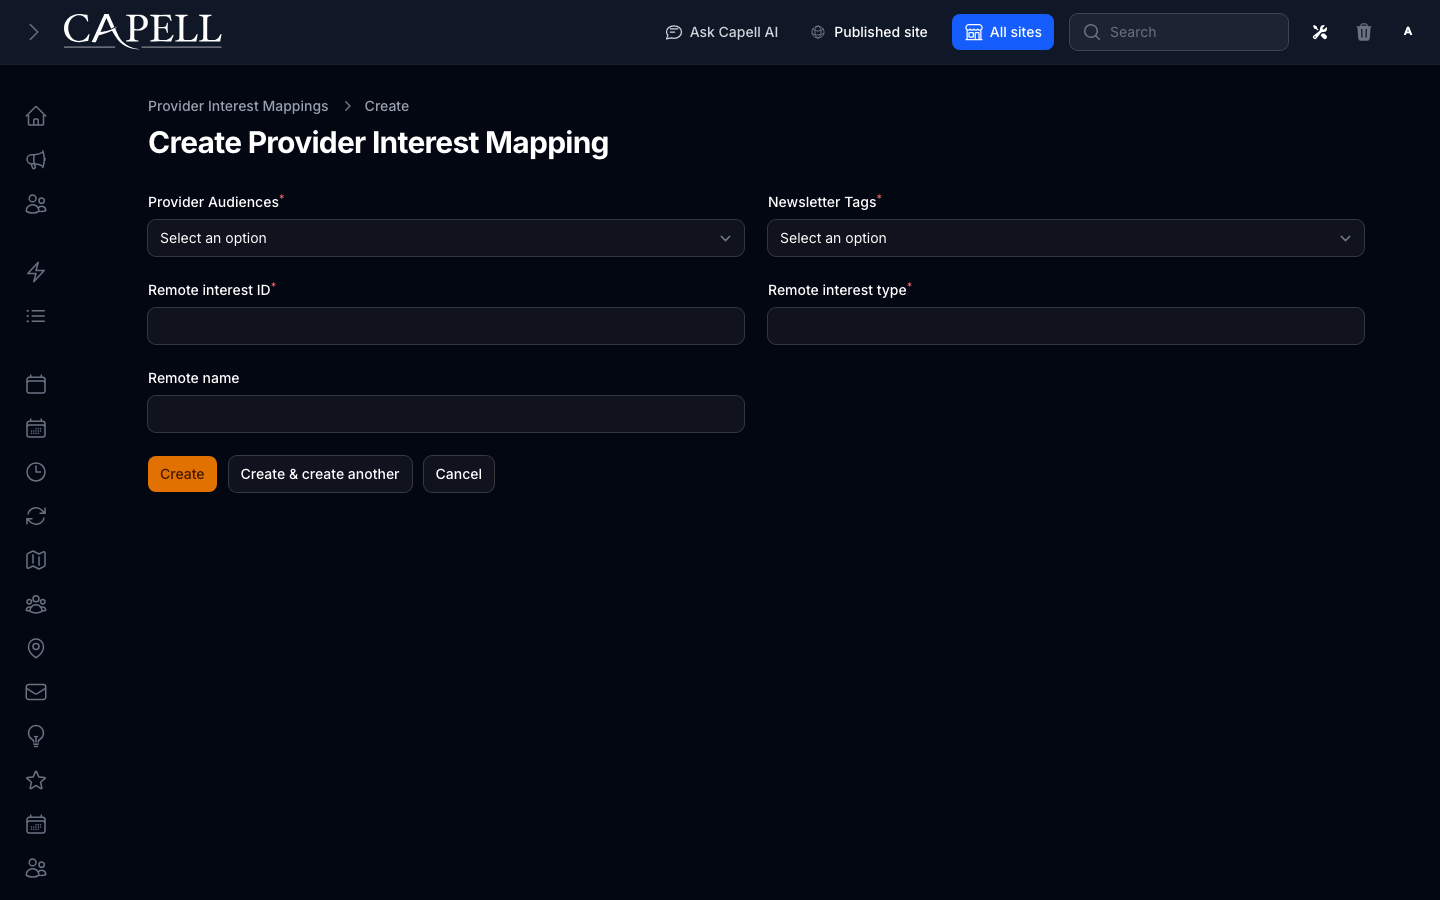
1. Open **Marketing Studio > Advanced > Provider Interest Mappings**.
2. Match each interest from the provider to one of your newsletter tags.
3. Save, so tagged subscribers carry the right interests to the provider.
### How to map provider interests to tags
1. Open **Marketing Studio > Advanced > Provider Interest Mappings**.
2. Match each interest from the provider to one of your newsletter tags.
3. Save, so tagged subscribers carry the right interests to the provider.
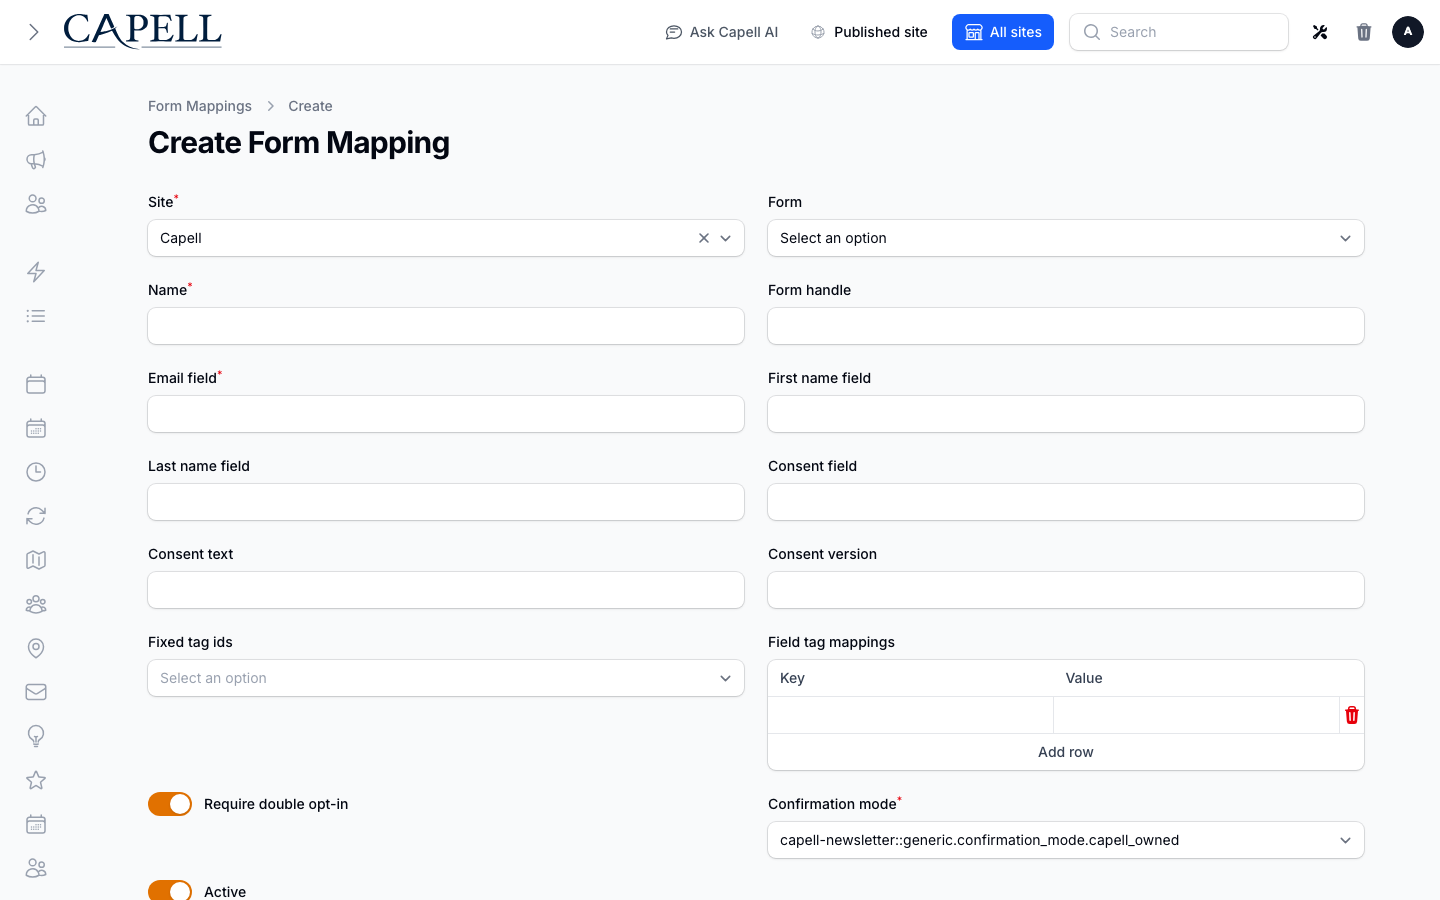
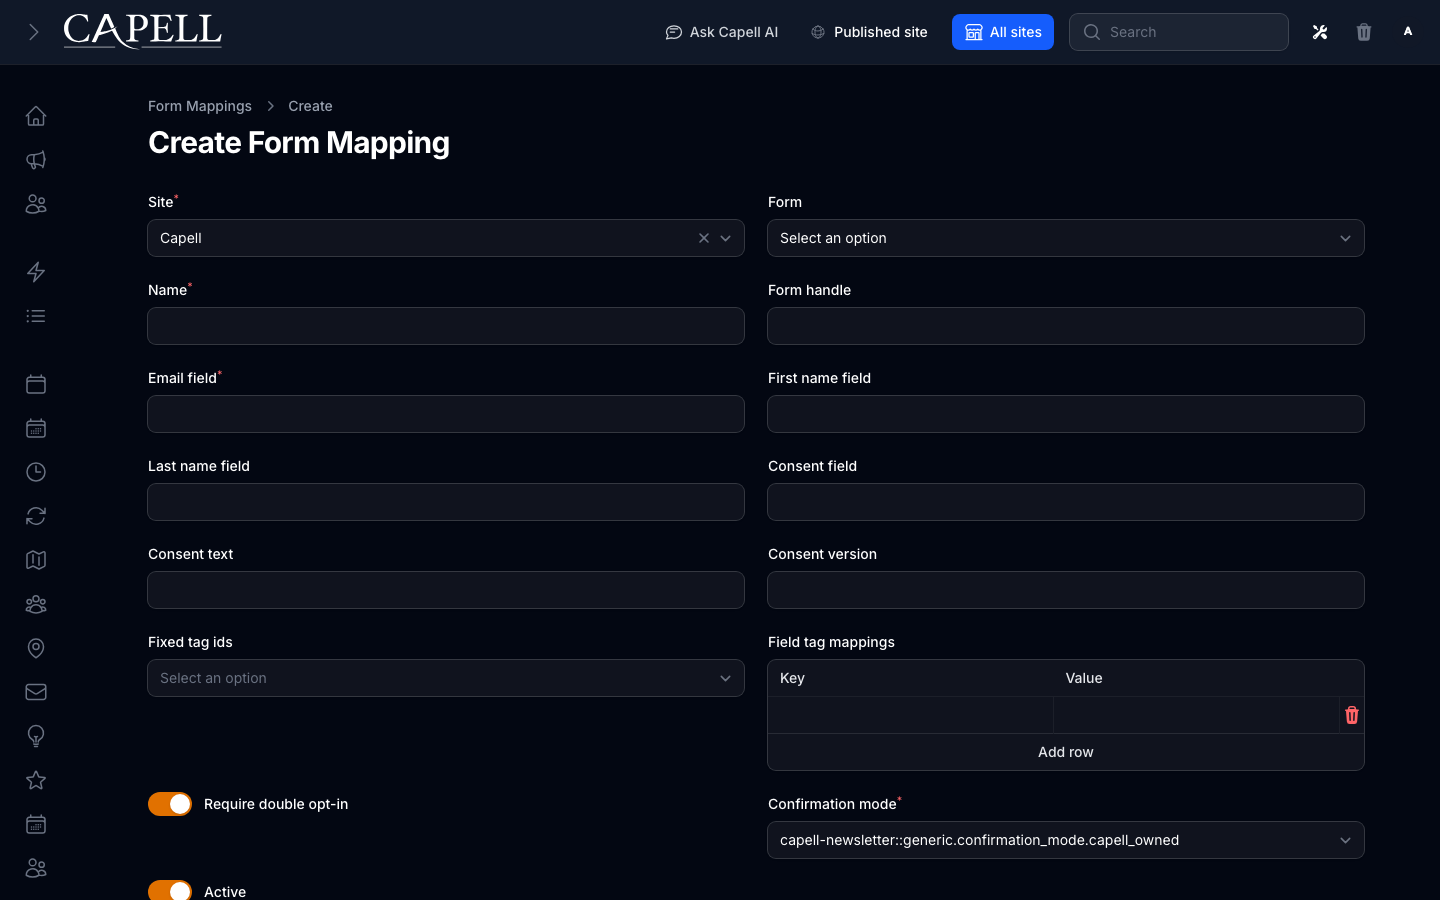
 ### How to connect a form to subscriptions
1. Open **Marketing Studio > Advanced > Form Mappings**.
2. Choose the site and form, then identify its email, name, consent, and tag fields.
3. Set the double-opt-in and confirmation options you need, then save. People who submit an active mapping are handled as newsletter subscriptions.
### How to connect a form to subscriptions
1. Open **Marketing Studio > Advanced > Form Mappings**.
2. Choose the site and form, then identify its email, name, consent, and tag fields.
3. Set the double-opt-in and confirmation options you need, then save. People who submit an active mapping are handled as newsletter subscriptions.
 ### How to import subscribers and review imports
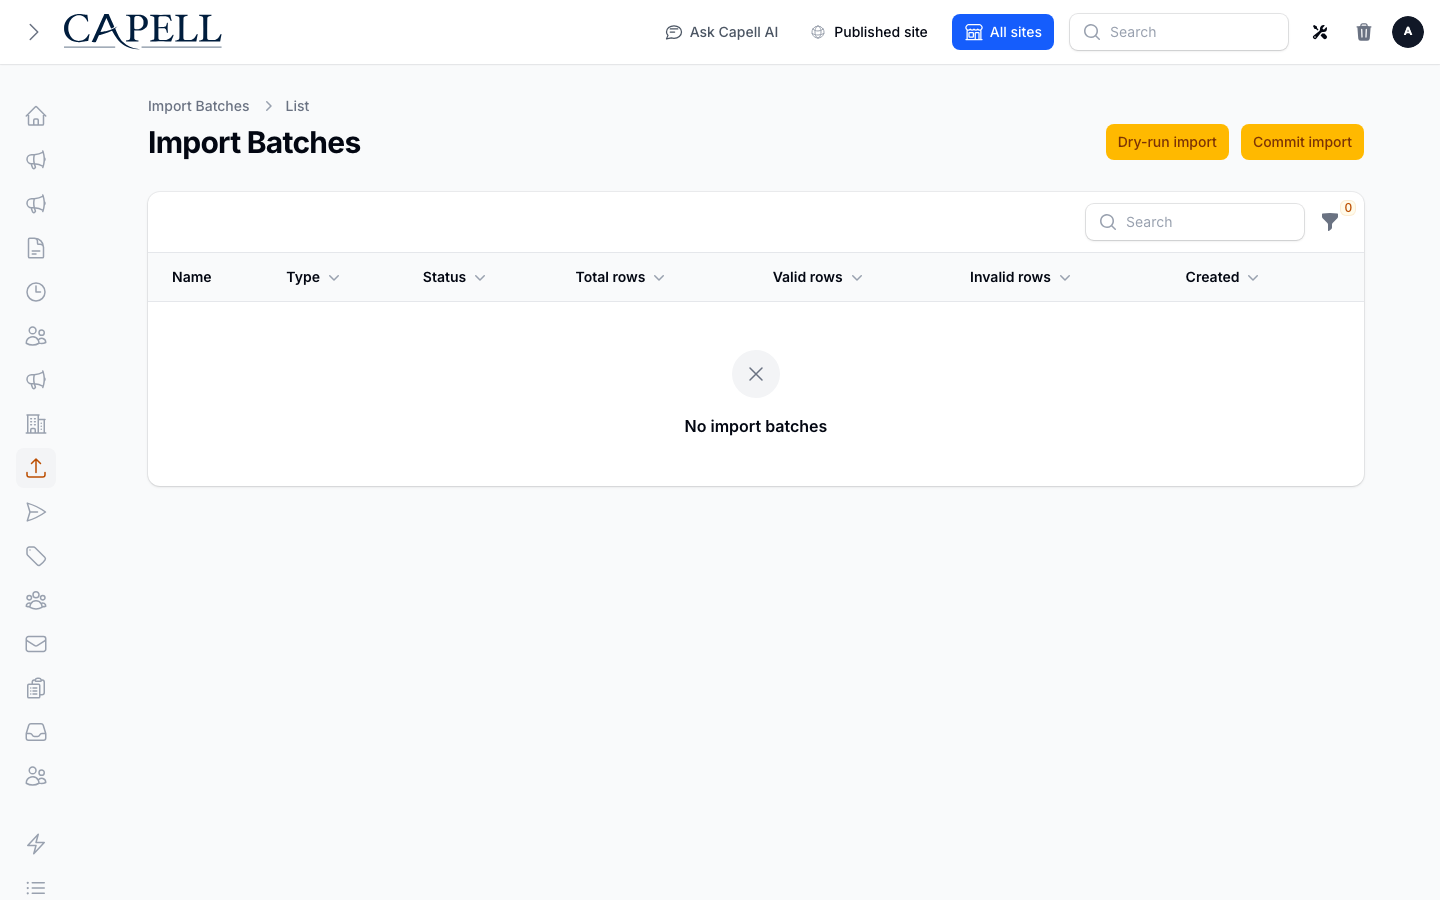
1. Open **Marketing Studio > Import batches**.
2. Use **Dry-run import** first. Choose the site, upload or paste the CSV, enter the **Consent basis**, and optionally apply newsletter tags.
3. Review the resulting batch's total, valid, and invalid row counts. A dry run does not create subscribers.
4. Correct any invalid data, then use **Commit import** with the same required details to create the valid subscribers.
5. Return to the batch list to review later import or export batches and their status.
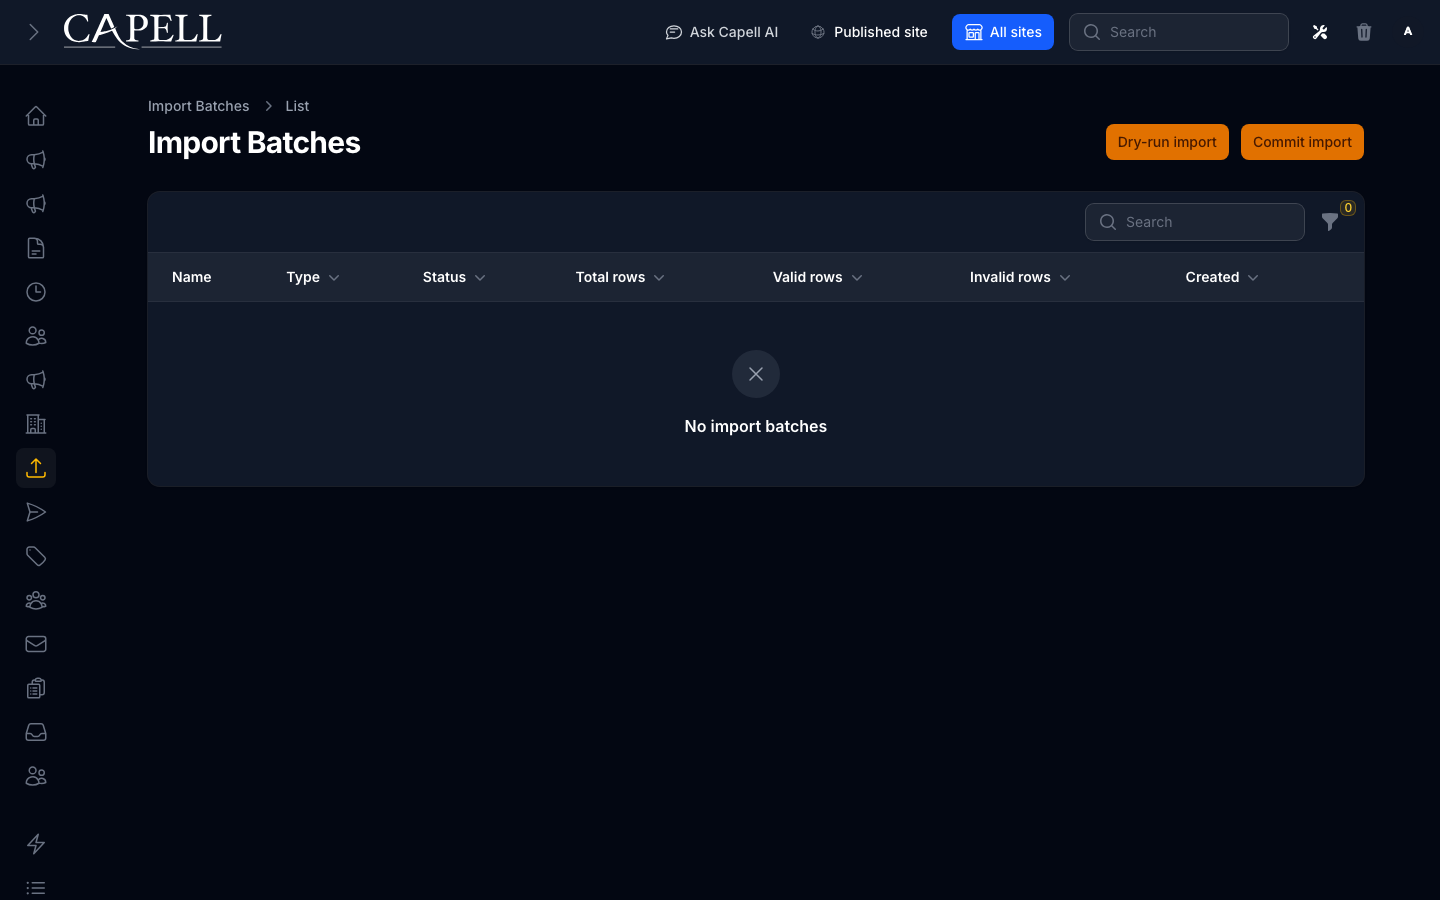
### How to import subscribers and review imports
1. Open **Marketing Studio > Import batches**.
2. Use **Dry-run import** first. Choose the site, upload or paste the CSV, enter the **Consent basis**, and optionally apply newsletter tags.
3. Review the resulting batch's total, valid, and invalid row counts. A dry run does not create subscribers.
4. Correct any invalid data, then use **Commit import** with the same required details to create the valid subscribers.
5. Return to the batch list to review later import or export batches and their status.
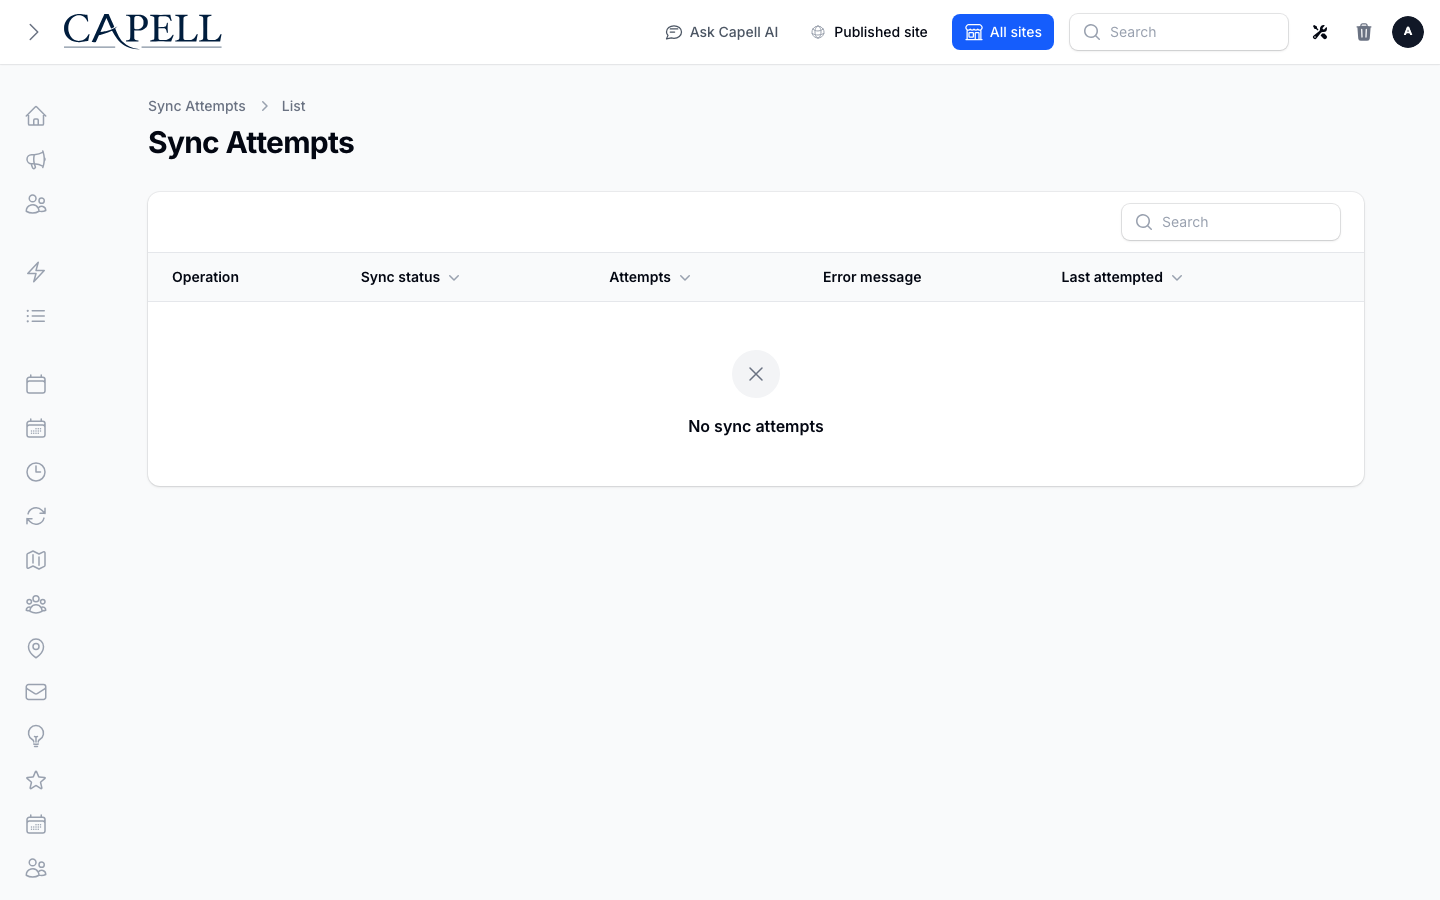
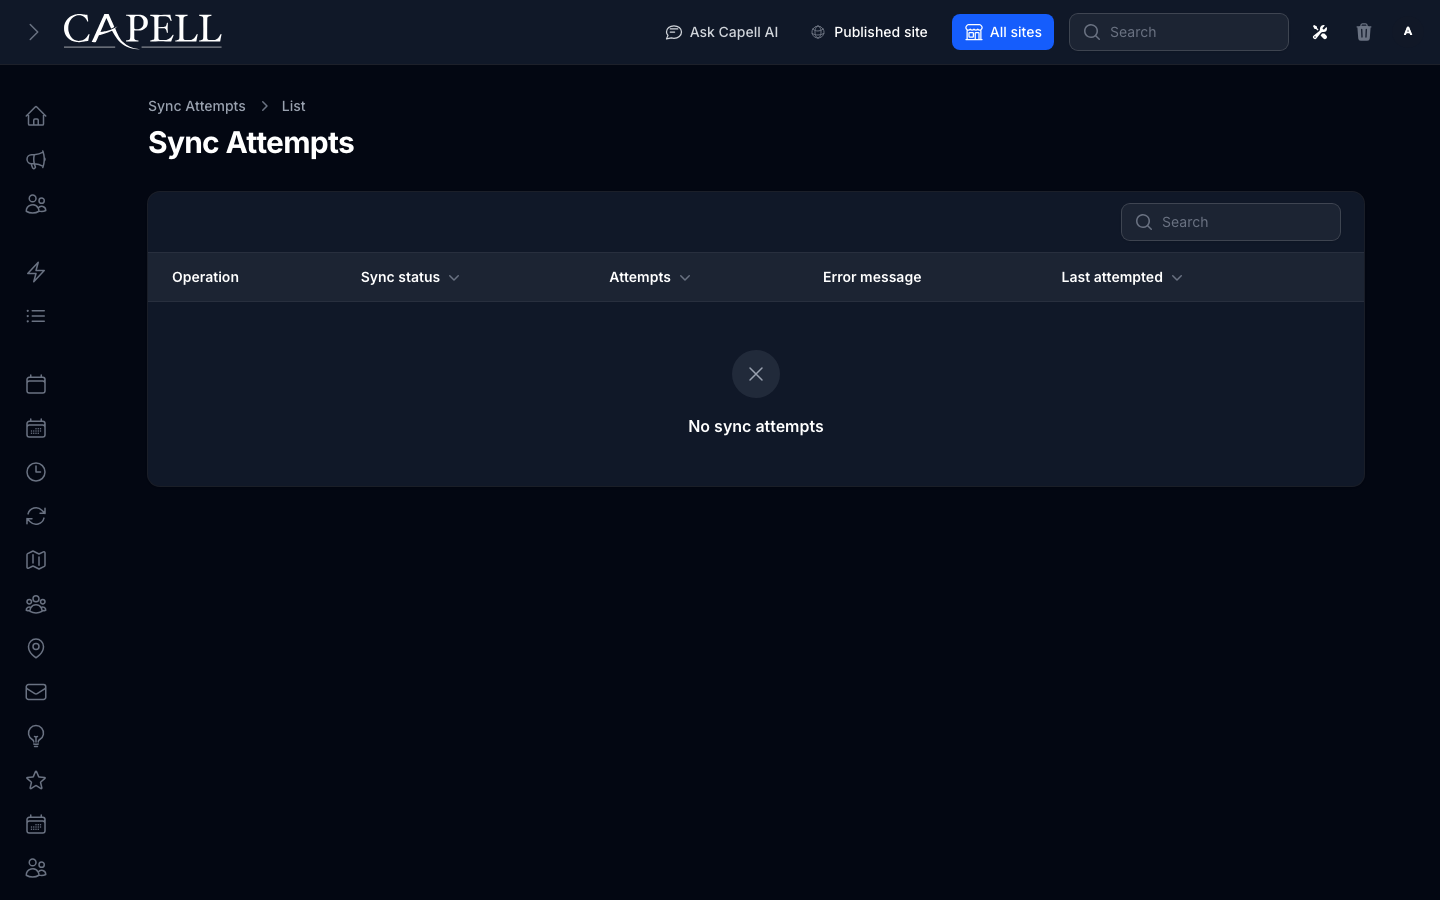
 ### How to check provider sync
1. Open **Marketing Studio > Advanced > Sync Attempts**.
2. Review each attempt to send subscriber changes to the provider.
3. Look for failures and retries, and follow up on anything that keeps failing.
### How to check provider sync
1. Open **Marketing Studio > Advanced > Sync Attempts**.
2. Review each attempt to send subscriber changes to the provider.
3. Look for failures and retries, and follow up on anything that keeps failing.
 ### How to review send handoff state
1. Open **Marketing Studio > Newsletter Sends**.
2. Review each send record's name, subject, status, scheduled time, and sent time.
3. A send record carries the audience, schedule, UTM values, and handoff state; author the campaign content and test sends in the connected provider.
4. For a failed handoff, check the provider connection and audience mapping with your developer before creating or updating the send record.
5. Review opens, clicks, and delivery analytics inside the connected provider.
## Rolling out Newsletter (for owners)
### Turn on first
- **A connected email provider and a test provider workflow.** Connect your sending service and verify subscribers sync before emailing real subscribers from that provider.
### Add when needed
| Need | Enable |
| ----------------------------------- | ------------------------------- |
| Confirm subscribers really opted in | Double opt-in / a consent field |
| Send at the best time | Scheduling |
### Don't enable yet
- Don't send to your full list before a test send looks correct. Mistakes can't be unsent.
### Who does what
| Role | First useful screen |
| ---------- | -------------------------------------------------------------------------- |
| Editor | **Marketing Studio > Newsletter Sends**: prepare the handoff record |
| Site owner | **Marketing Studio > Subscribers** and **Advanced > Provider Connections** |
## Troubleshooting for editors
| What you see | What it means | What to do |
| --------------------------------- | ---------------------------------------------------------- | ------------------------------------------------------------- |
| Provider test email didn't arrive | The provider isn't connected, or it's in spam | Check **Provider Connections**, then test inside the provider |
| A provider sync did not run | Credentials, audience mapping, or subscriber data failed | Review **Sync Attempts** and retry after fixing the issue |
| Subscriber numbers look wrong | Unconfirmed or unsubscribed people are counted differently | Review the **Subscribers** list and their status |
| Provider analytics look low | Opens and clicks are owned by the connected provider | Review the campaign report inside the provider |
### How to review send handoff state
1. Open **Marketing Studio > Newsletter Sends**.
2. Review each send record's name, subject, status, scheduled time, and sent time.
3. A send record carries the audience, schedule, UTM values, and handoff state; author the campaign content and test sends in the connected provider.
4. For a failed handoff, check the provider connection and audience mapping with your developer before creating or updating the send record.
5. Review opens, clicks, and delivery analytics inside the connected provider.
## Rolling out Newsletter (for owners)
### Turn on first
- **A connected email provider and a test provider workflow.** Connect your sending service and verify subscribers sync before emailing real subscribers from that provider.
### Add when needed
| Need | Enable |
| ----------------------------------- | ------------------------------- |
| Confirm subscribers really opted in | Double opt-in / a consent field |
| Send at the best time | Scheduling |
### Don't enable yet
- Don't send to your full list before a test send looks correct. Mistakes can't be unsent.
### Who does what
| Role | First useful screen |
| ---------- | -------------------------------------------------------------------------- |
| Editor | **Marketing Studio > Newsletter Sends**: prepare the handoff record |
| Site owner | **Marketing Studio > Subscribers** and **Advanced > Provider Connections** |
## Troubleshooting for editors
| What you see | What it means | What to do |
| --------------------------------- | ---------------------------------------------------------- | ------------------------------------------------------------- |
| Provider test email didn't arrive | The provider isn't connected, or it's in spam | Check **Provider Connections**, then test inside the provider |
| A provider sync did not run | Credentials, audience mapping, or subscriber data failed | Review **Sync Attempts** and retry after fixing the issue |
| Subscriber numbers look wrong | Unconfirmed or unsubscribed people are counted differently | Review the **Subscribers** list and their status |
| Provider analytics look low | Opens and clicks are owned by the connected provider | Review the campaign report inside the provider |