Your first session
You’ve run php artisan capell:install and it finished without errors. This guide covers what to do next — from logging in for the first time through to publishing your first page.
If you haven’t installed Capell yet, start with the Install guide.
Log in
Section titled “Log in”Open /admin in your browser. Log in with the credentials for the user you passed to --user= during installation, or the one the installer created.
If the login screen appears, the Filament panel is registered.
If you can’t log in, check that your APP_URL in .env matches the address you’re visiting, and that the admin_panel_provider role was assigned during installation.
The dashboard
Section titled “The dashboard”After logging in you land on the dashboard. Before clicking anything, take a moment to locate three things:
The site switcher sits in the top-left corner of the screen. Capell is multi-site from the start, and everything you edit in the admin is scoped to whichever site is selected here. If you only have one site, it’ll show its name. If you installed with --demo, there may be two or three demo sites. Pick the right one before you start editing.
The sidebar on the left is your main navigation: Pages, Media, Library, Settings, and anything your approved packages add.
The top bar on the right side has a Clear Cache button, a global search field, and your user account menu.
Use Clear Cache when a saved or published change does not appear on the frontend. If that does not fix it, check Published pages still show old content. If the page never generates, check Published pages never generate and confirm a queue worker is running.
If you installed with --demo, the widgets will already show sample content. If not, most widgets will show empty states — that’s expected.
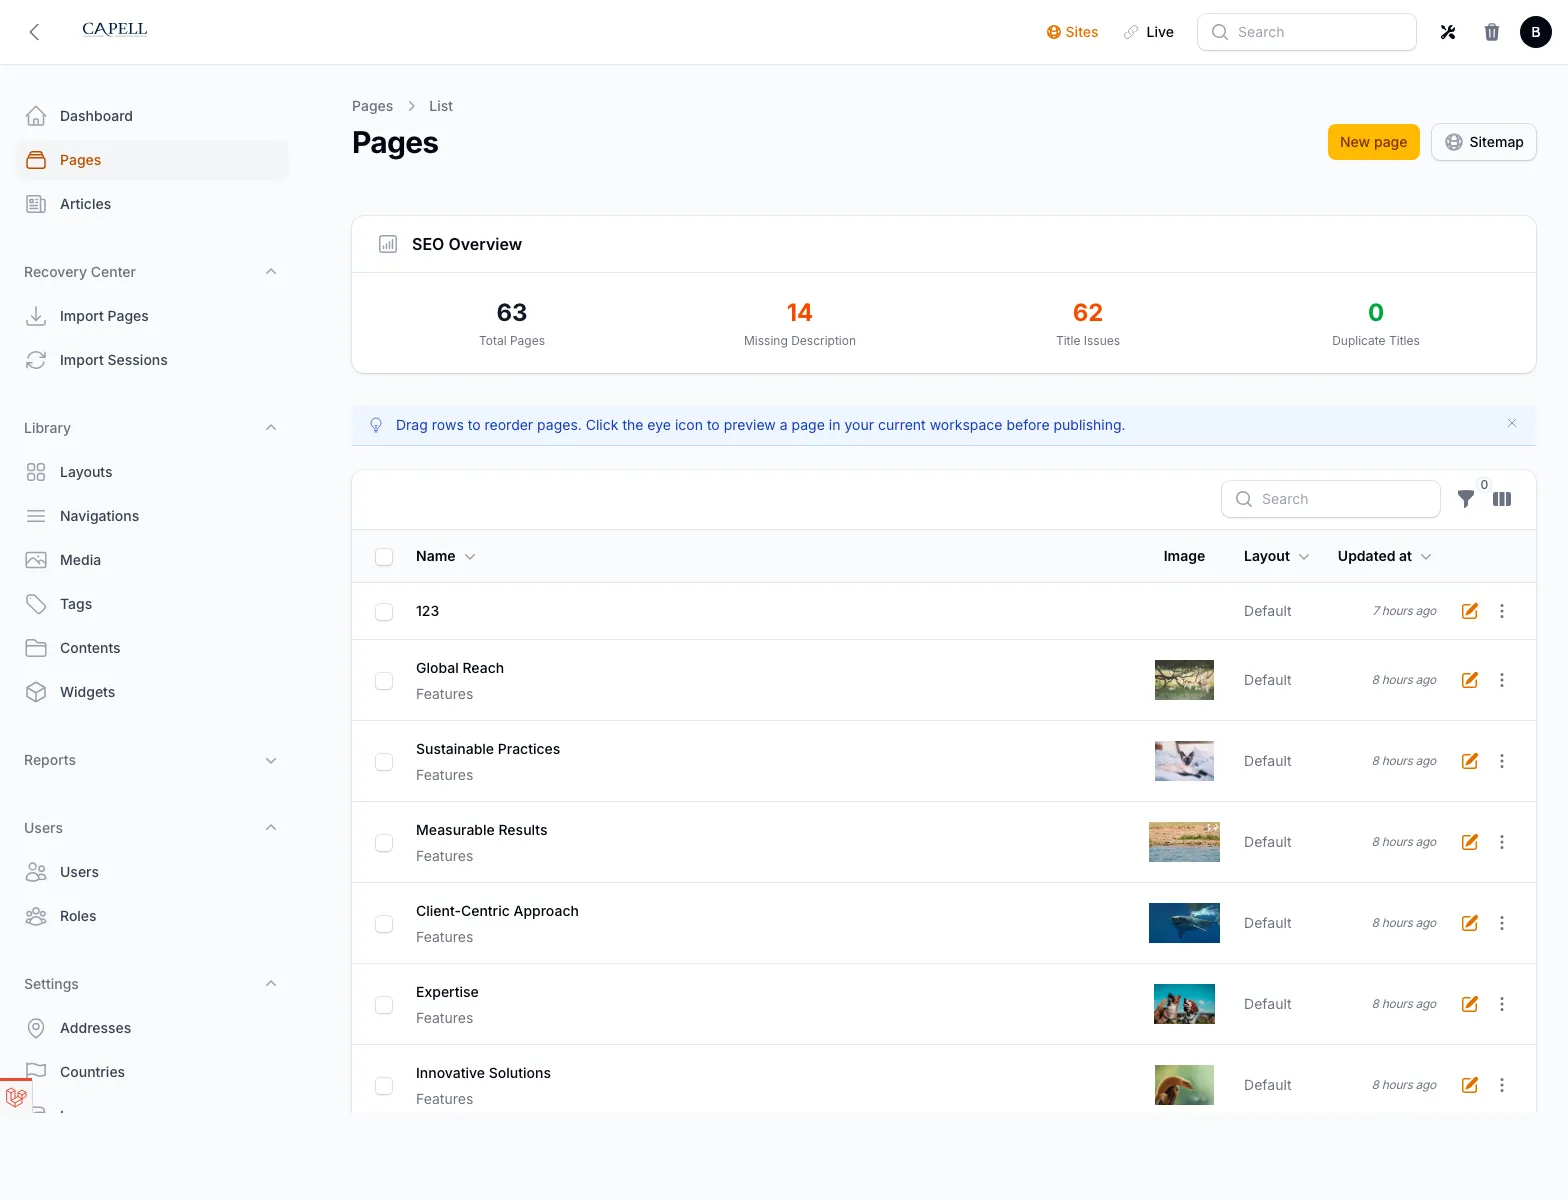
Create your first page
Section titled “Create your first page”Go to Pages in the sidebar. You’ll see either an empty tree (fresh install) or the demo page hierarchy.
The full Create your first page guide now covers the page form field by field, including Site, Parent Page, URL generation, Blueprints, Layouts, content, drafts, preview, publishing, site-wide branding, and useful next extensions such as ContentSections and Navigation. See Blueprints for the reusable editing, rendering, and behaviour rules behind pages, widgets, and layouts.
Use this first-session guide as the broader admin tour. Use the page guide when you are ready to create and publish the first real page.
Set up navigation
Section titled “Set up navigation”Pages on their own aren’t linked from anywhere. Go to Navigation in the sidebar to build a menu.
Navigation sits alongside the other library resources in the admin.
Create a navigation record (or edit the one the installer created), add items pointing to your pages, and save. How the navigation renders depends on your frontend theme — it’s wired up in a Blade view or a navigation widget.
Navigation is multi-language. Each item stores a label per locale, so if you’re running a bilingual site, you edit the labels once and translate them rather than maintaining duplicate menus.
Understand the content model
Section titled “Understand the content model”Before you build more pages, it’s worth spending two minutes on how Capell organizes everything:
Site → Page → Section → WidgetYour site is a domain or path prefix. All pages belong to a site.
Pages live in a tree. A page’s URL is built by joining its ancestors’ slugs — so a page with slug team nested under a page with slug about gets the URL /about/team. Move a page under a different parent and its URL changes automatically; Capell creates a redirect from the old URL.
Sections (with ContentSections) split a page into horizontal rows. Each row has a column layout and holds widgets.
Elements are the content blocks: text, images, calls to action, and any custom types your developer has registered. An element can be reused across multiple pages or kept exclusive to one. Element types can change which fields appear in the element editor and which frontend component renders the result.
You don’t need to use sections and widgets immediately. Start with flat pages, get comfortable with the basic editing flow, and add the content sections layer when you need it.
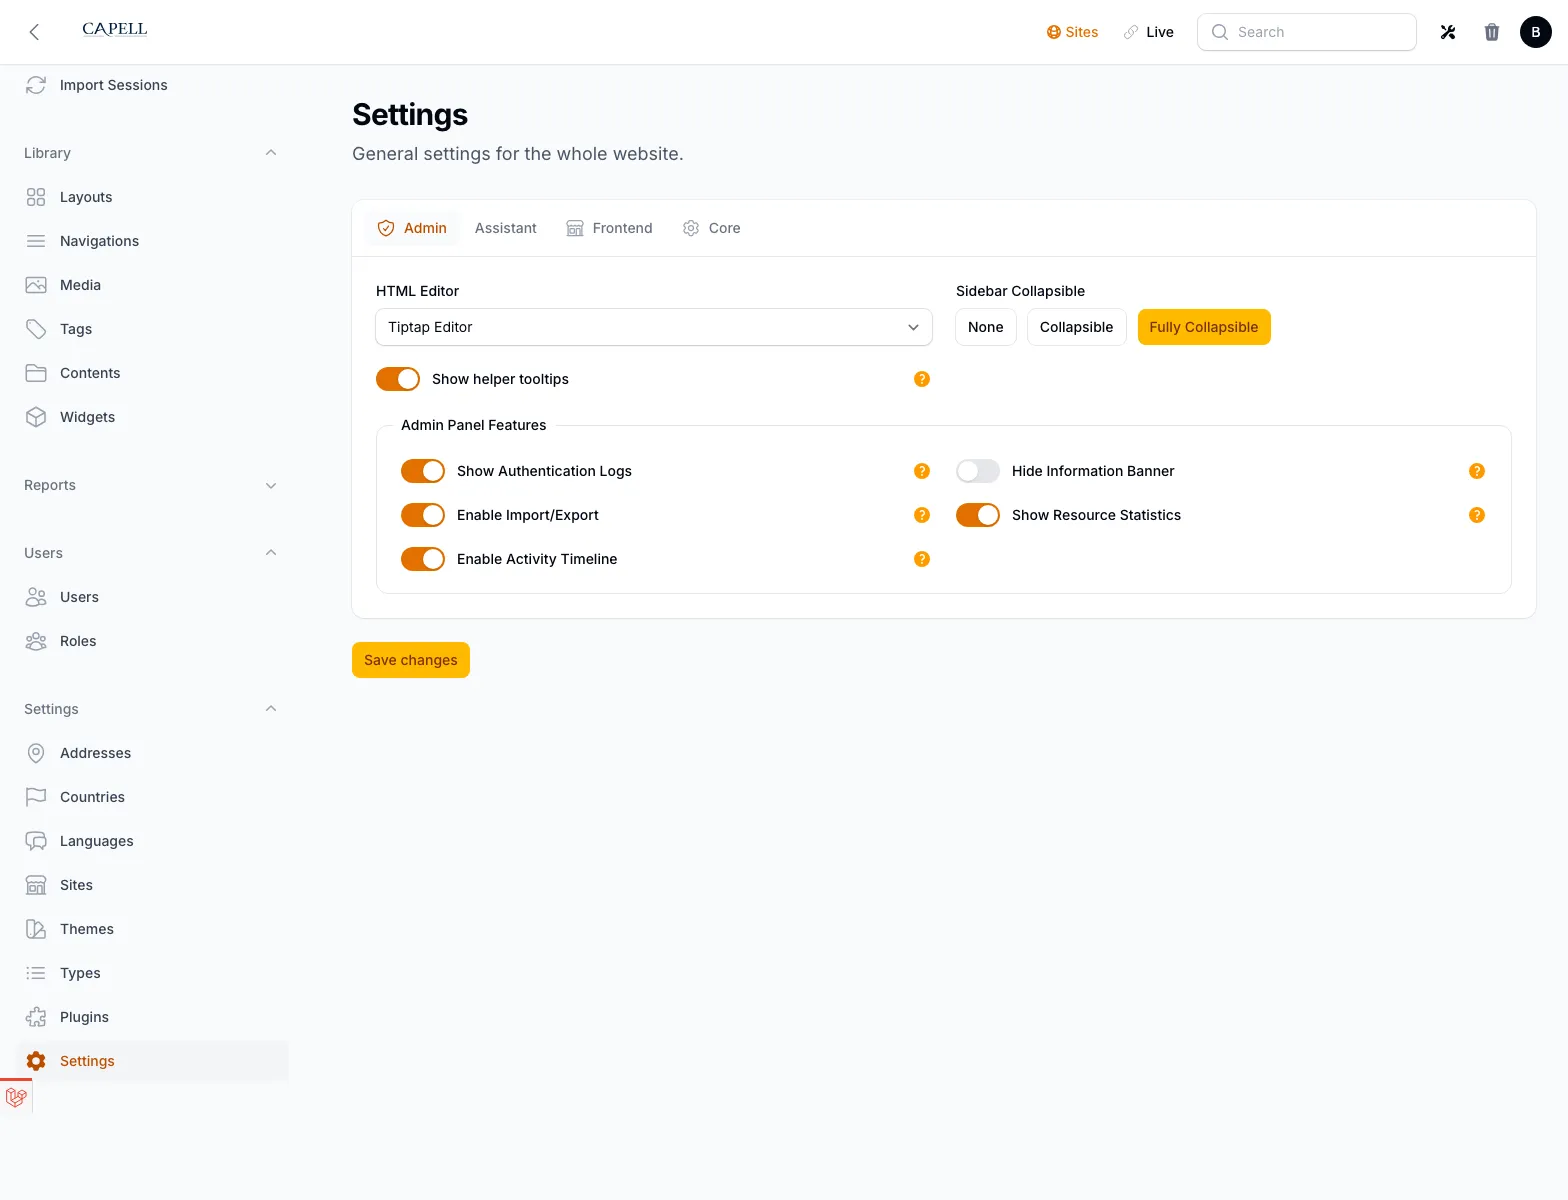
Configure your site settings
Section titled “Configure your site settings”Go to Settings in the sidebar. A few things worth setting up early:
Site name — appears in the admin and in generated <title> tags (usually as a suffix: “Page Title — Site Name”).
Default language — the locale used when no specific locale is detected.
SEO defaults — a fallback meta description pattern and default Open Graph image for pages that don’t set their own.
What to do next
Section titled “What to do next”From here, the path depends on what you’re building.
Building a simple site? Create your main pages, link them in Navigation, and work through the SEO fields once the content is settled. The Admin interface guide covers every section of the admin in more detail.
Need the visual content sections? Install the ContentSections approved package. It adds the row-and-widget layer to the page editor.
Setting up for a team? Configure roles under Settings → Permissions, then invite users from Users in the sidebar. The Permissions & approval guide covers how site-scoped roles work.
Running multiple sites or languages? See Multi-site & multi-lingual before creating more content.
Extending Capell with custom page types or widgets? See Extending Capell for the four extension points that let you add functionality without touching core code.
Something isn’t working? Troubleshooting covers the common first-run problems. For stale public pages, start with Debugging public output. For deployment and runtime checks, use Site Health. For command ownership, use the Capell CLI command index.