This guide is for the people who run access to protected content: admins who set up gated areas and reviewers who approve or reject the people asking to get in. No technical knowledge needed. Every step uses the labels you see on screen. The resources are under Workflow > Access Gate in the admin sidebar.
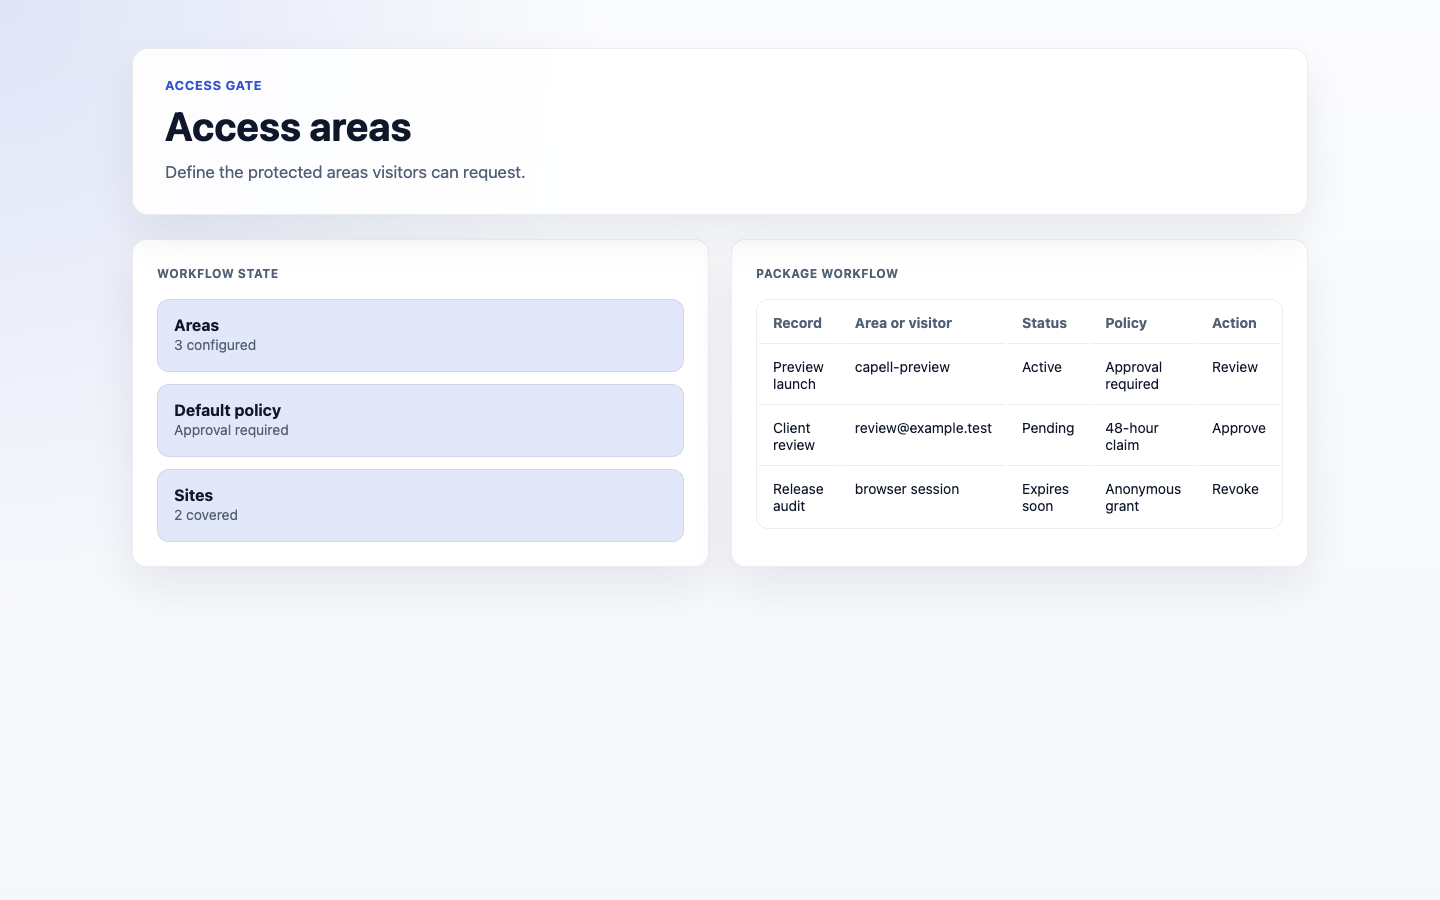
Go to Workflow > Access Gate > Access areas .
The list shows every protected area, its Key , Status , Identity mode , Approval strategy , and registration and grant counts.
Use this screen to confirm an area is active and accepting requests the way you expect before you point private content at it.
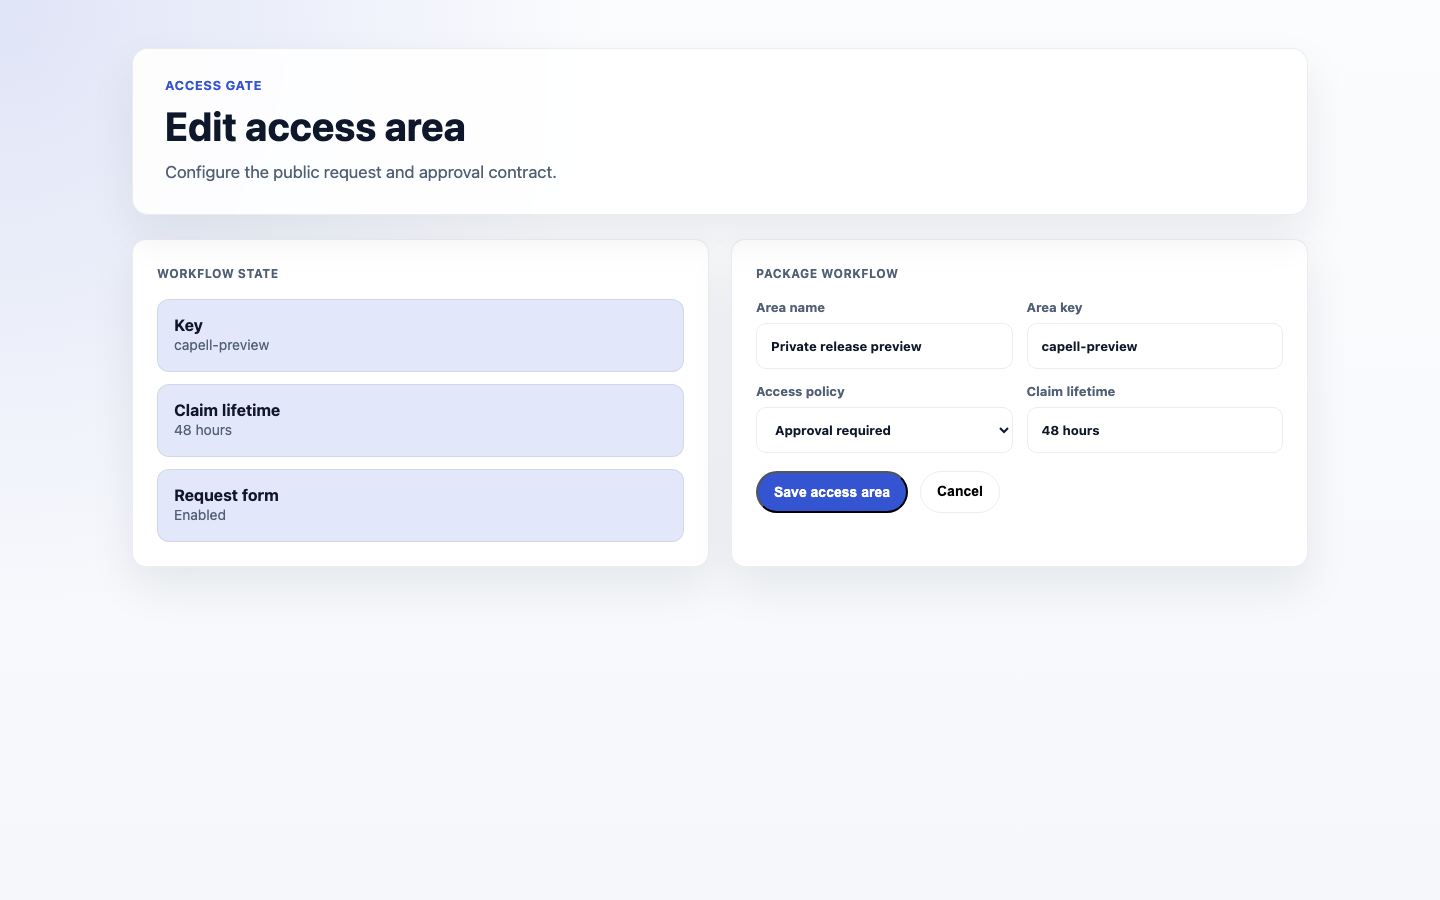
Go to Workflow > Access Gate > Access areas and start a new area.
Give it a Key (a short name used to attach the gate to content) and a Name .
Choose the Site it applies to, or leave it empty to apply to every site.
Set the Status to control whether the area is live.
To run the area on a schedule, set Gate opens at and Gate closes at .
Choose how people are recognised with Identity mode , and how requests are handled with Approval strategy and the Registration policy .
Set an Approval limit if you want to cap how many people can be let in.
Set the Token policy and Grant duration days to control how long access lasts.
Use the Public allowlist for narrowly scoped public paths or exact URLs, and Claim URL hosts plus Claim landing URL to control where approved people land. Host-only allowlist entries are rejected.
Save the area.
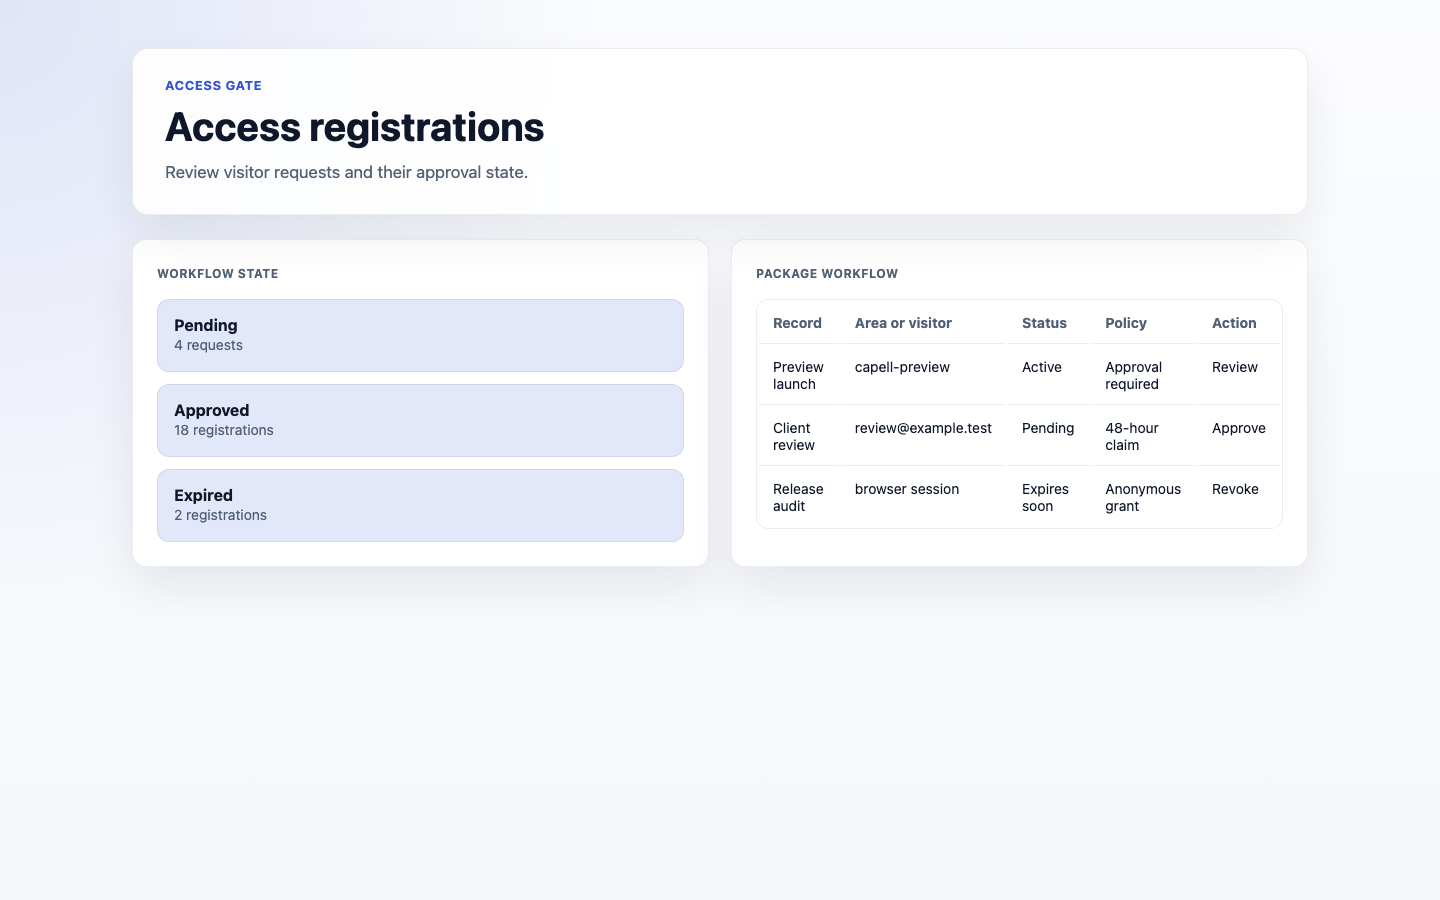
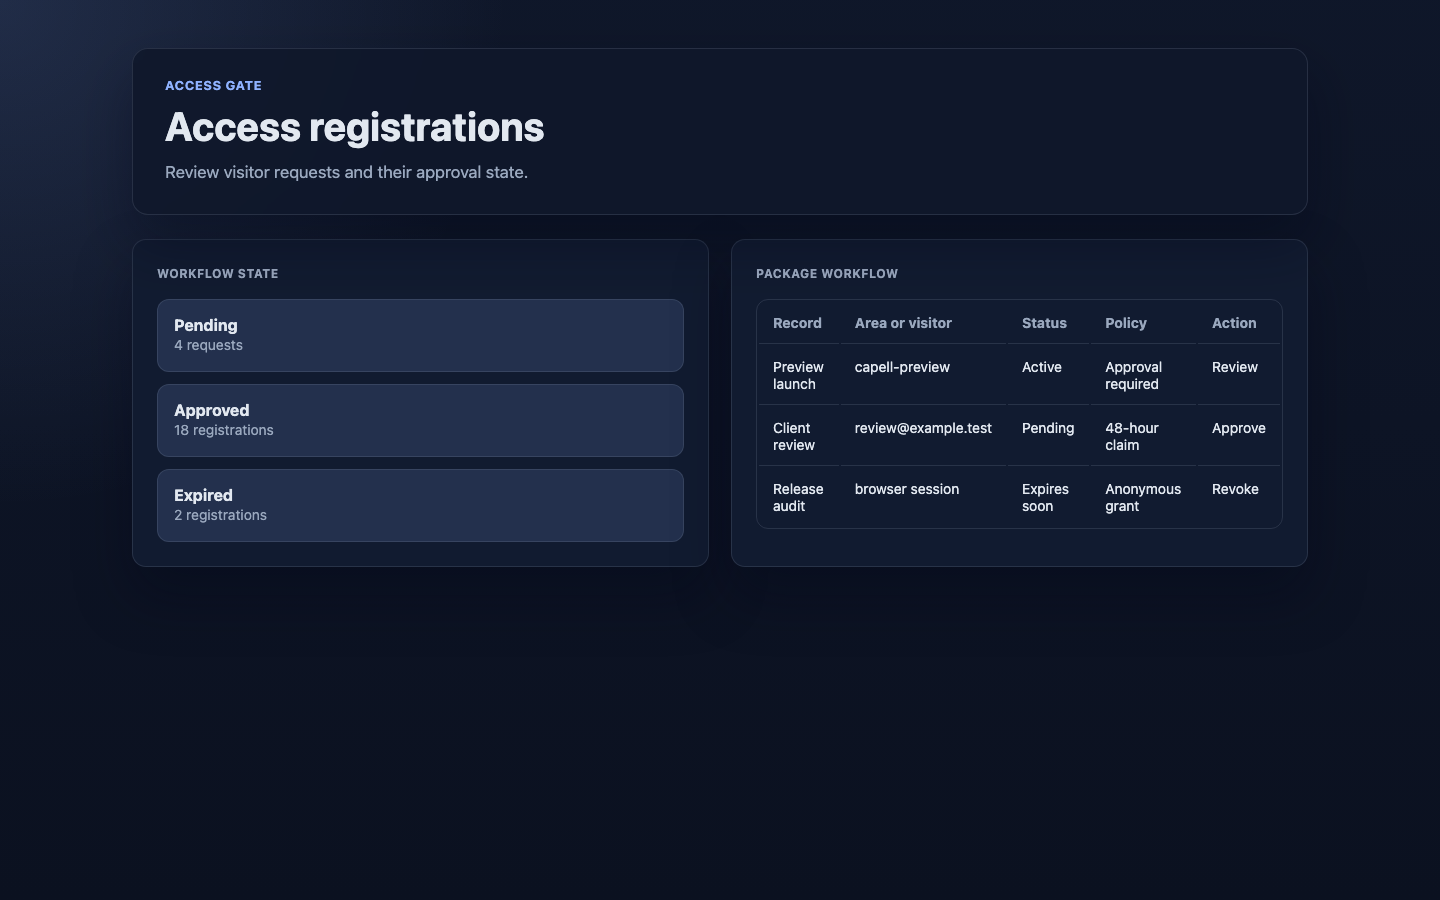
Go to Workflow > Access Gate > Registrations .
Each row is someone asking for access, with their Email , the Area they want, and a Status such as pending, approved, rejected, or expired.
Use the filters at the top to show just the requests you want to work through.
To let someone in, use Approve . To turn them down, use Reject .
Select several pending requests and use Approve selected when you need to handle them in bulk.
Use Expire to close out a request that should no longer be open.
Use Update approval limit if you need to change how many people an area will admit.
Go to Workflow > Access Gate > Registrations and find the approved person.
Use Resend claim link . This sends them a fresh approval email.
If you see a message that there is no active grant to re-send, approve the registration again to issue a new link.
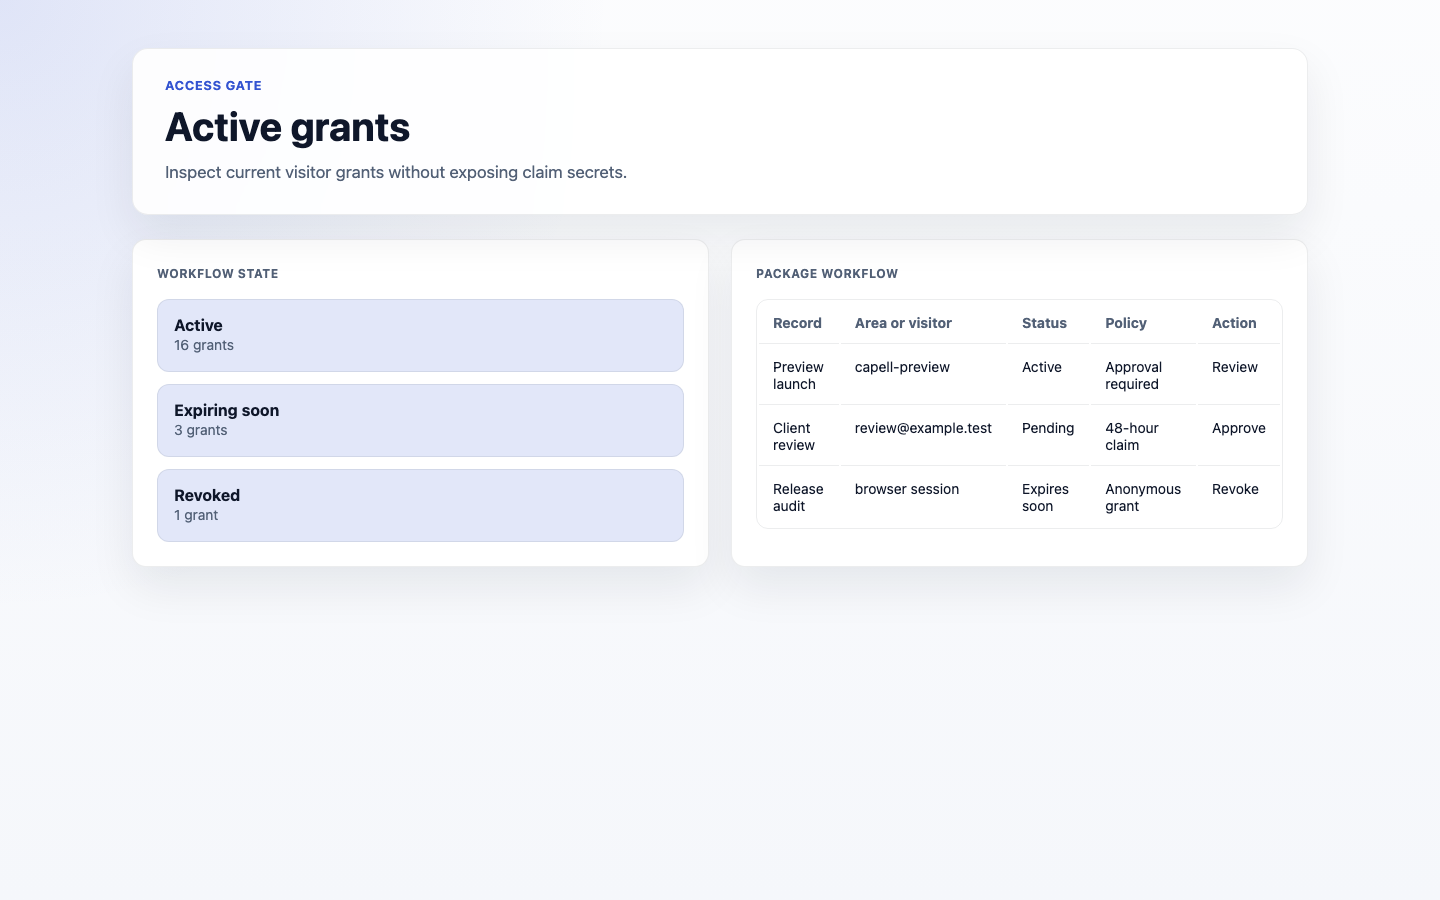
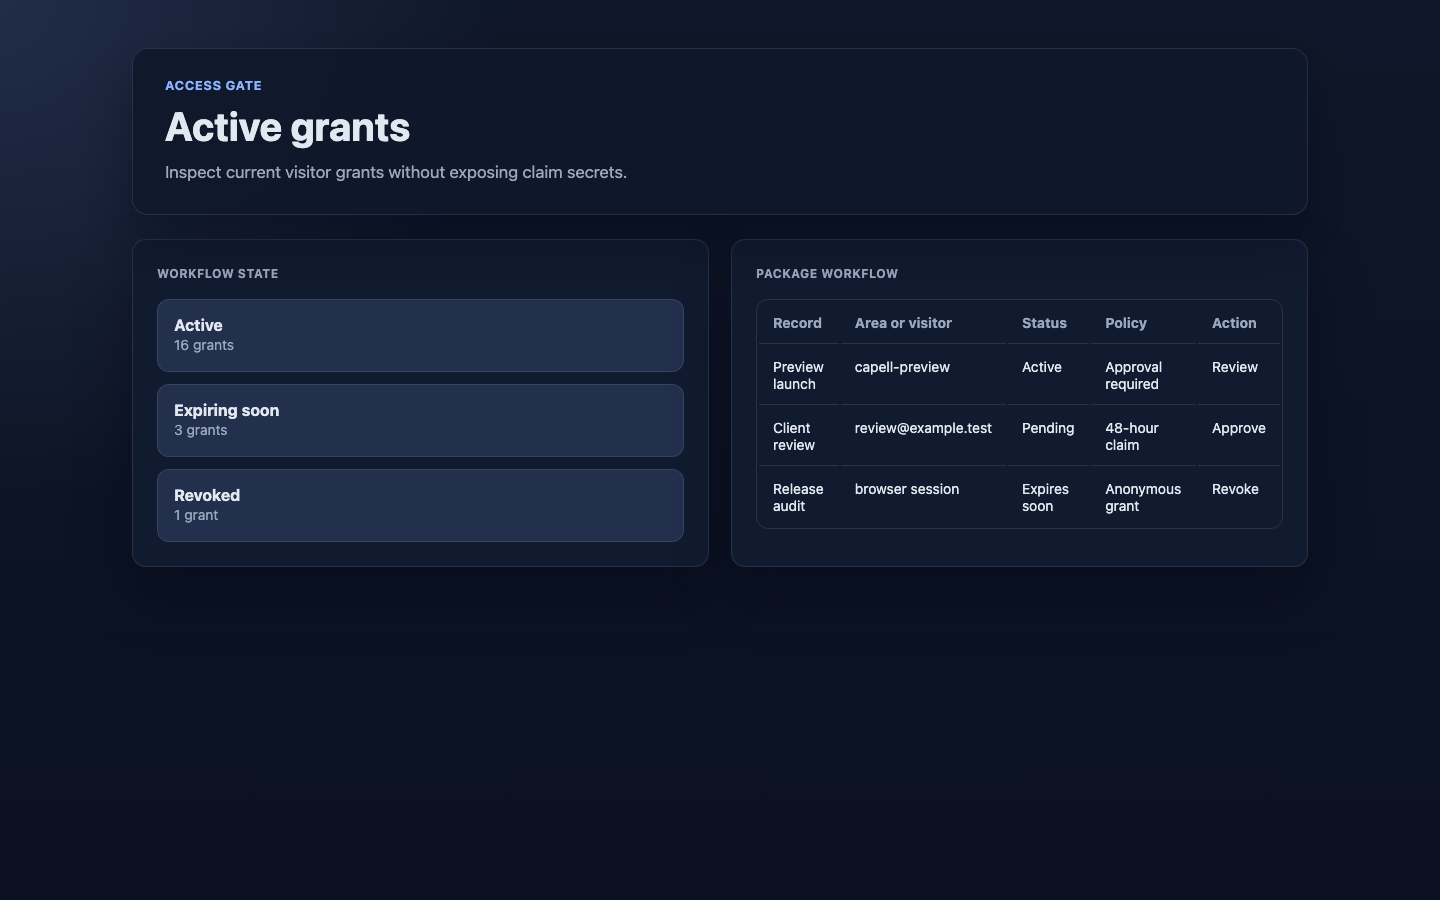
Go to Workflow > Access Gate > Grants .
Each row is a current or past grant, with its Status (such as active, expired, or revoked), the Area , and when it Expires .
To take access away from someone immediately, use Revoke on their grant.
Go to Workflow > Access Gate > Claim links .
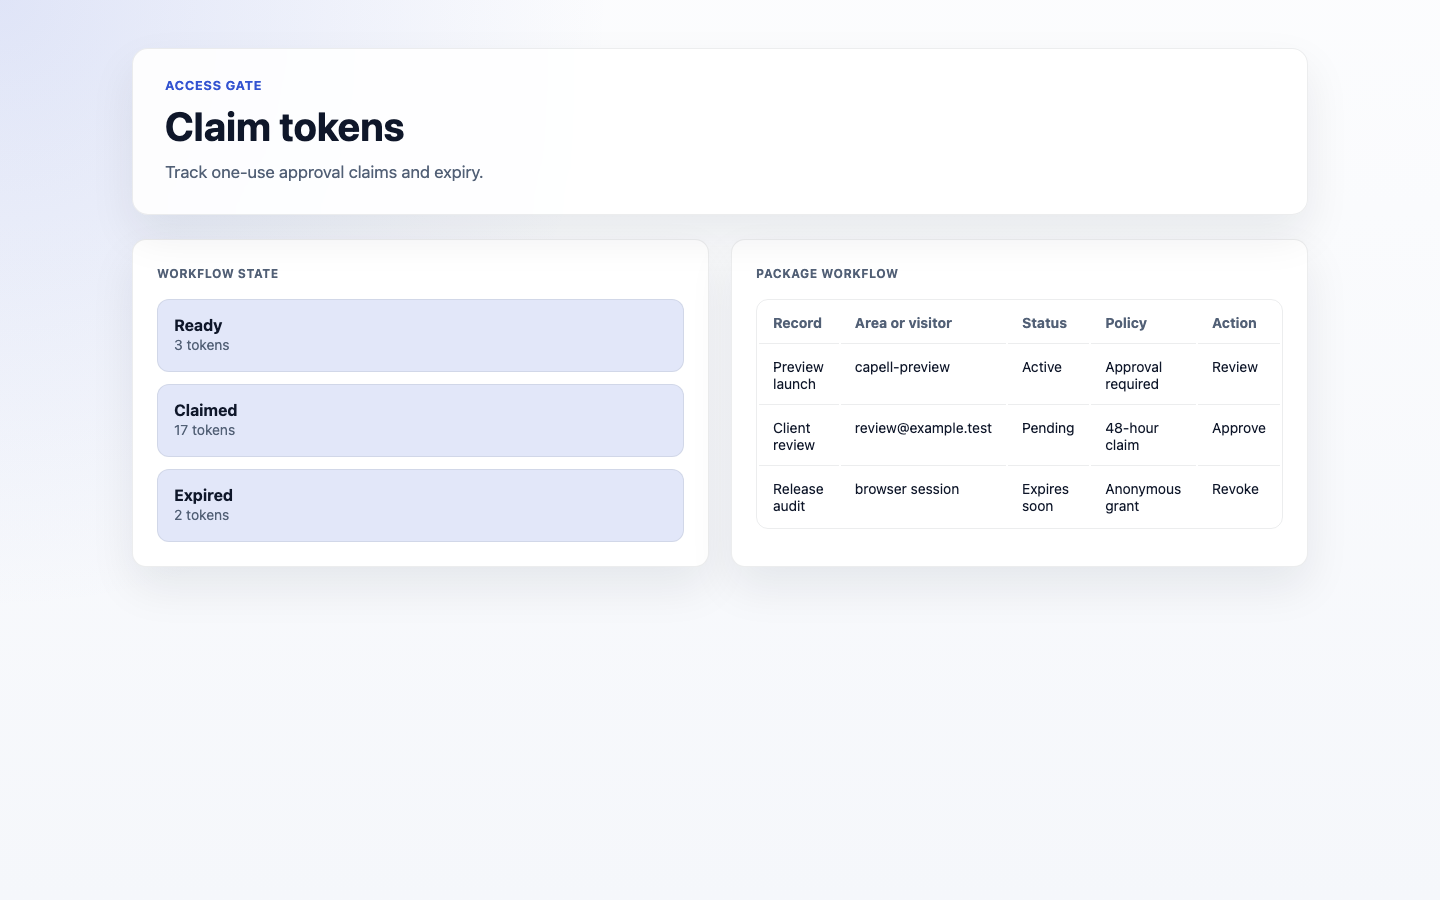
The list shows each approval link and whether it is still pending, was Claimed , or has Expired .
Use this when someone says they never received or could not use their link.
Go to Workflow > Access Gate > Browser sessions .
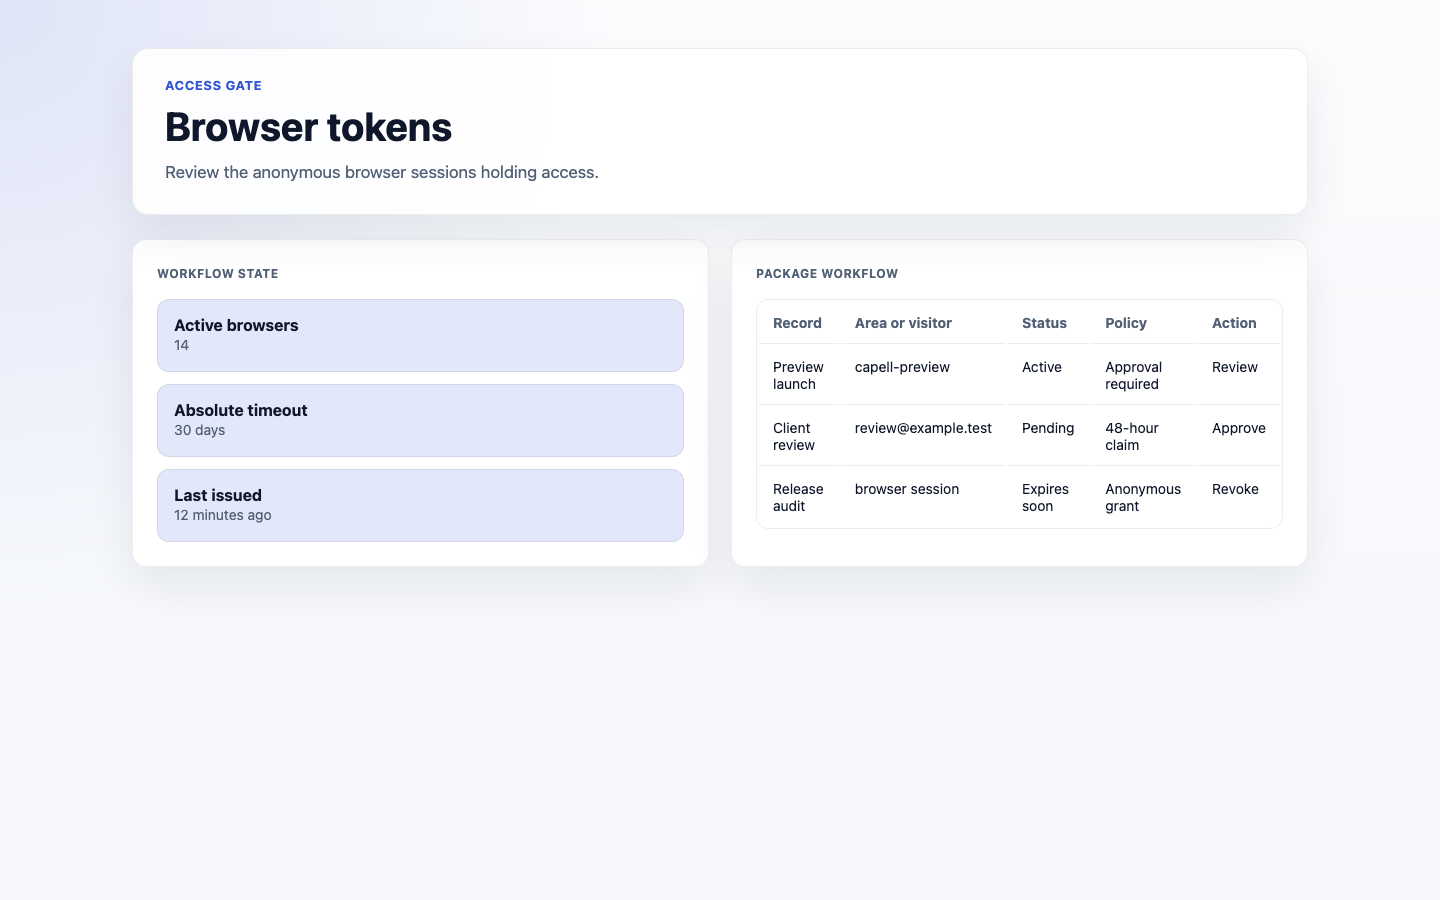
Each row is access tied to a specific browser or device, with its Status and when it was Last used .
To cut off a device after it is lost or no longer trusted, use Revoke on that session.
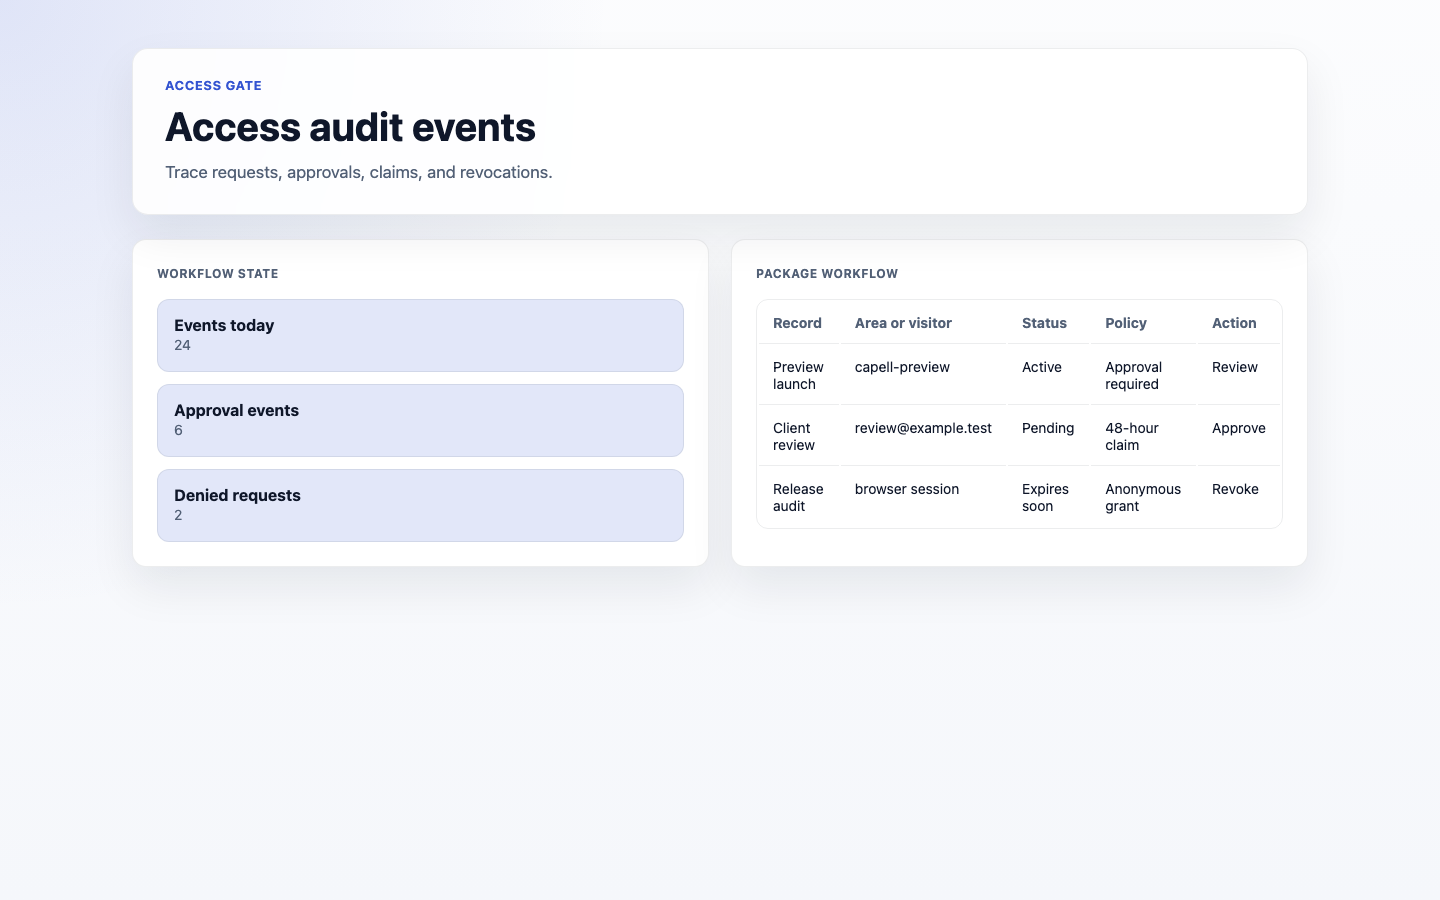
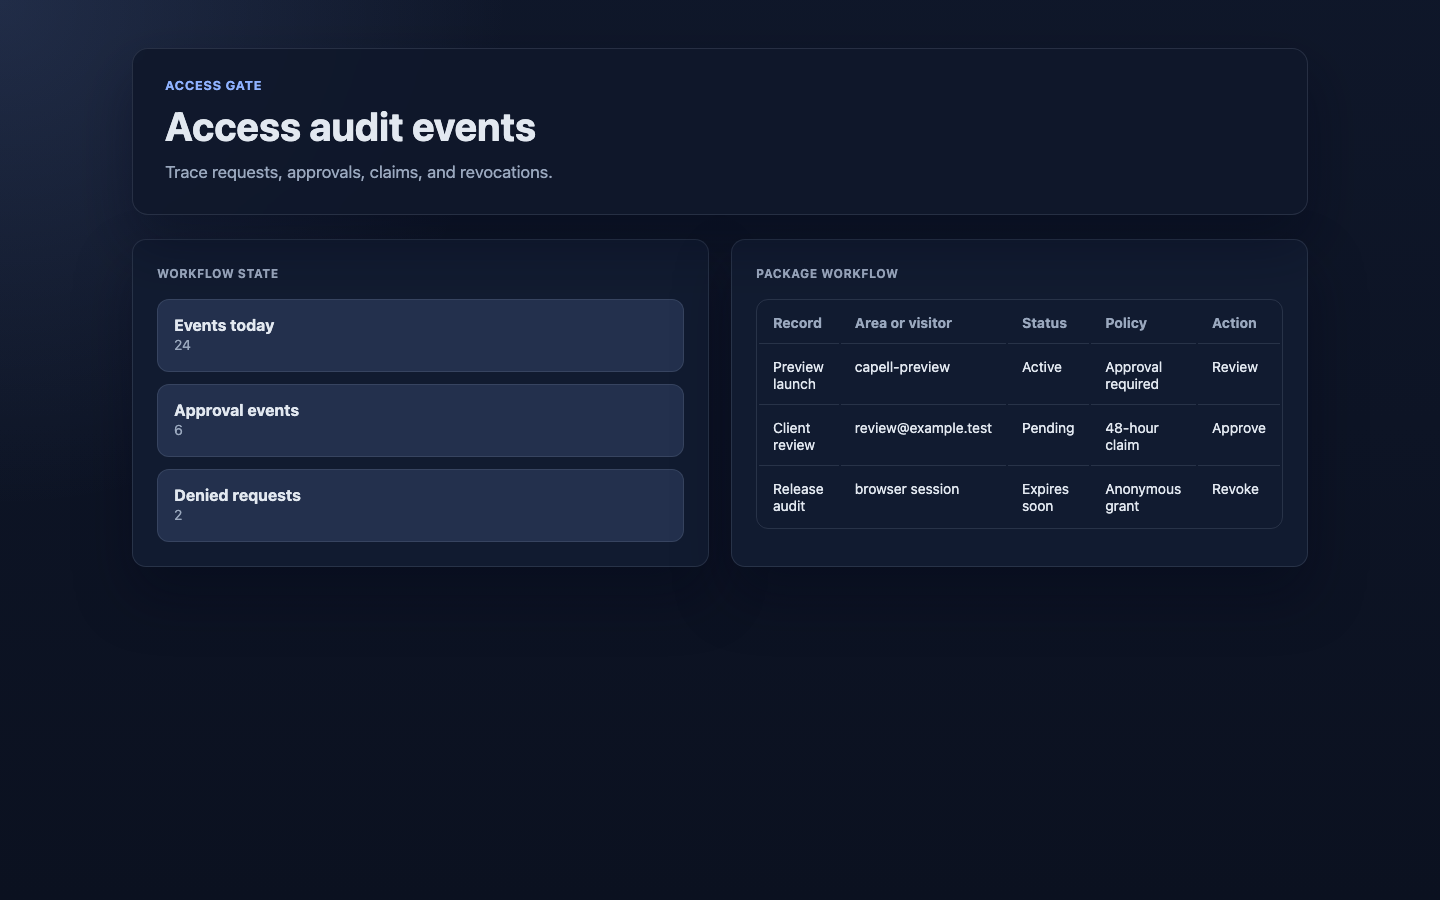
Go to Workflow > Access Gate > Audit events .
Each row records something that happened: a request, an approval, a rejection, a claim, a grant, a revoke, or a blocked visit, with when it Occurred .
Read down the events for a person or area to see exactly what happened and when.
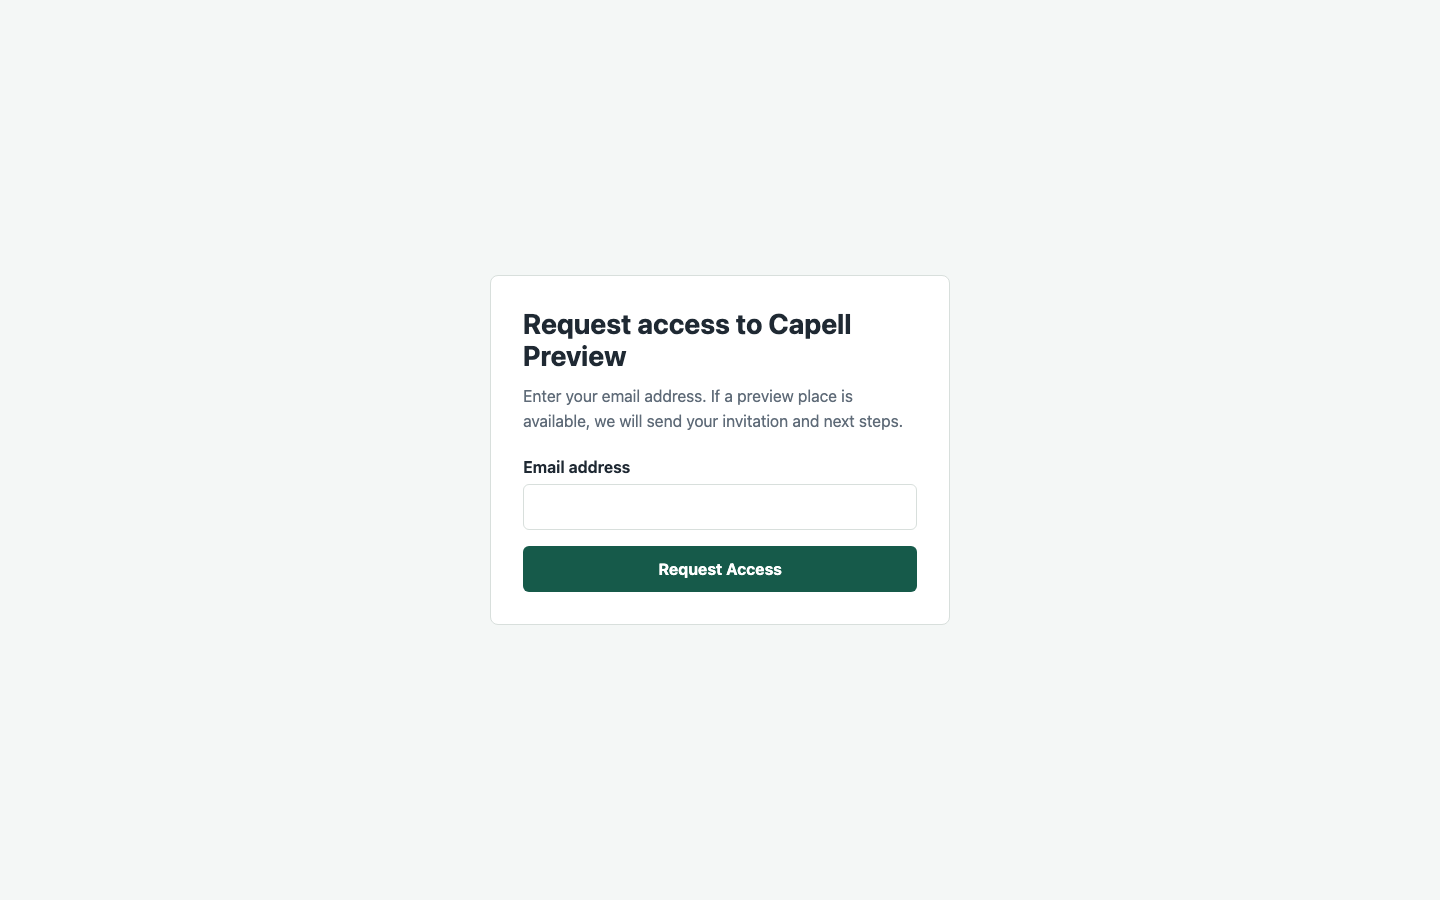
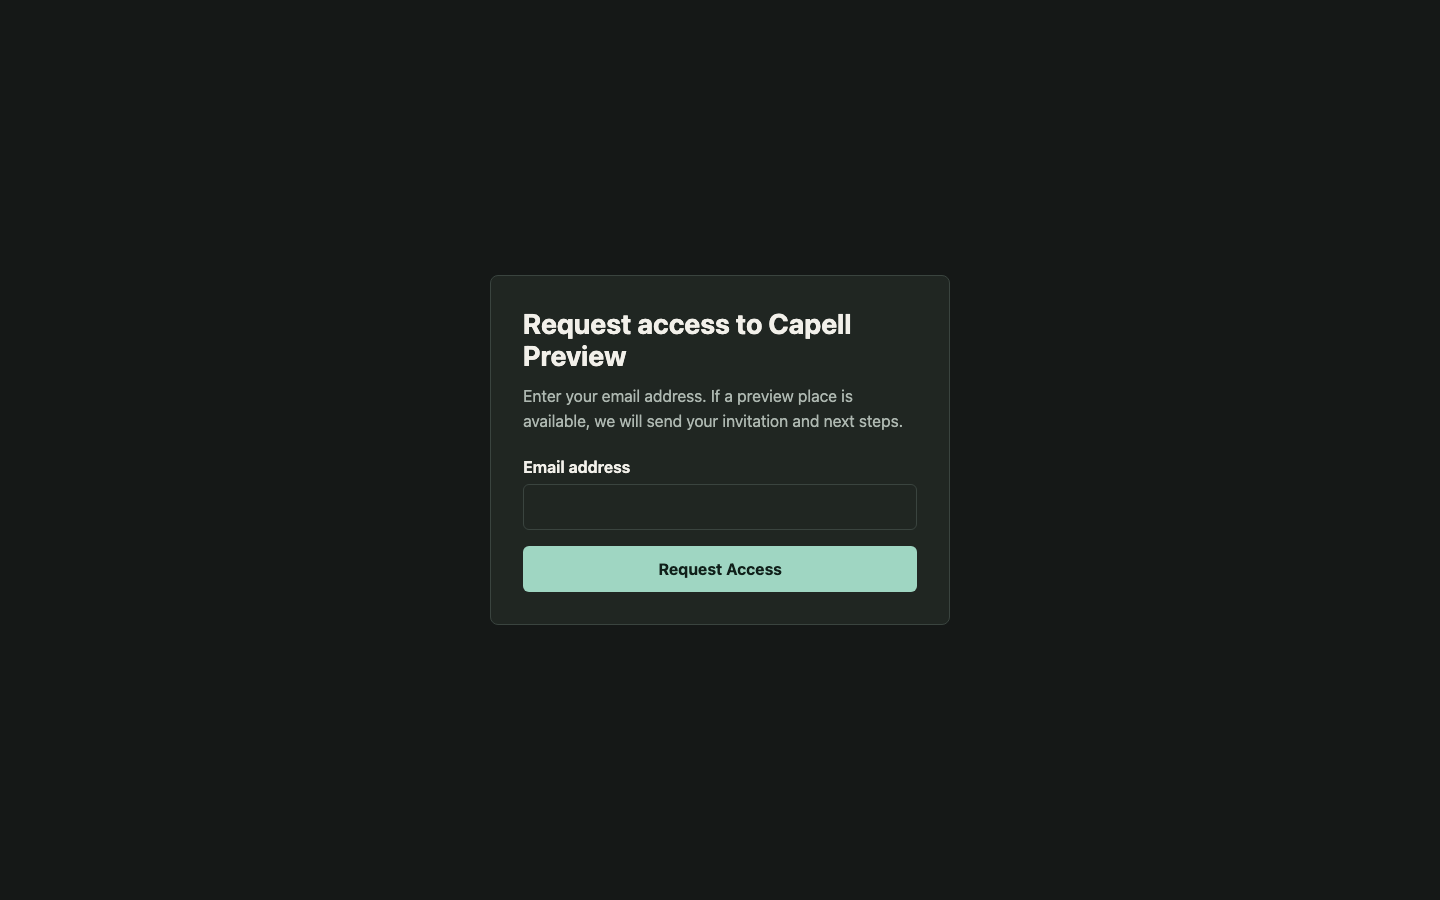
Visitors never see any of the admin screens above. Depending on how an area is set up, they see one of three plain public pages.
A request form, where they ask for access by filling in the fields you configured.
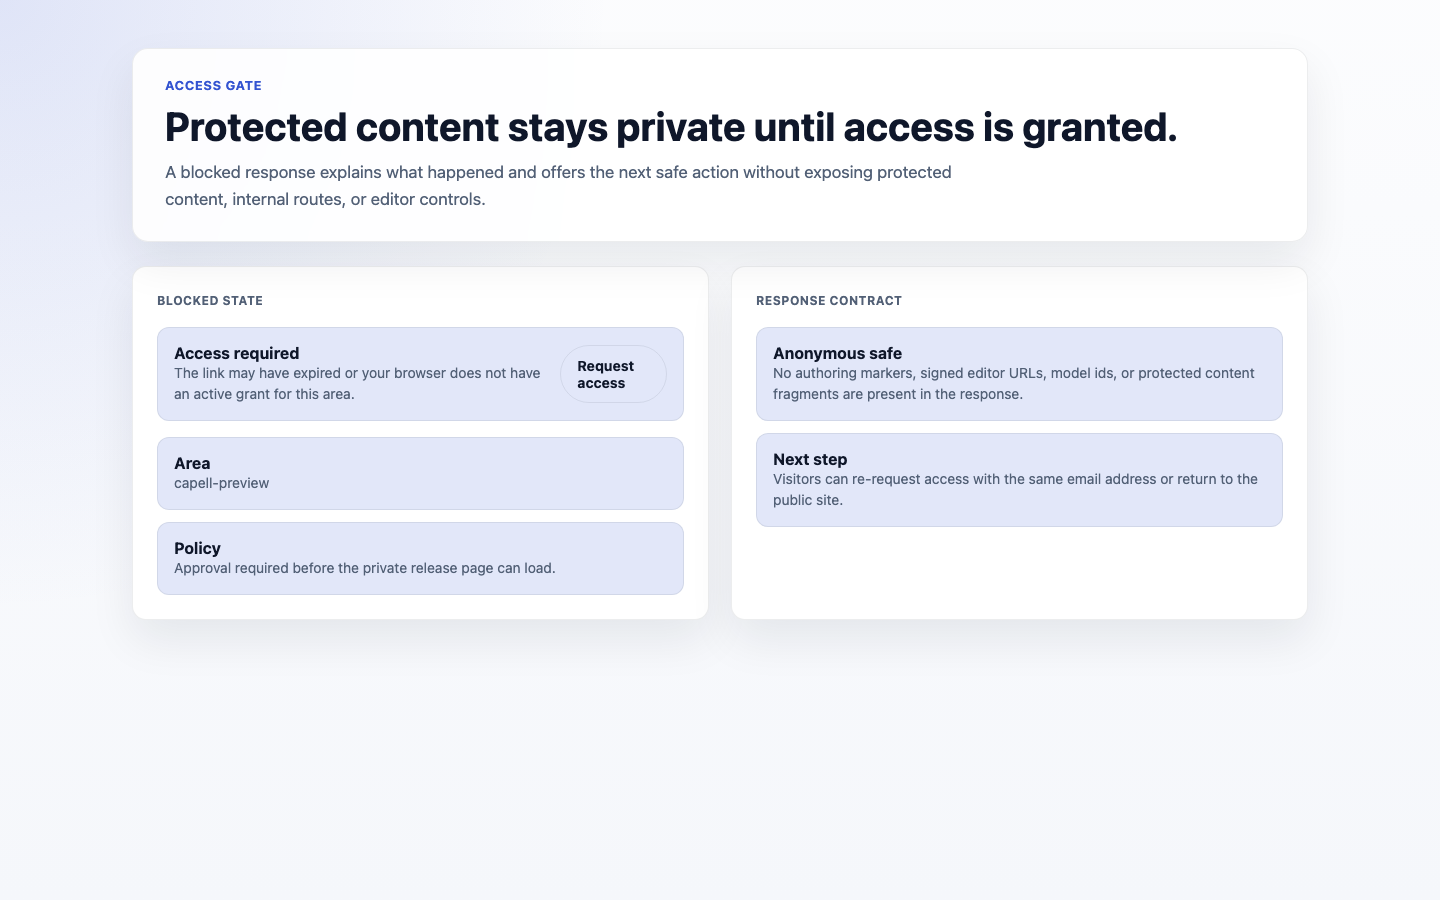
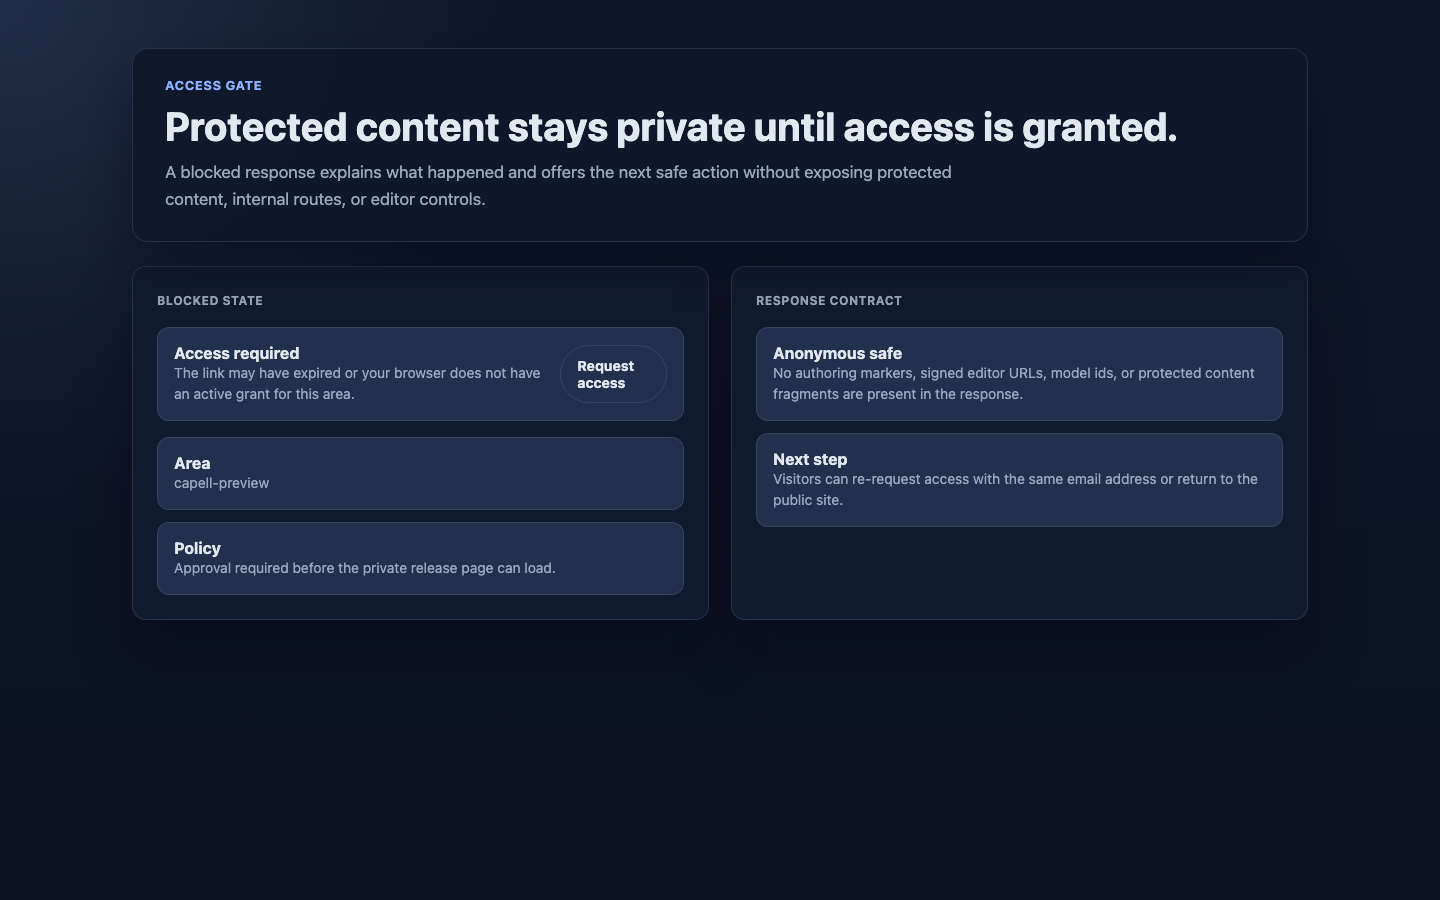
A blocked message, shown instead of the protected content when they do not have access.
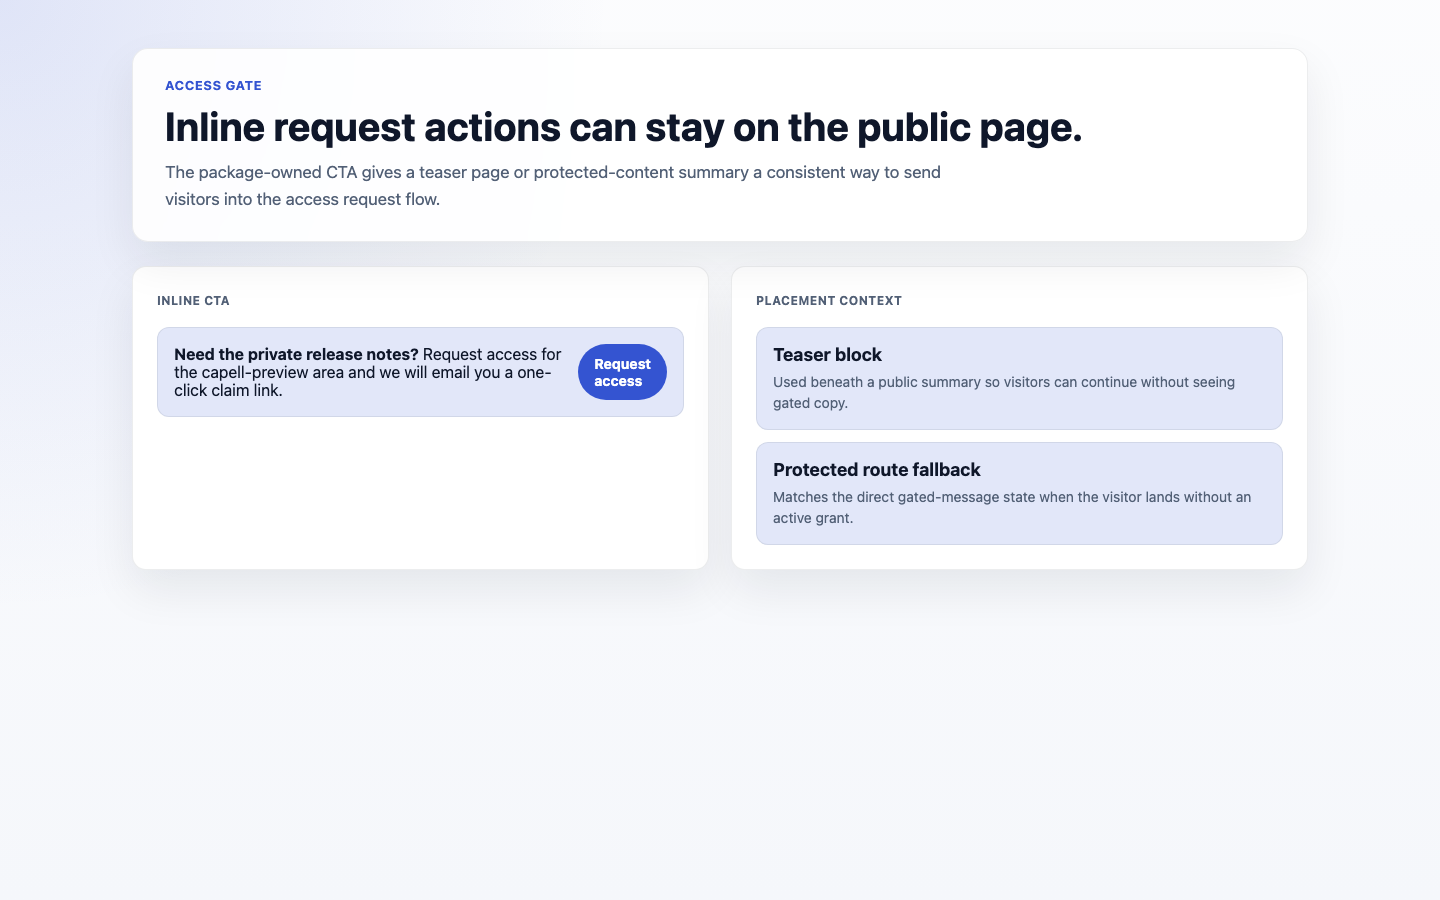
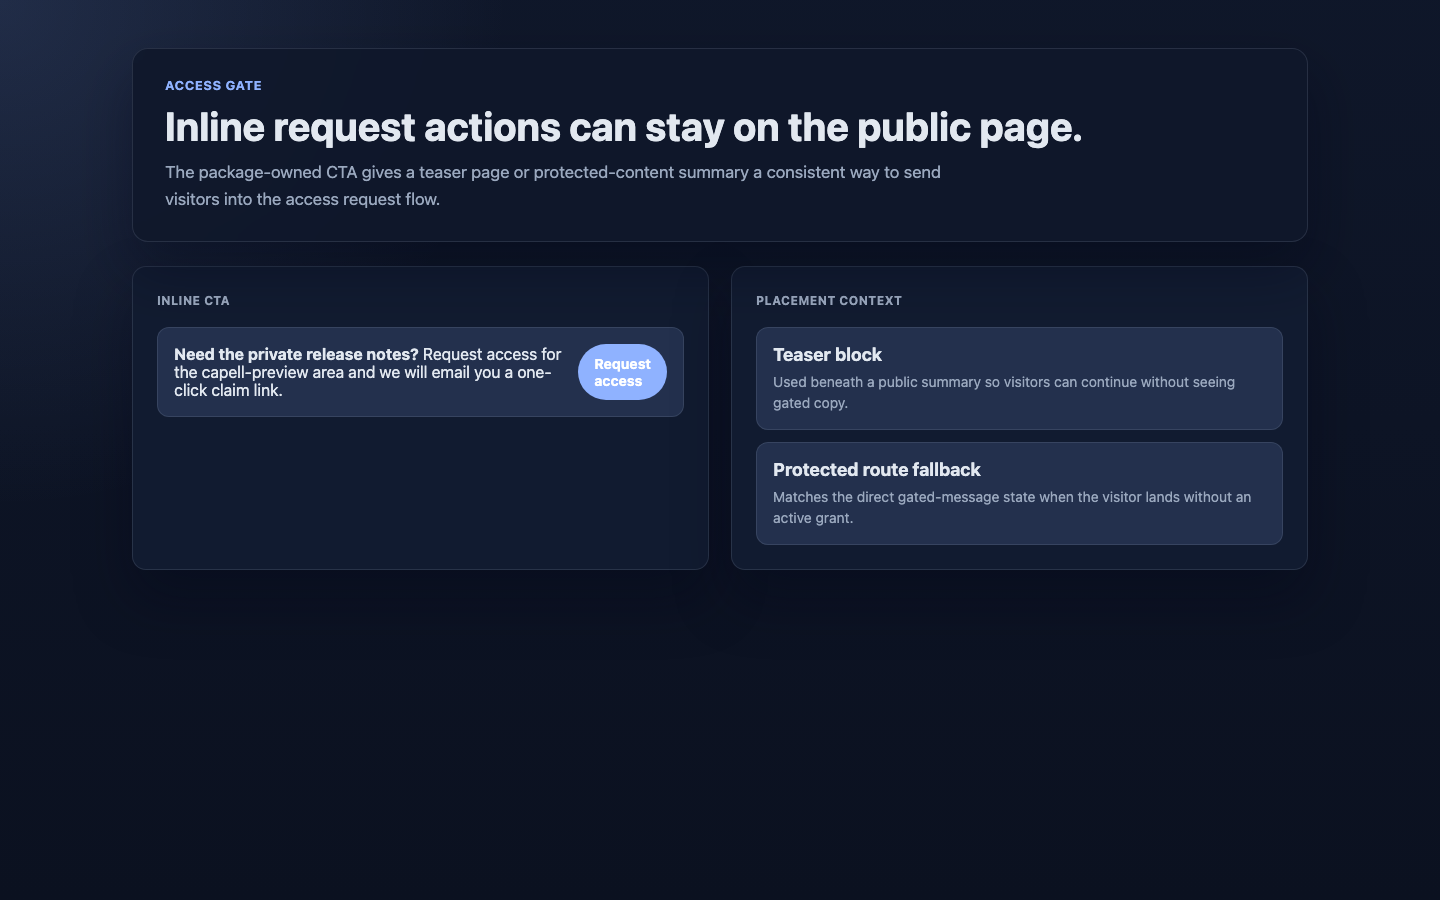
An inline request button on a protected page or teaser, which sends them into the request flow.
One access area, set to manual approval. Start with a single protected area where you review every request by hand. Get comfortable approving and rejecting before you open anything wider.
Need Use Exempt a specific public path from the gate The Public allowlist on the area Open and close access on a timetable Gate opens at and Gate closes at Cap how many people can be admitted The Approval limit Control how long access lasts The Token policy and Grant duration days
Role First useful screen Site owner Workflow > Access Gate > Access areas : set up and review protected areasReviewer Workflow > Access Gate > Registrations : approve and reject requestsSupport Workflow > Access Gate > Claim links and Audit events : check links and history
What you see What it means What to do A request is stuck as pending No one has reviewed it yet, or the area’s approval limit is full Open Workflow > Access Gate > Registrations , approve or reject it, or raise the Approval limit Someone says their approval link did not work The link was never claimed or has expired Check Workflow > Access Gate > Claim links for its status, then use Resend claim link on their registration Resend claim link says there is no active grant The grant behind the link is gone Approve the registration again to issue a new link Someone still has access you wanted to remove Their grant or browser session is still active Use Revoke in Workflow > Access Gate > Grants , and in Browser sessions if they were on a specific device A visitor sees the blocked message when they should not They have no active grant for that area Check Grants for their access, and confirm the area’s Status and schedule You cannot tell what happened to a request The events are spread across several actions Open Workflow > Access Gate > Audit events and read the history for that person or area