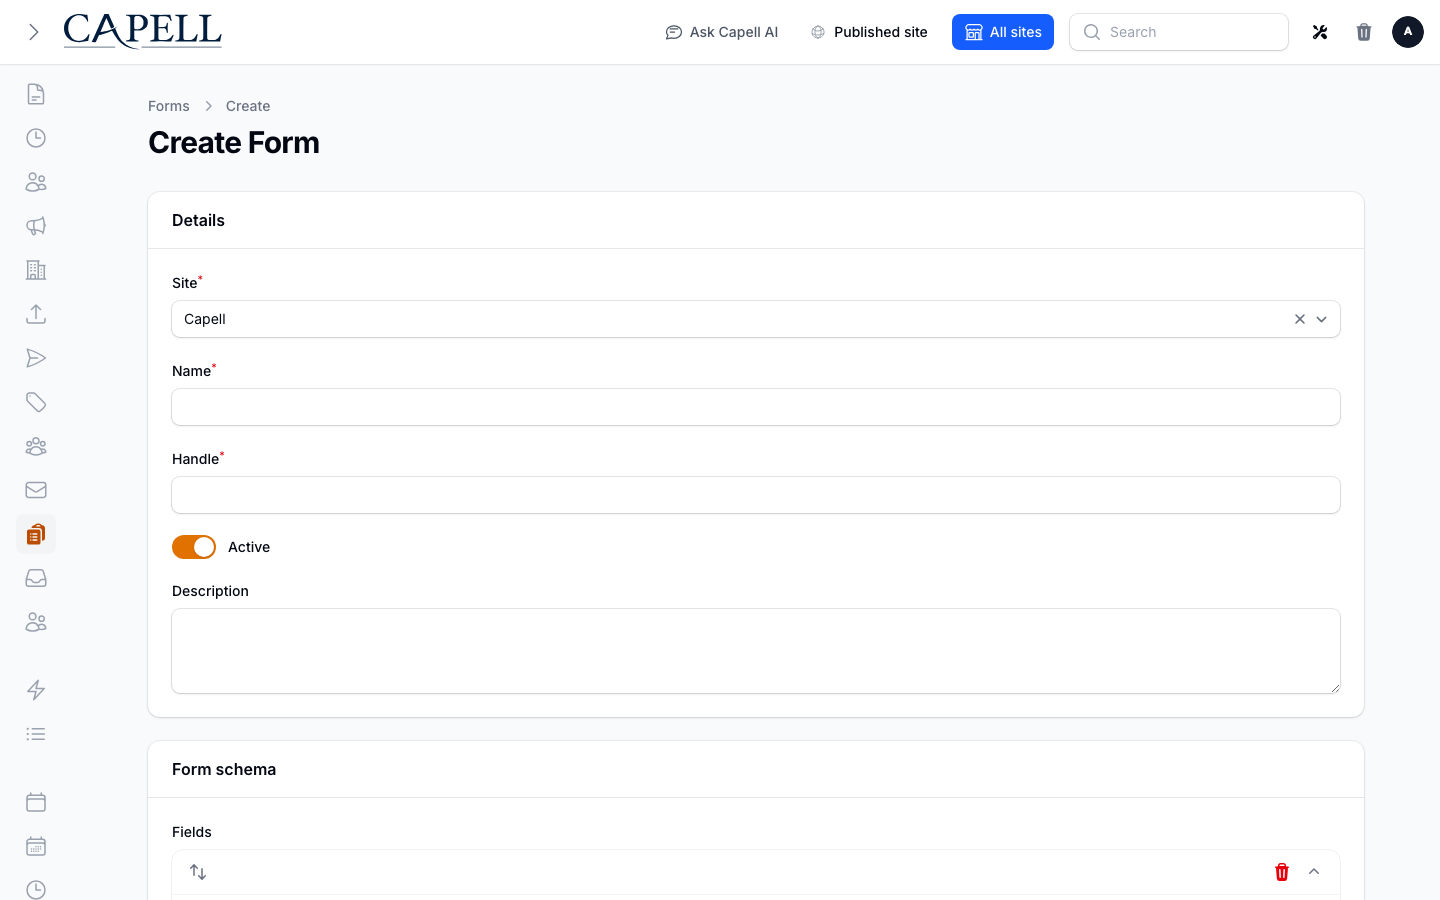
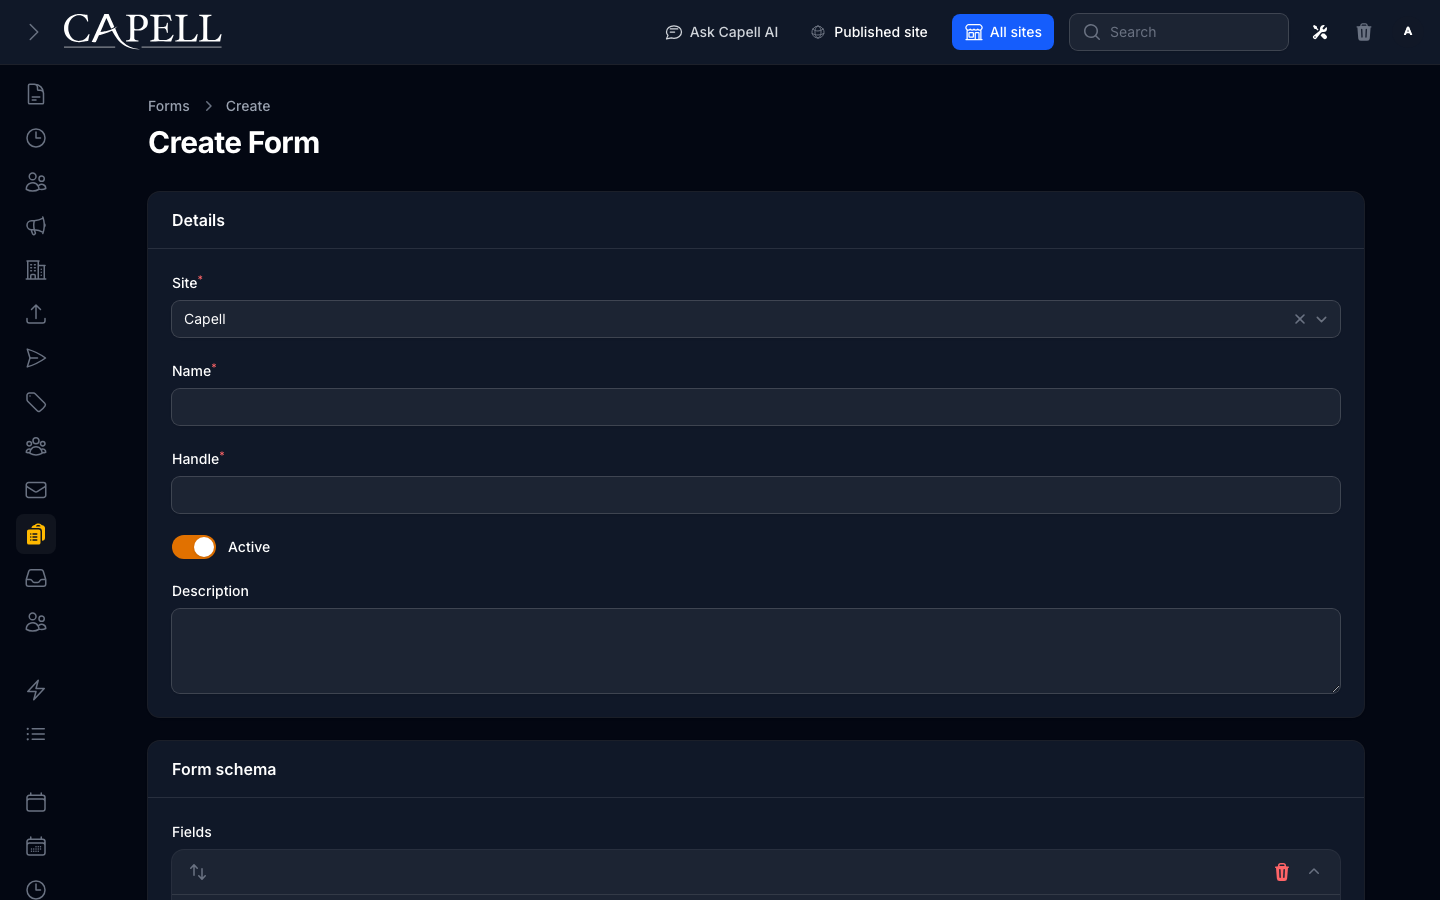
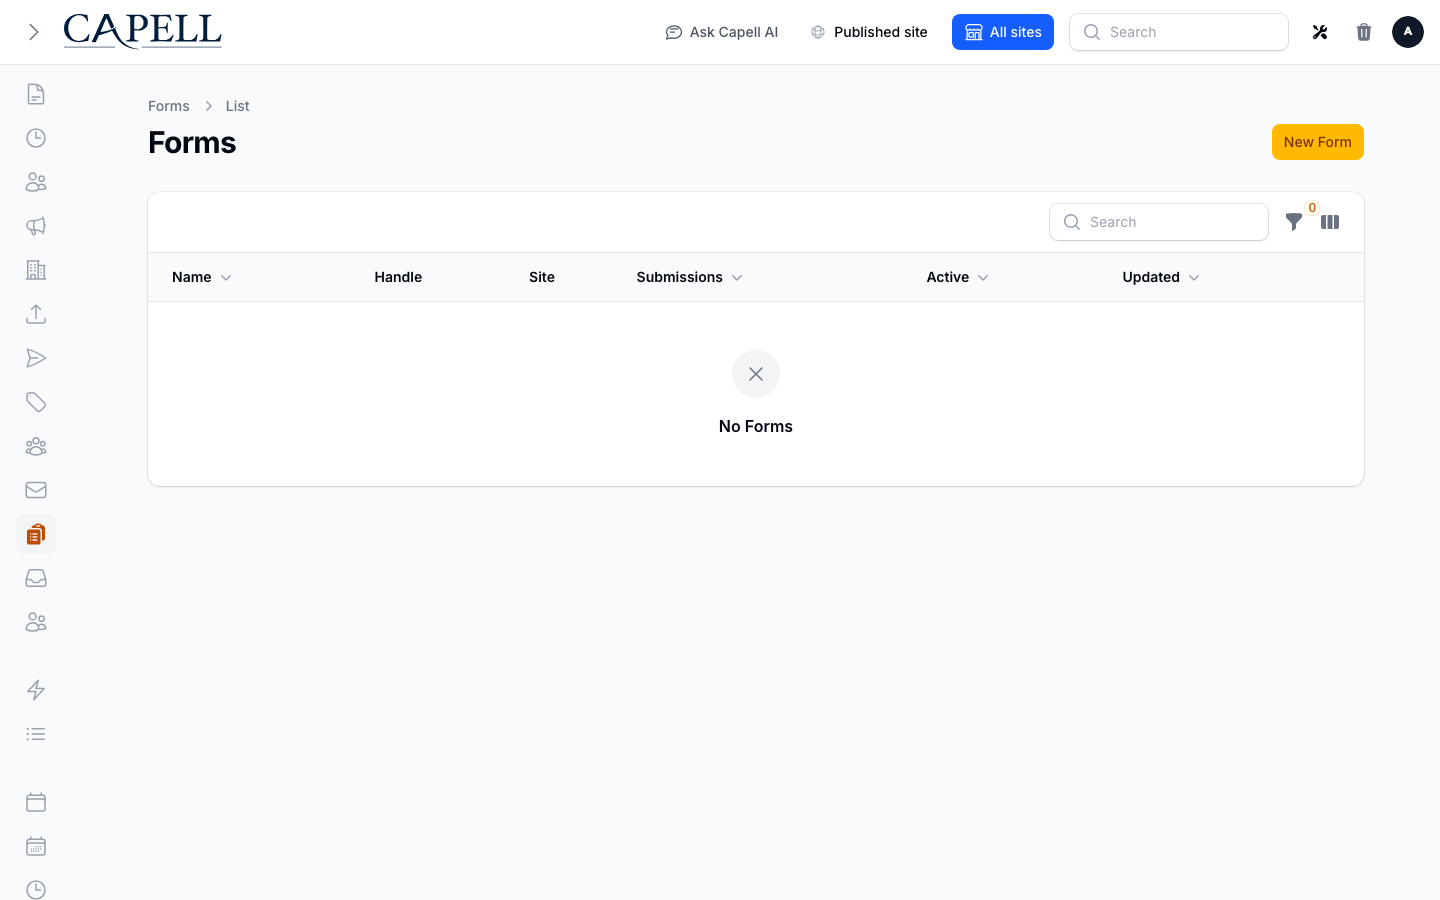
Open Marketing Studio > Forms and create a new form.
Choose the Site, give the form a clear Name, and enter a unique Handle for the frontend component to resolve.
Add fields by choosing each one’s Key, Label, and Type (text, email, select, and so on). Reorder the schema entries when their public order needs to change.
Mark the fields people must complete as required.
Set validation and form settings such as Store submissions, Notification email, autoresponder, success message or redirect, and webhook URL as needed. Leave Active on only when it is ready for visitors.
In a compatible frontend/page surface, add Form Builder’s form element or component.
Configure it with the form’s Handle (or numeric ID) and save the page or layout.
Check the public page on the same site. The element renders only an active form resolved for that site; an inactive, missing, or cross-site handle shows its fallback instead.
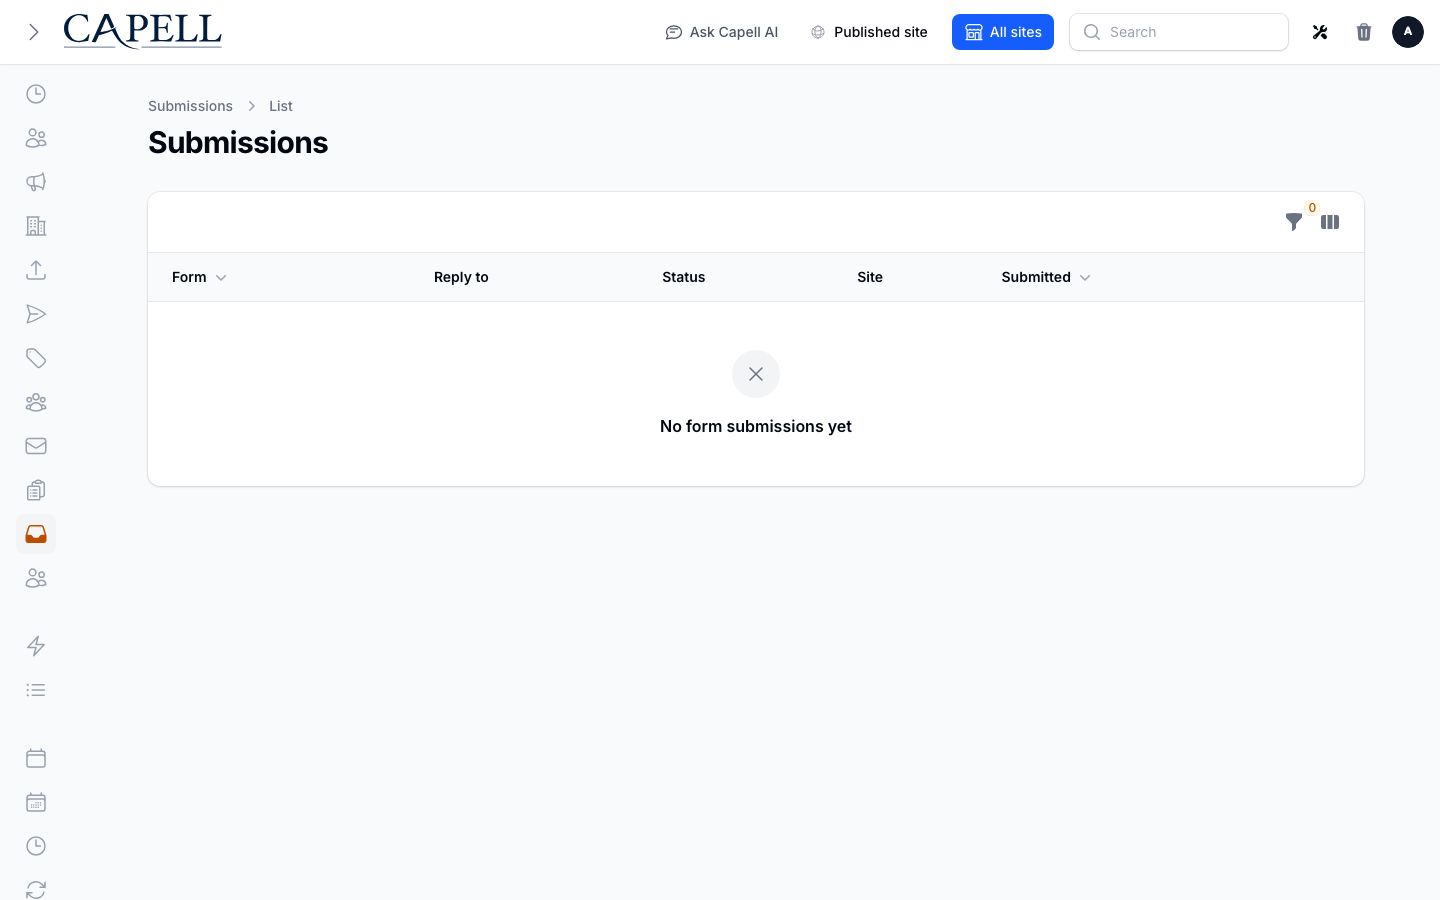
Triage entries that are New, Read, Spam, or Archived.
Choose View payload on an entry to inspect the stored submitted fields.
Use Mark read, Mark spam, Archive, or the legal-hold action as appropriate. Reply is available when the system can resolve a reply email address from that submission.