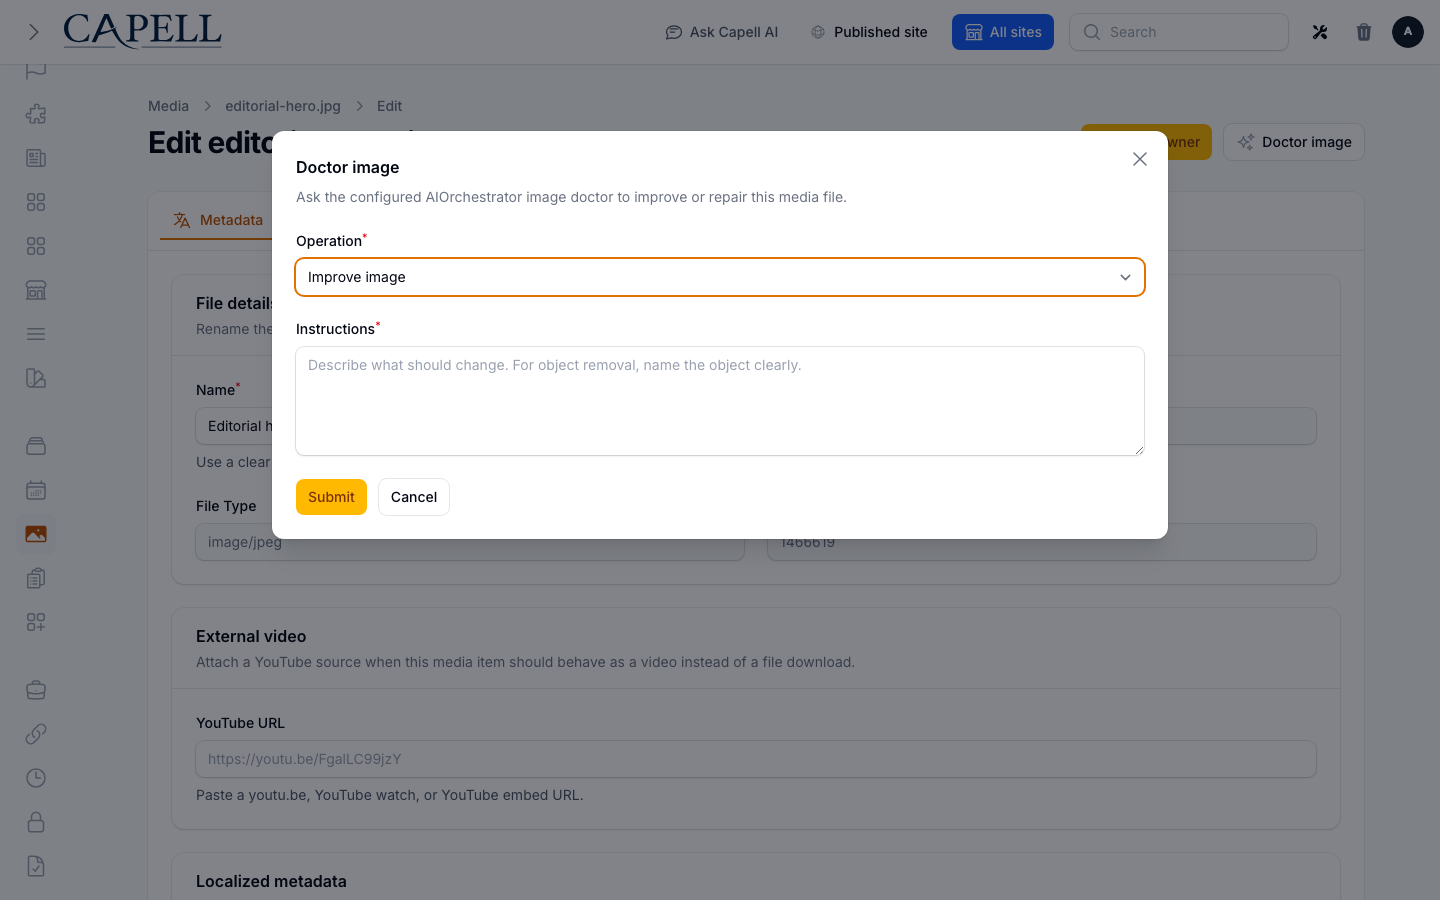
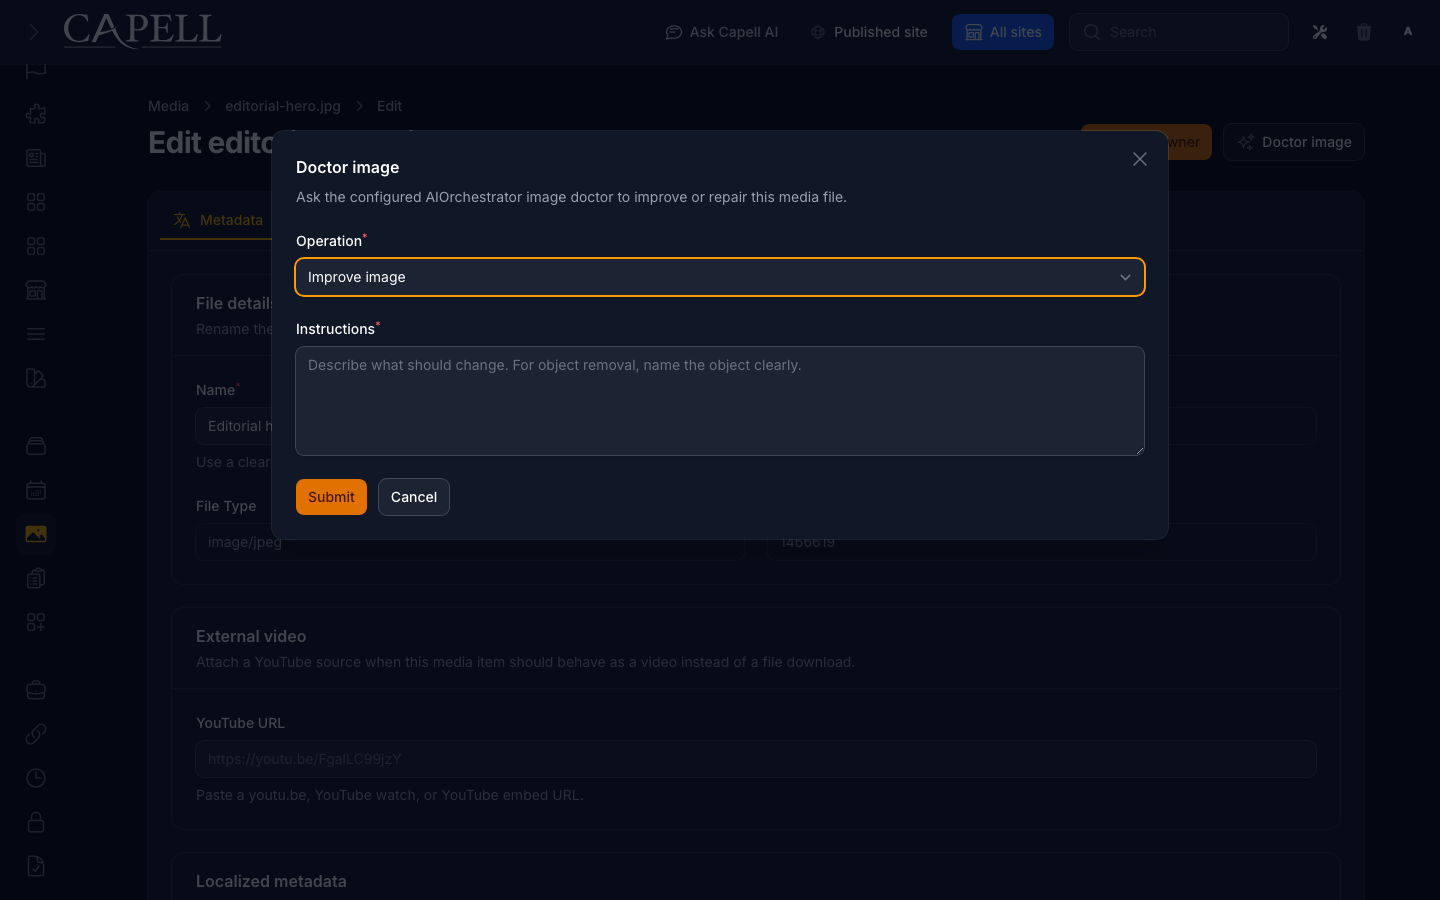
This guide is for editors who want to improve images in the media library. No technical knowledge needed. Every step uses the labels you see on screen. Media AI adds a single tool, Doctor image, to an image’s edit page. You ask it to make a change, it works in the background, and you decide whether to keep the result.
In Instructions, say what should be preserved as well as what should be removed (for example, “Remove the background and keep the product edges sharp”). Instructions are required for every operation.
After you confirm, you may see a message that the request has been queued. This means it is running in the background.
Give it a moment to finish. You do not need to stay on the page.
If the provider returns image output, Media AI adds it as a separate media item in the same collection; it does not replace the original image.
Reopen the media library to inspect the generated item before using it. The Doctor can also update the original image’s localised alt text or caption when the provider returns that metadata.
The image doctor connection. Media AI only works once an image doctor is set up through your AI tooling. Until then, the Doctor image button stays hidden. Get this connected first, then let editors try it on a few images.