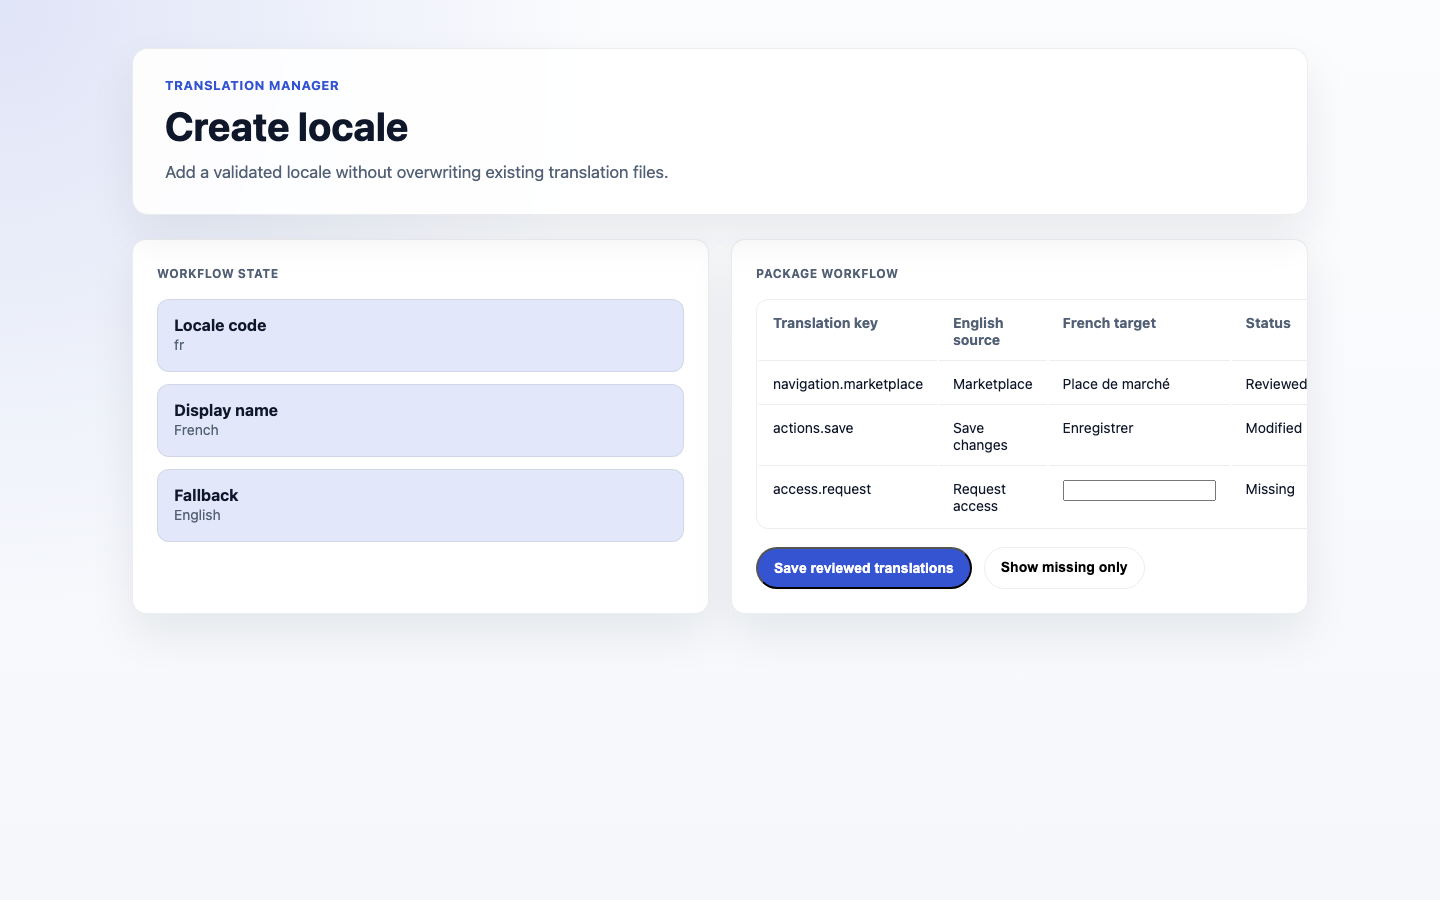
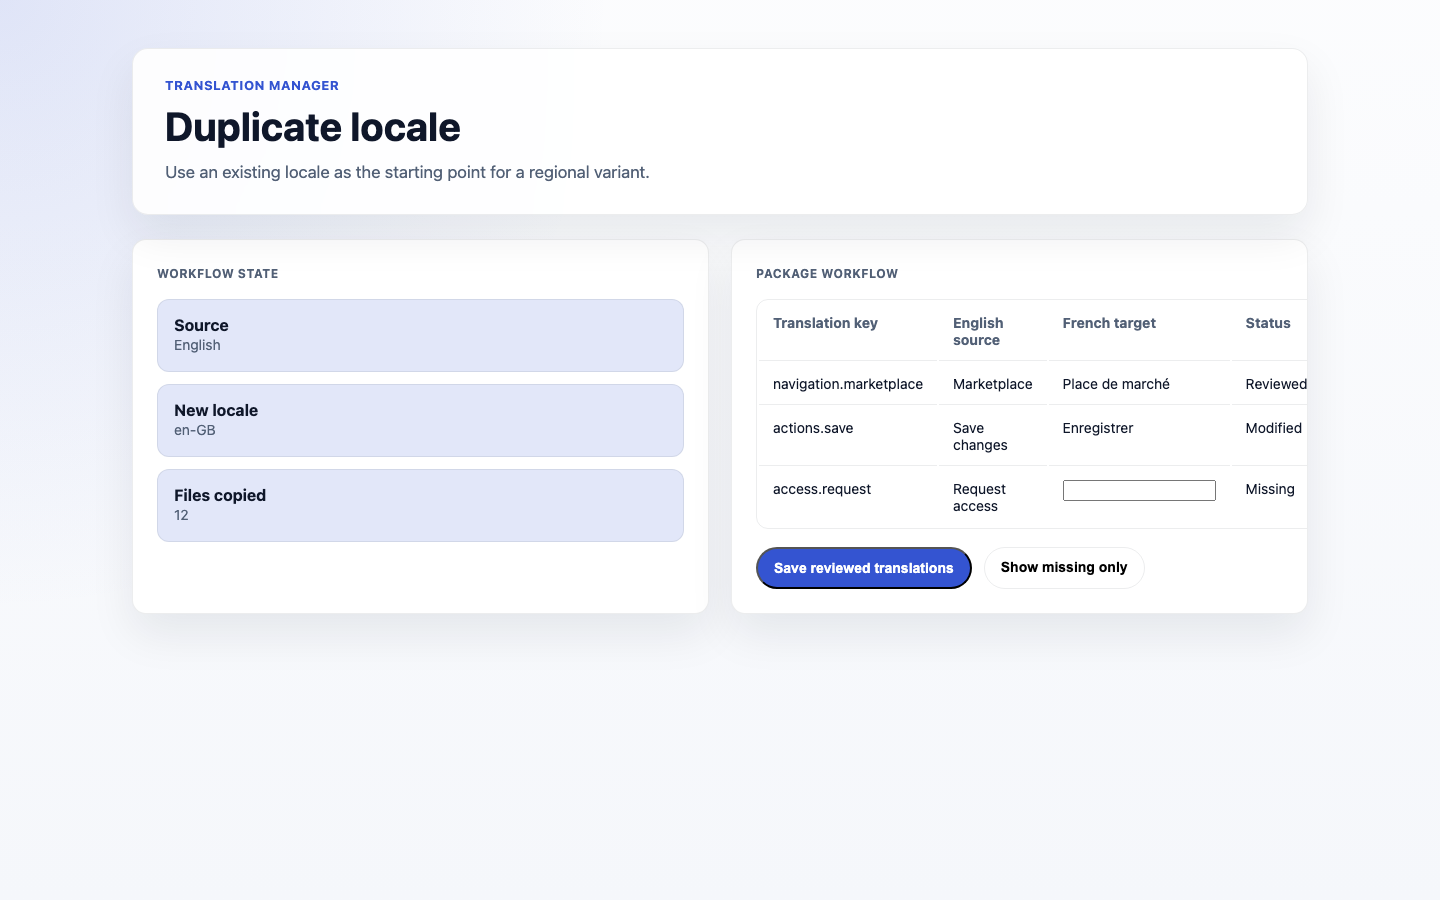
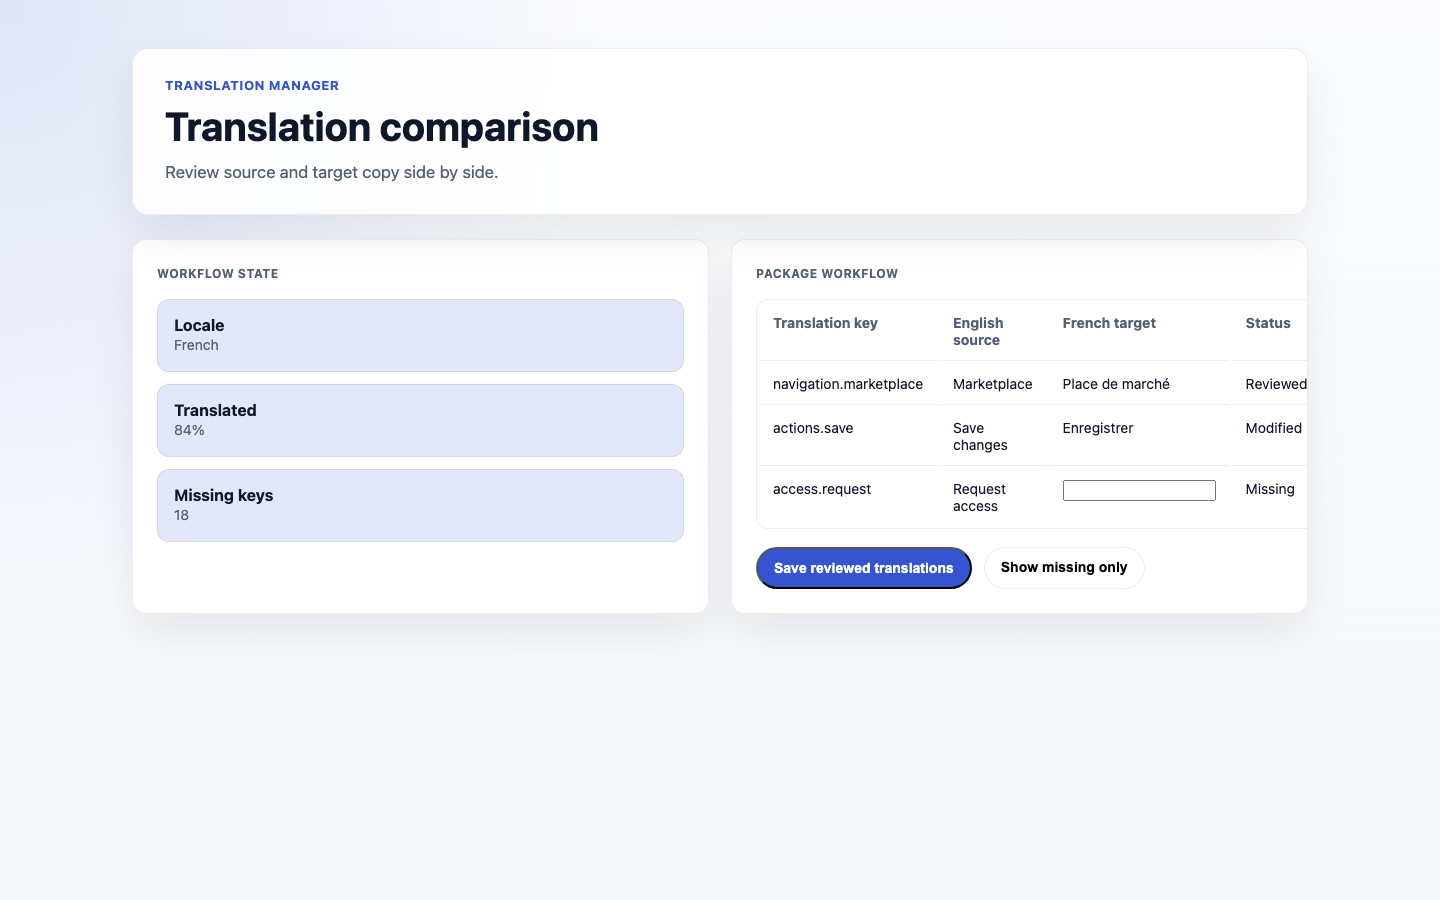
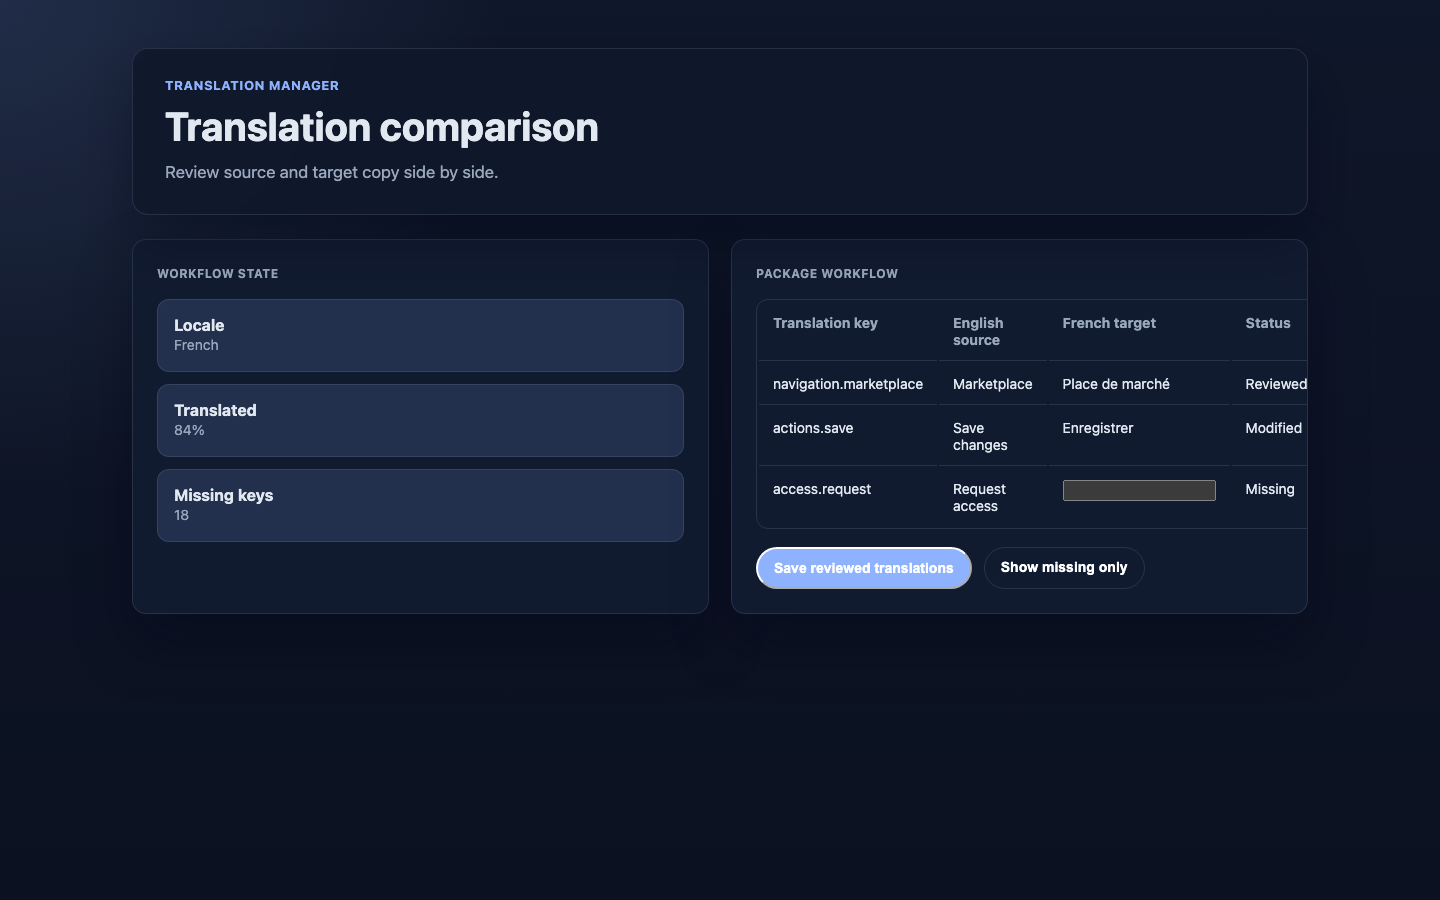
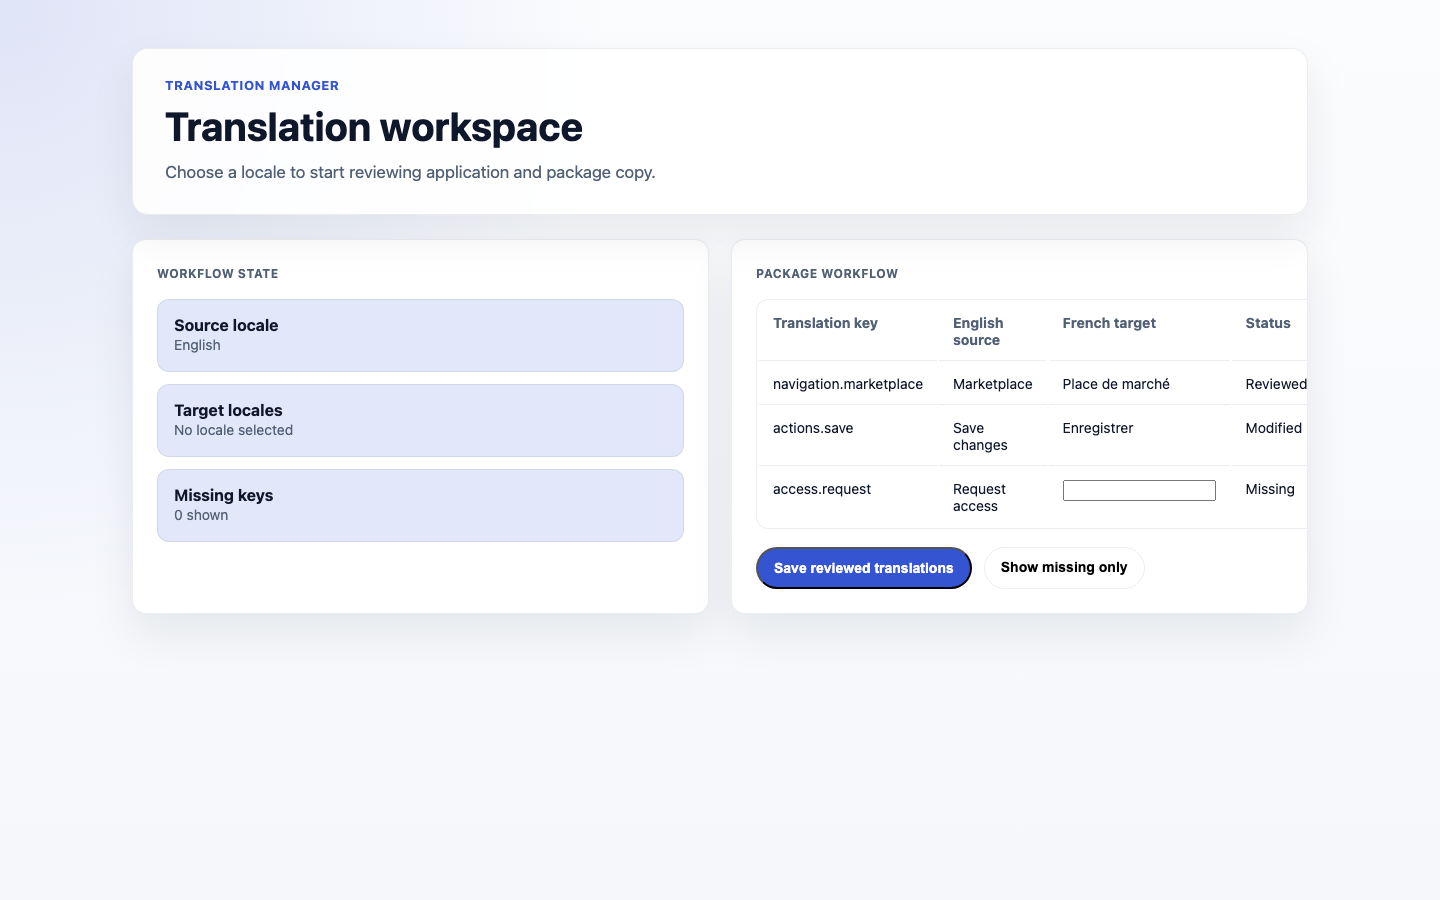
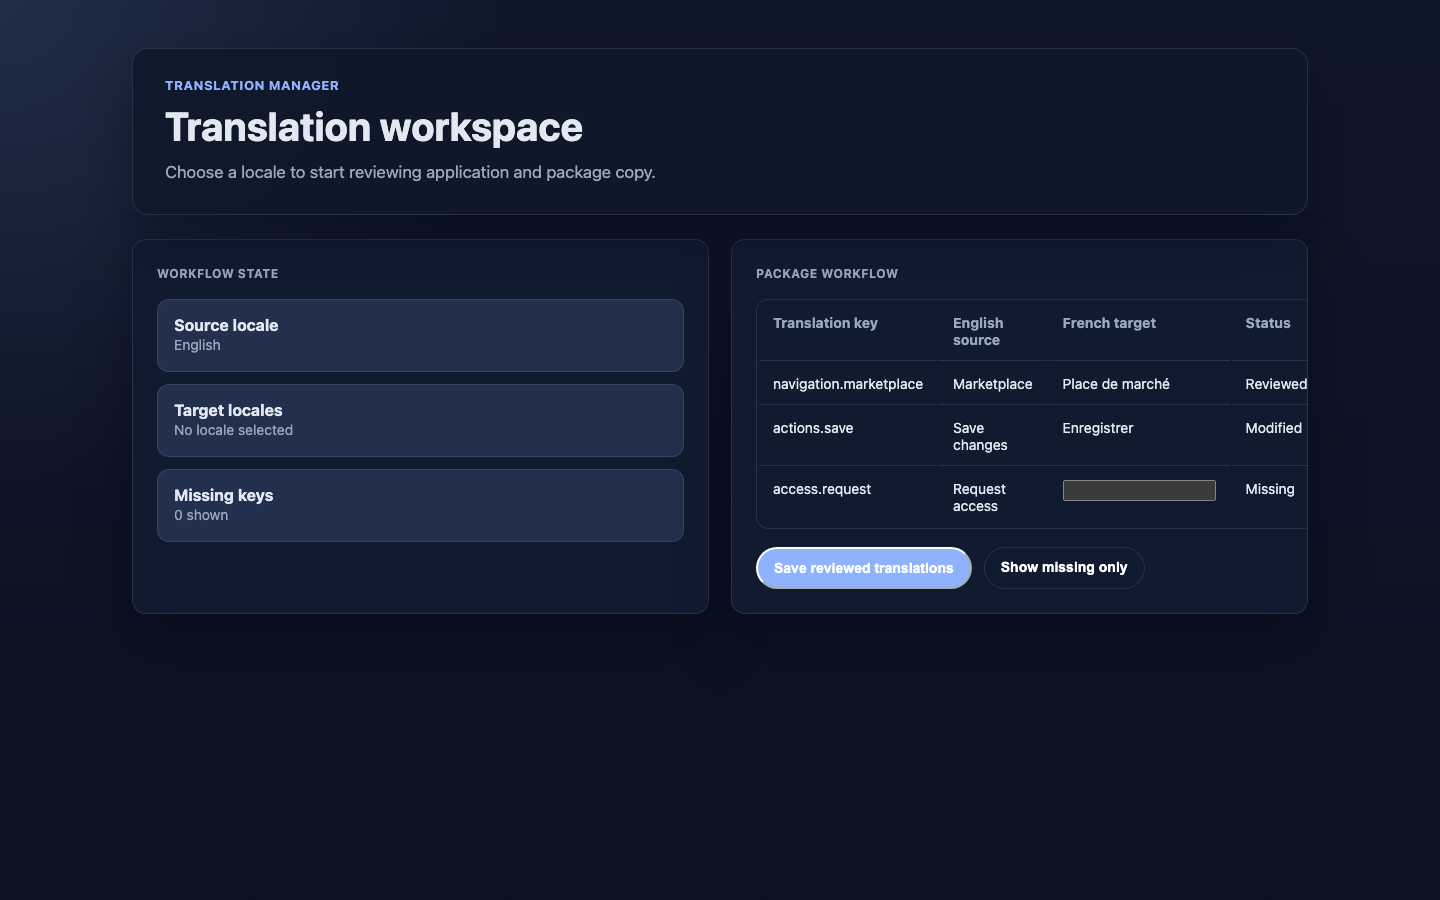
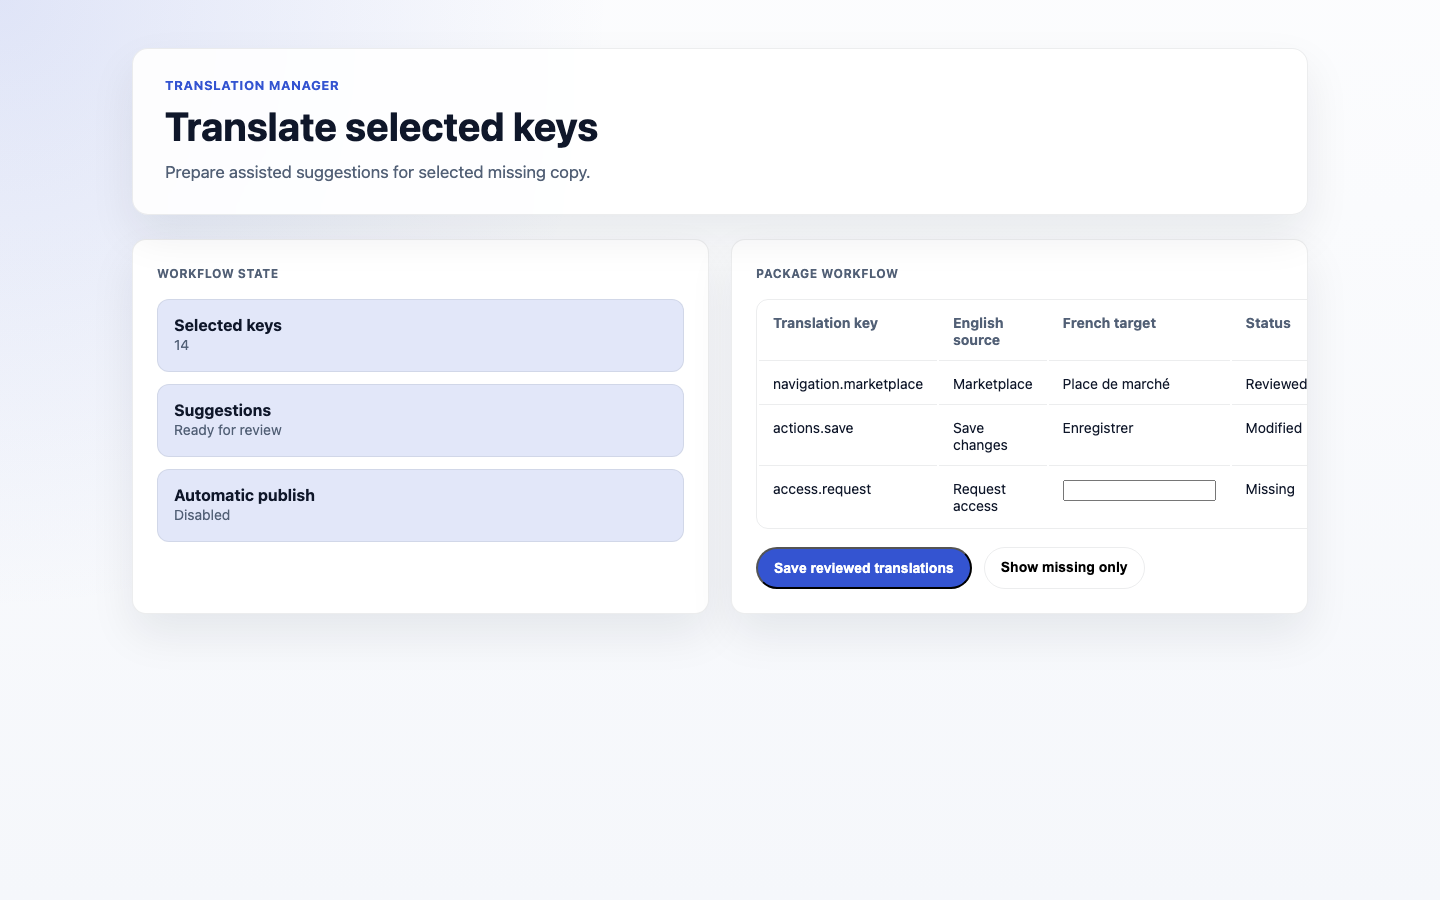
Go to Translation Manager and choose Translate into for the locale you want to complete.
Review the locale work queue. It shows Missing, Stale, Changed, Extra, Fallback, and Ready counts.
Click Continue translating to open the next actionable file and key. The order is stable: missing, stale, then changed, followed by file and key order.
File work starts at Needs attention. Use Advanced filters and tools when you need to inspect complete entries or specialist source/file controls.
Open Advanced filters and tools and use the Missing filter, or keep the default Needs attention view.
It shows the content that has no translation yet in your locale. When nothing matches, the source, locale, file, and filter controls stay on screen so you can change your view.
Open Advanced filters and tools, then use Translate selected to draft target values for them. This is available when an AI translator is set up for your site.
Review every suggestion, then accept or reject it individually.
First choose the Translate into locale. Open Advanced filters and tools when you need a Source, Source locale, or translation File.
To bring in translations for that selected file, use Import translations, choose CSV, PO, or XLIFF, then paste the translated contents into the form.
To send out that selected file, use Export CSV, Export PO, or Export XLIFF.
Save this file is the primary action. The page shows the number of unsaved entries and offers Save and continue, Discard and continue, or Stay here before locale, source, or file navigation.