
Using Address
This guide is for admins who keep the shared list of countries and postal addresses tidy, so other parts of Capell can reuse them instead of re-typing the same location everywhere. No technical knowledge needed. Every step uses the labels you see on screen. Both screens live under the Web Pages group in the admin sidebar.
Using Address (how-to)
Section titled “Using Address (how-to)”How to review available countries
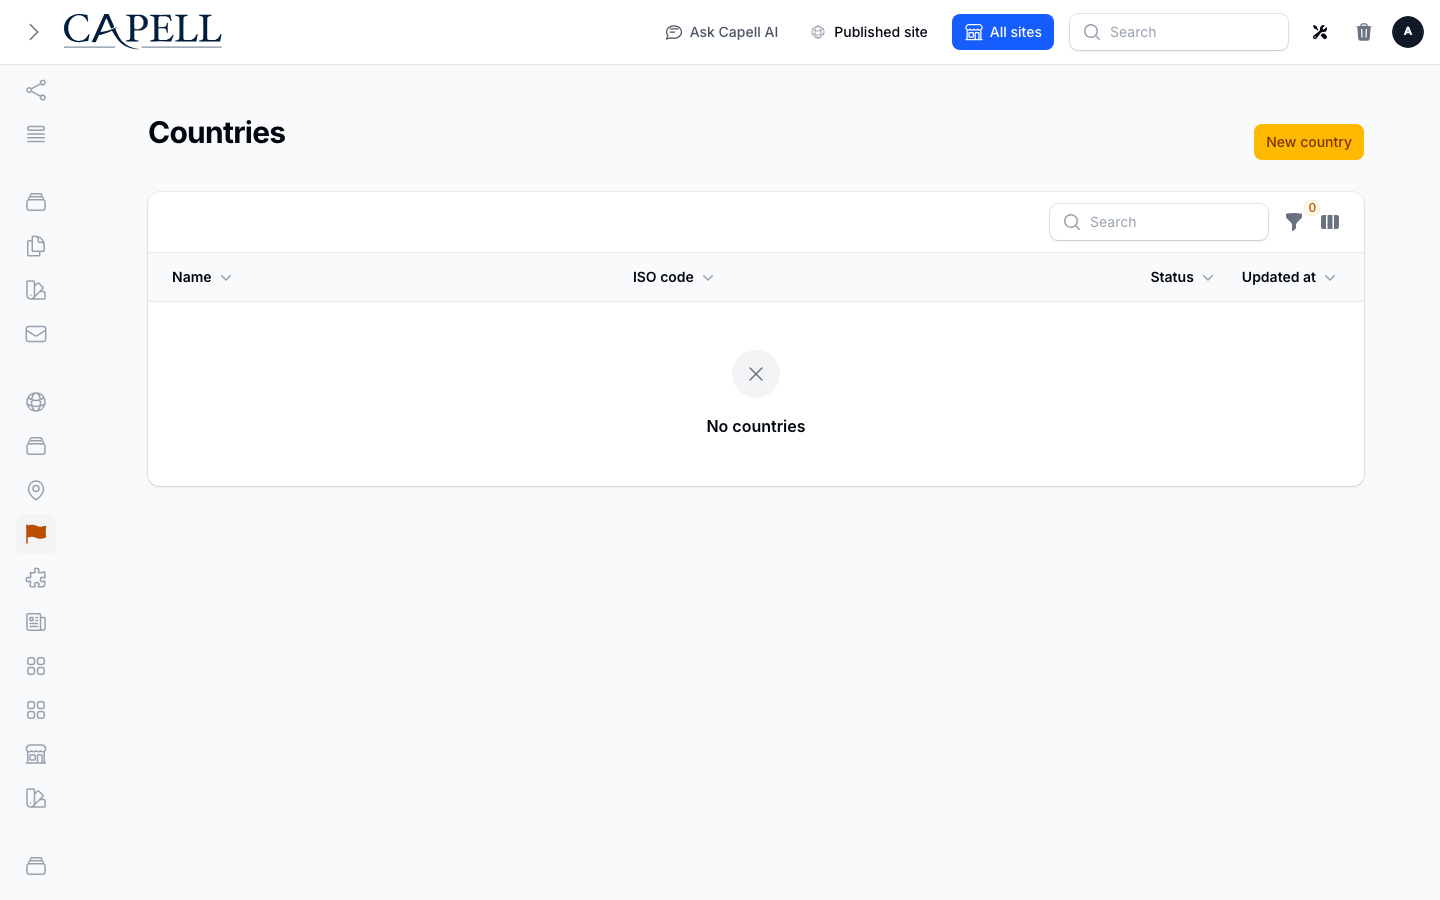
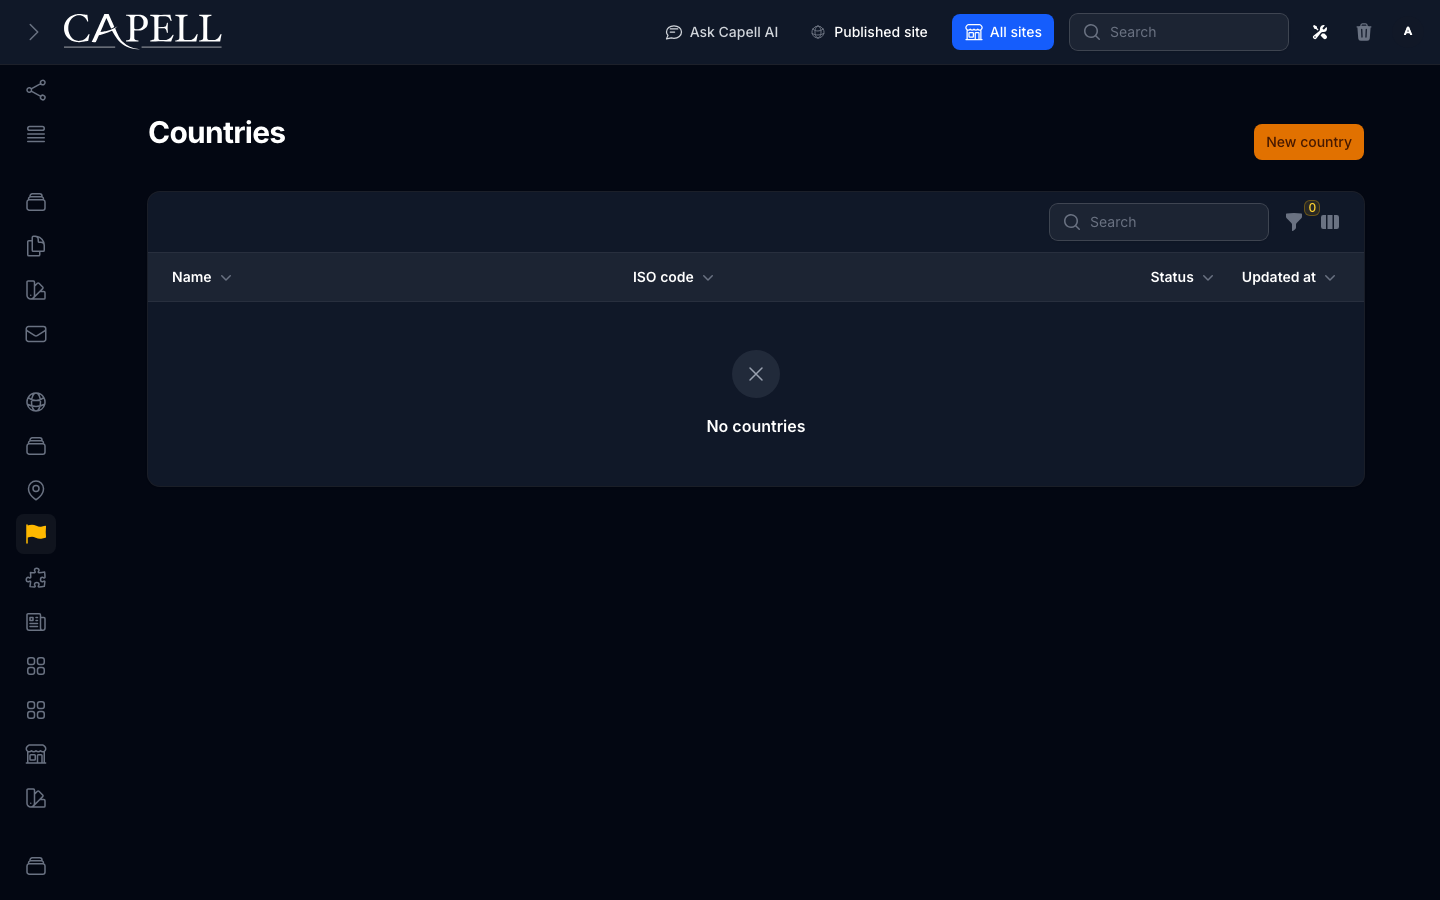
Section titled “How to review available countries”- Go to Web Pages > Countries.
- The list shows each country with its ISO code and how many Addresses use it.
- Check this before you rely on country and address pickers elsewhere, so the country you need is present.
How to add or correct a country
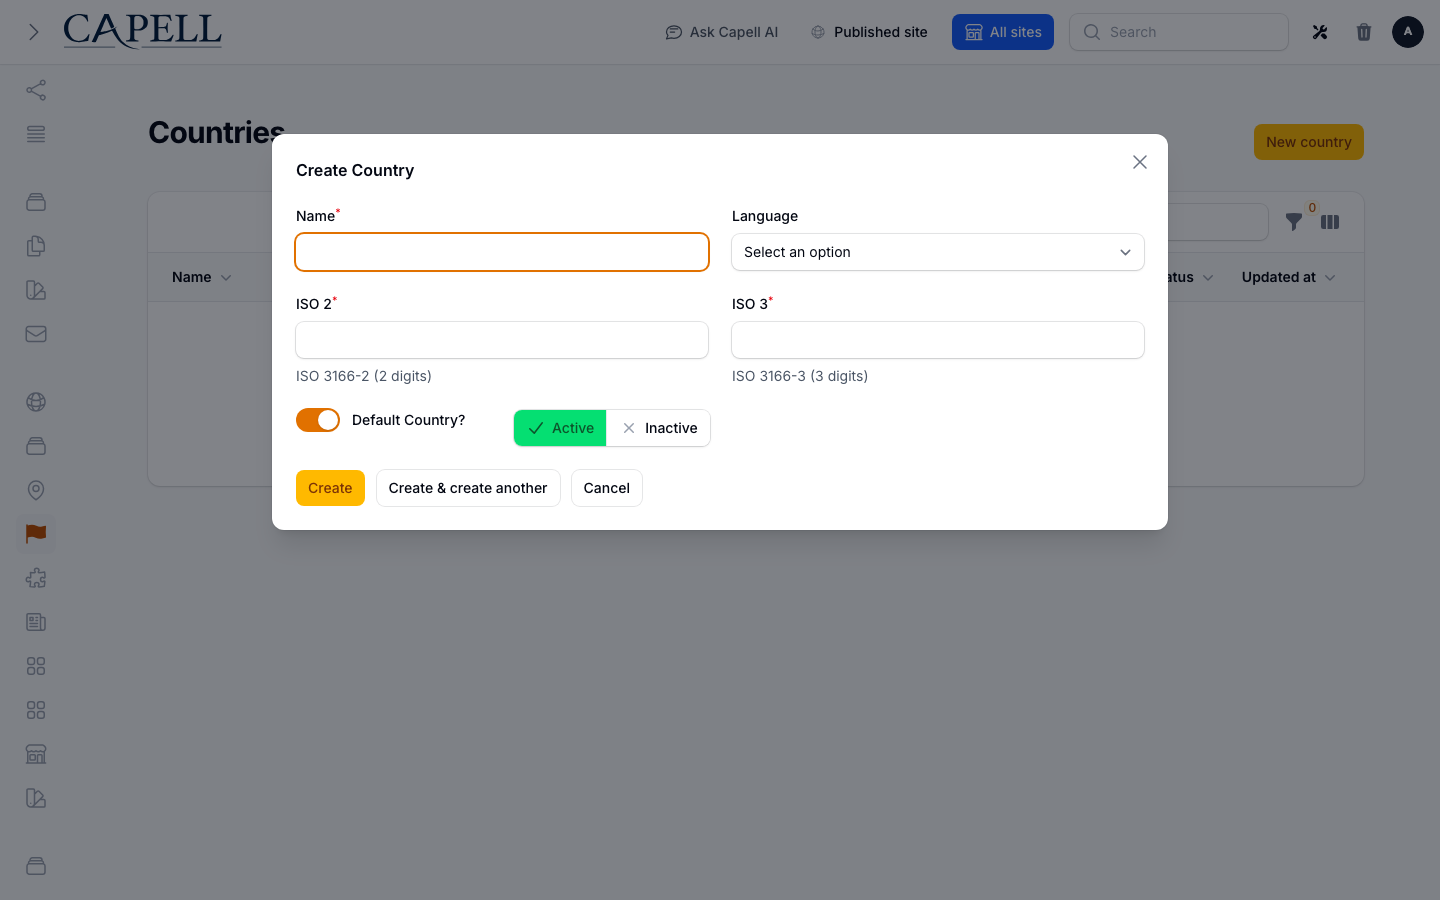
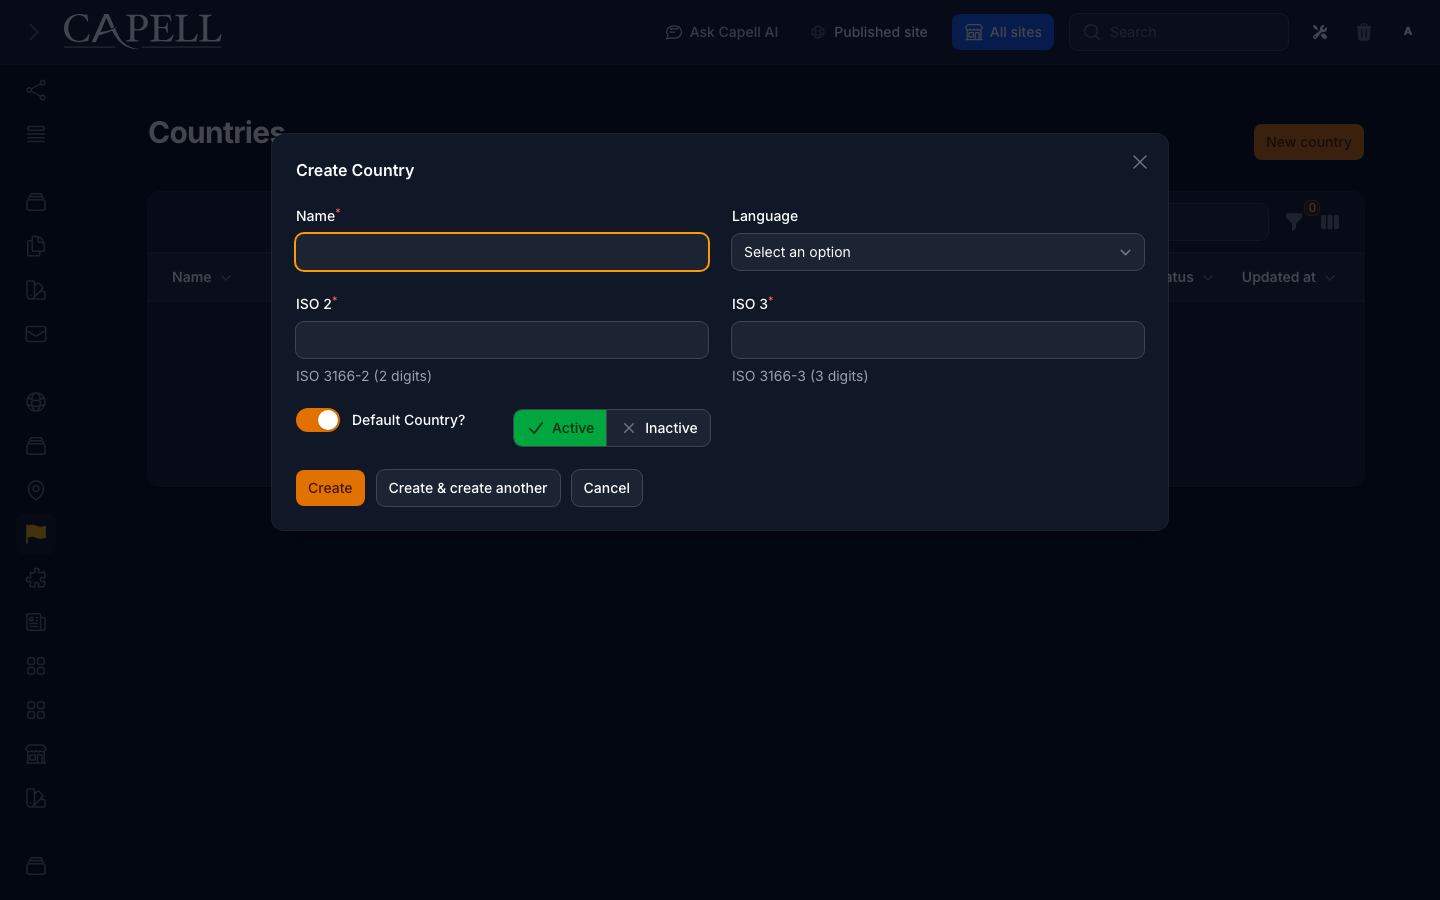
Section titled “How to add or correct a country”- Go to Web Pages > Countries and start a new country (or open an existing one to fix it).
- Fill in the Name.
- Enter the ISO 2 and ISO 3 codes for the country.
- Save the country.
How to review saved addresses
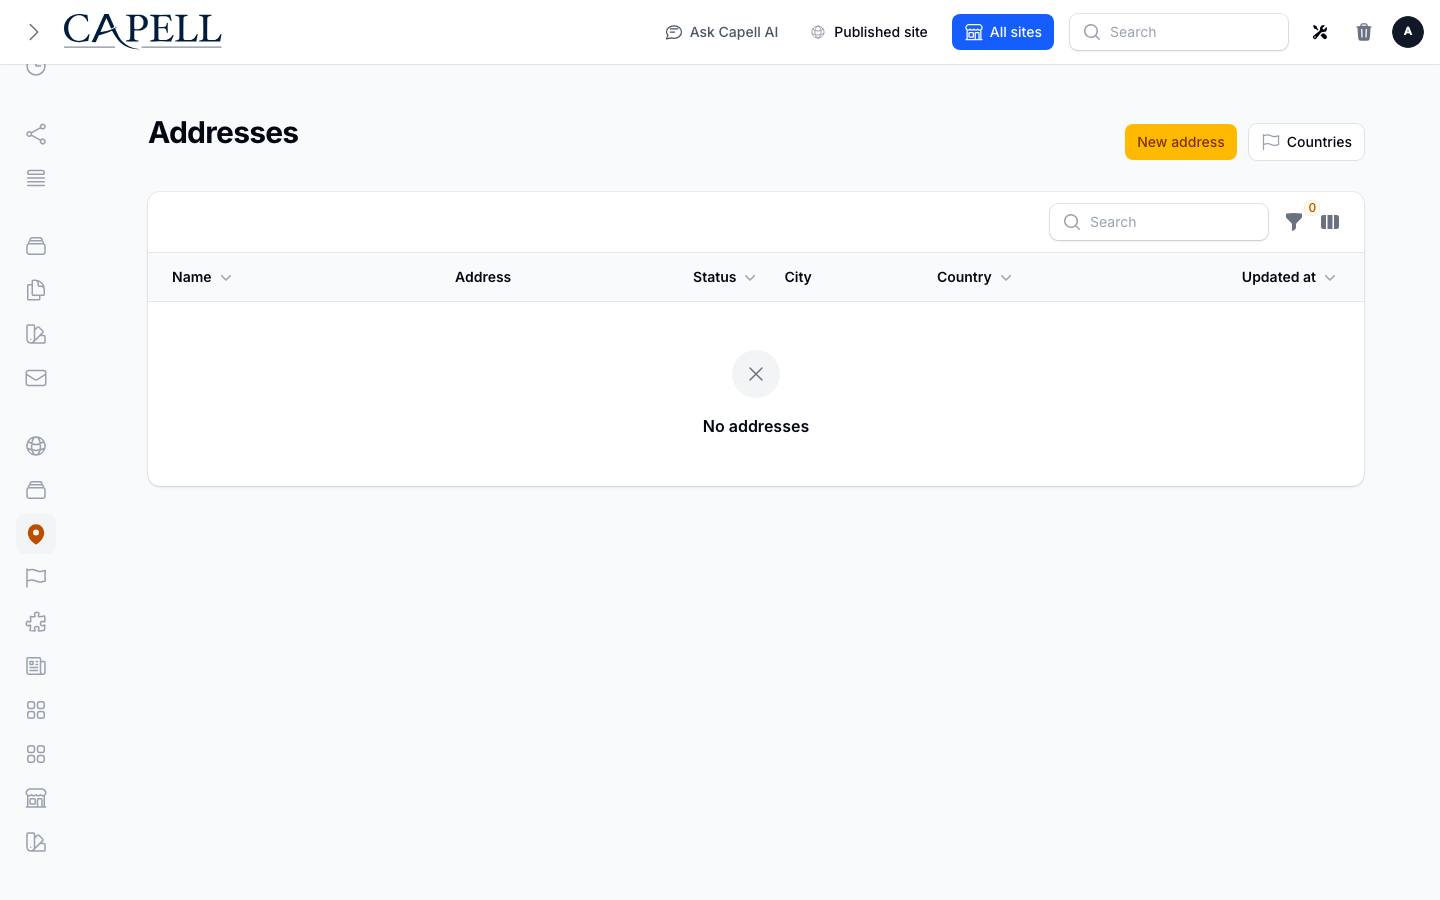
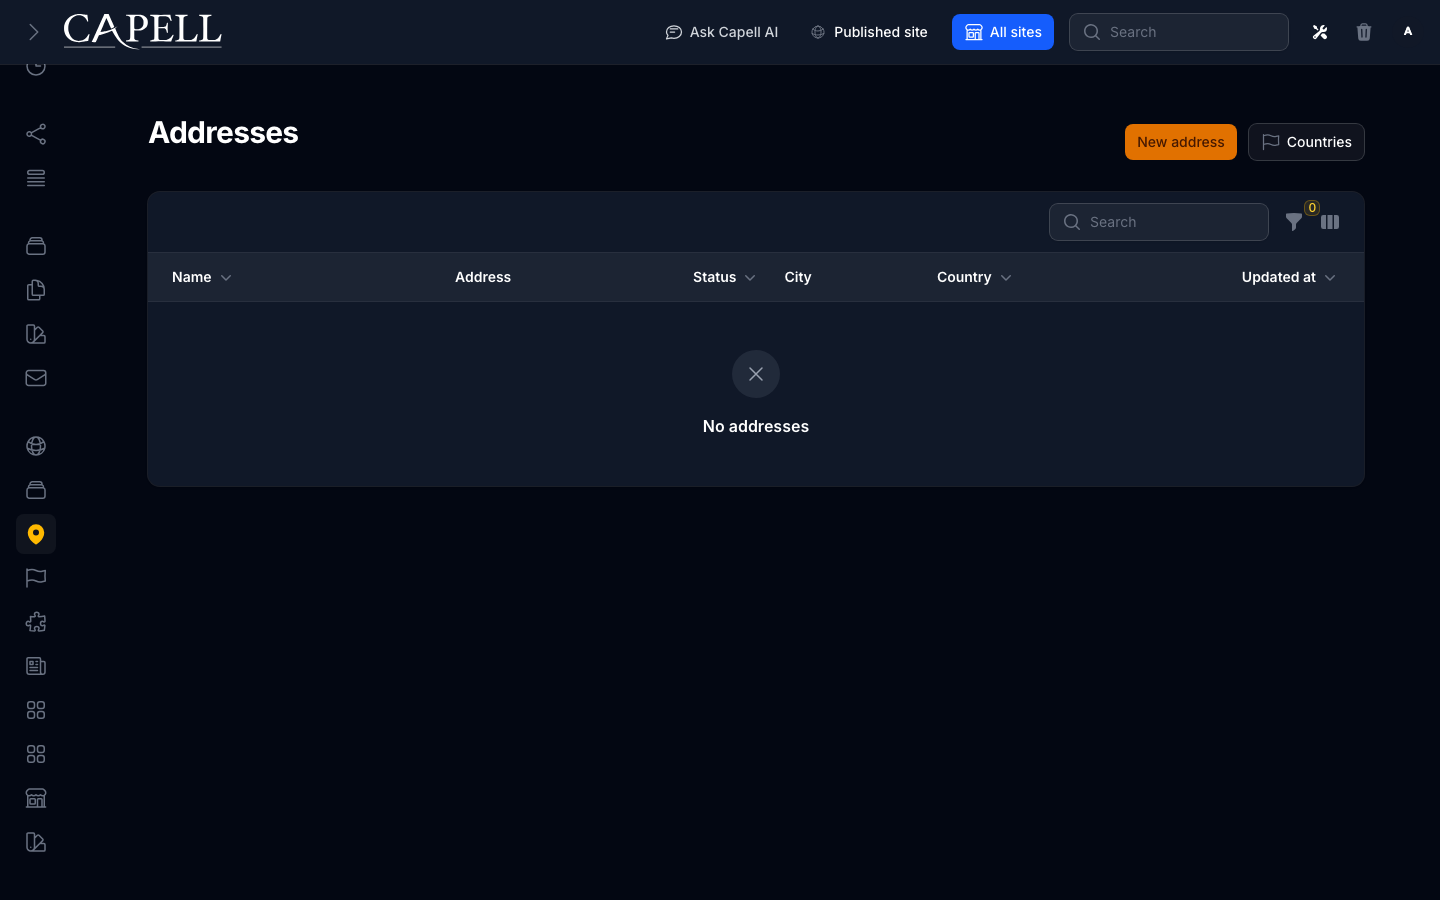
Section titled “How to review saved addresses”- Go to Web Pages > Addresses.
- The list shows each address with its City, Postal code, and Country.
- Use this screen to find an address you have already saved, or to spot one that needs correcting.
How to create a reusable address
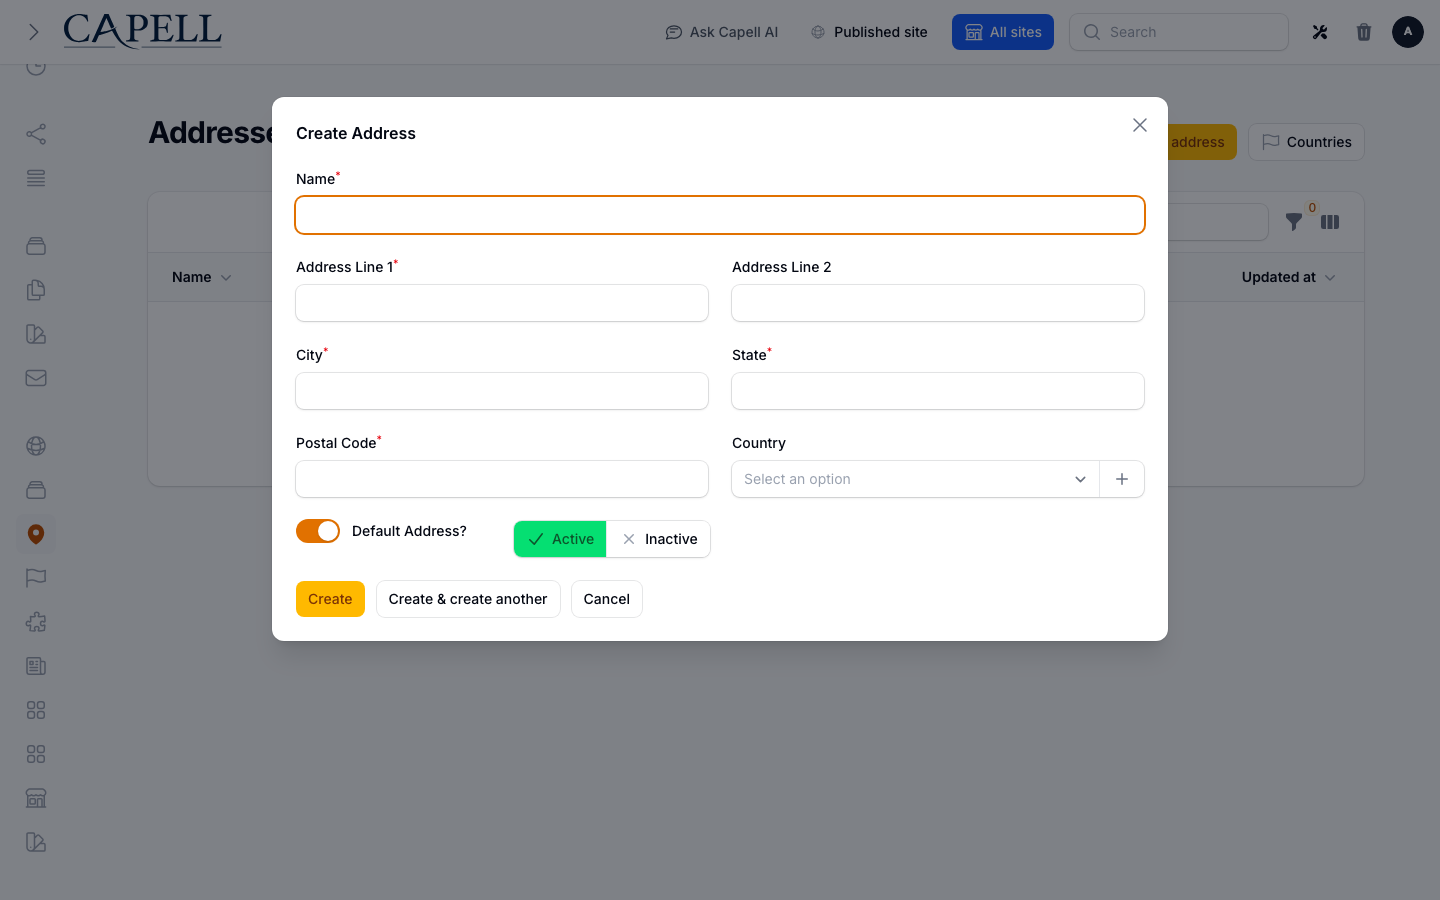
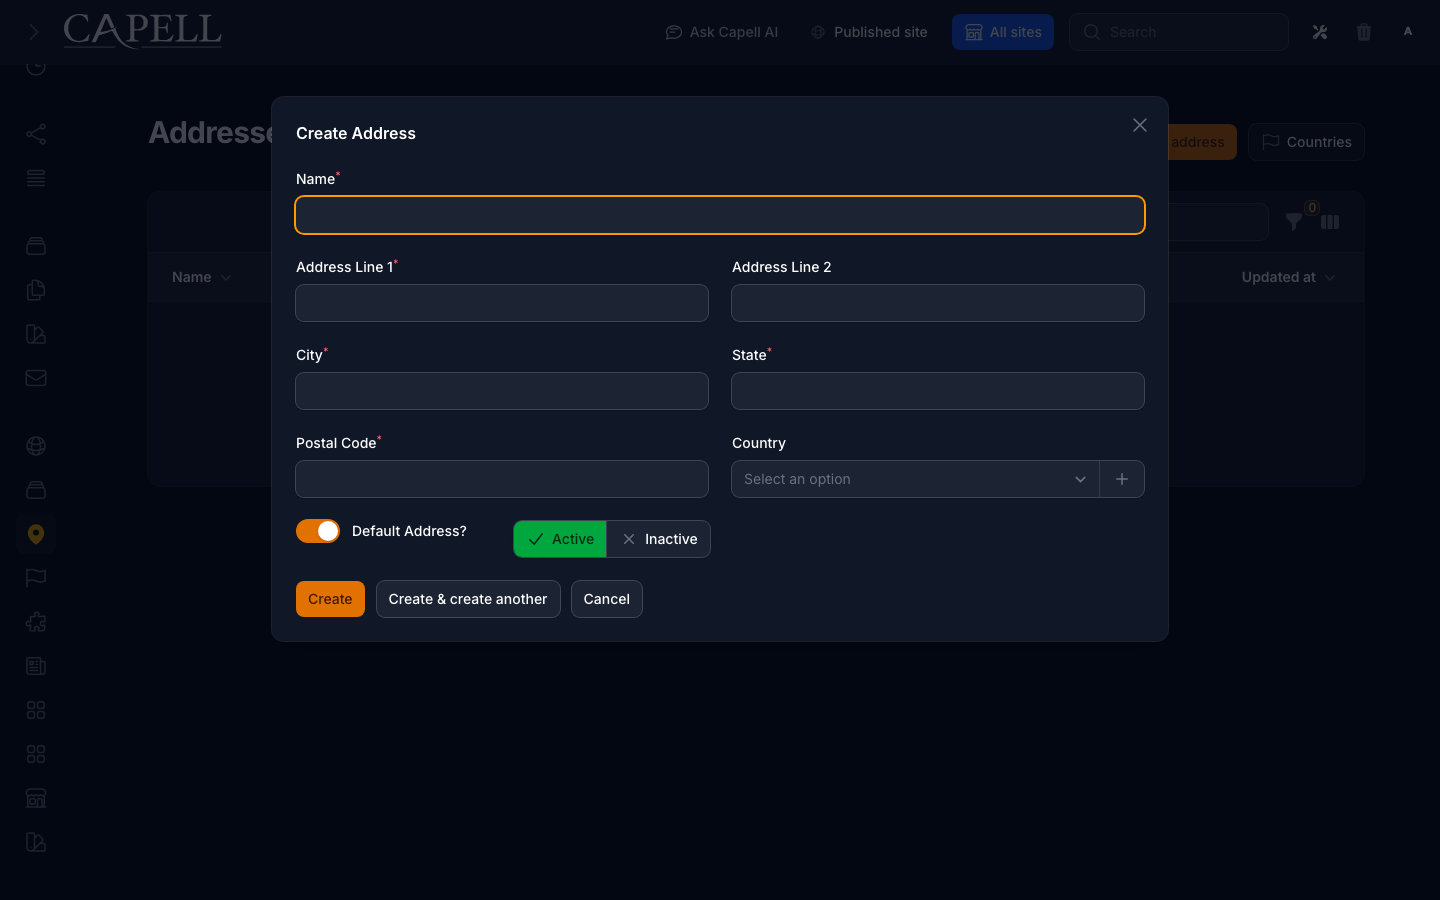
Section titled “How to create a reusable address”- Go to Web Pages > Addresses and start a new address.
- Give it a Name so you can recognise it later.
- Fill in Address Line 1 and, if needed, Address Line 2.
- Add the City, State, and Postal Code.
- Choose the Country from the picker.
- Save the address. It can now be selected anywhere that asks for an address.
How to use a saved address in site settings
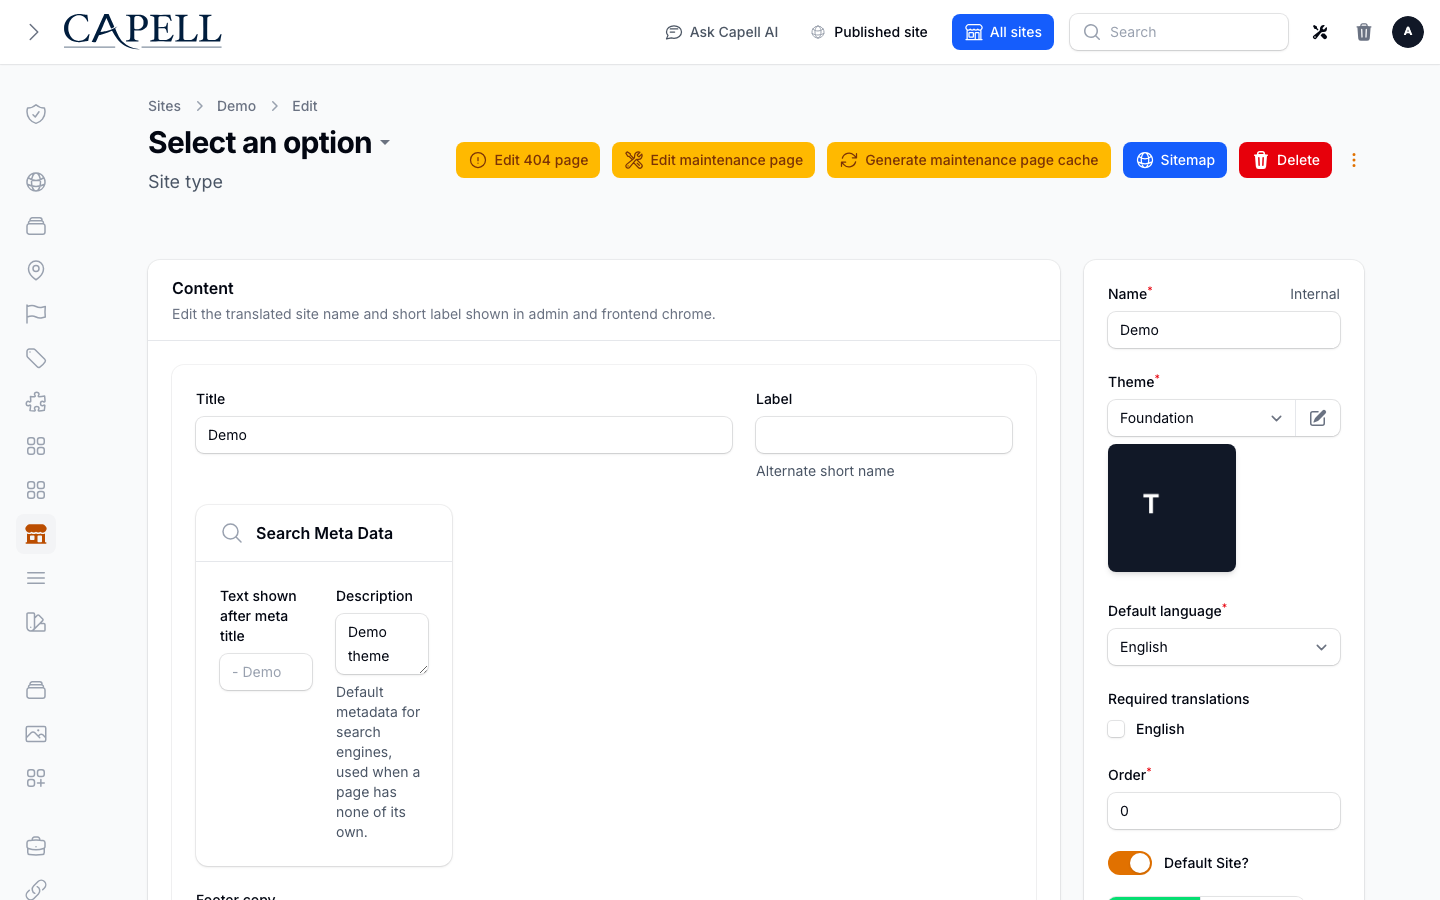
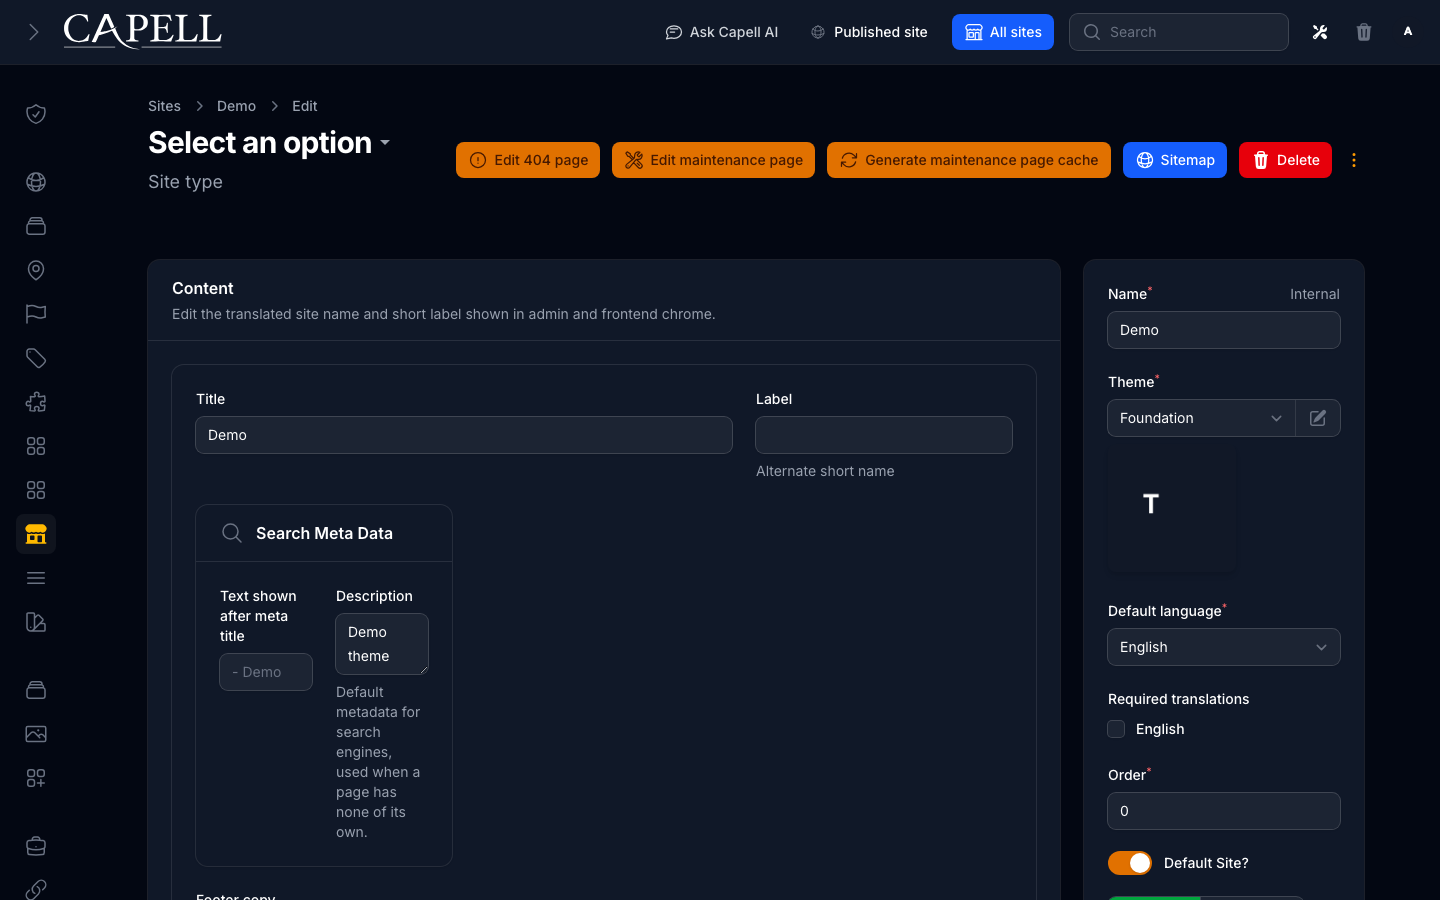
Section titled “How to use a saved address in site settings”- Open your site settings in the admin.
- Find the address field and choose one of your saved addresses from the Address picker.
- Save the settings. The site now uses that address. If you edit the selected address from the site picker later, the package may create a site-specific copy to avoid changing a shared or other site’s address.
Troubleshooting
Section titled “Troubleshooting”| What you see | What it means | What to do |
|---|---|---|
| The country I need is missing from a picker | That country has not been added yet | Go to Web Pages > Countries and add it with its Name and ISO codes |
| The address picker is empty in site settings | No addresses have been saved yet | Go to Web Pages > Addresses and create one first |
| A country shows zero Addresses | No saved address uses that country | This is fine; the country is still available to pick when you add an address |
| The address changed for one site but not another | The site picker created a site-specific copy to protect a shared or other site’s address | Check the selected address on each site, then update the intended address record in Web Pages > Addresses |