
Using Insights
This guide is for owners and operators who want to understand how their site and content are performing. Insights records first-party visits, page views, clicks, and visitor journeys, and shows the key numbers in one place. It respects visitor consent, so people choose whether they are measured. No technical knowledge is needed. Every step uses the labels you see on screen.
Using Insights (how-to)
Section titled “Using Insights (how-to)”Choose one audience and period
Section titled “Choose one audience and period”Open Monitoring > Insights. Choose a Site, a Language (or all that site’s languages), and From / To dates, then select Update workspace. The initial window is the last seven calendar days, including today. Windows are limited to 366 days. Changing site clears the language choice so a language from the previous site cannot silently filter the next report.
Enable Compare with the previous period to compare with the immediately preceding period of the same length. Choose Visitors, Page views, or Engagement (clicks) as the Trend metric. All secondary sections share the same audience and date range.
Read the overview
Section titled “Read the overview”What needs attention? starts with Visitors (distinct recorded visits), Page views, and Engagement (clicks). The selected trend is the change in the chosen metric against the previous period, rather than a percentage with an undefined zero baseline.
The workspace shows the latest recorded event in the selected window and warns when there was no event in its final 24 hours. Historical windows are evaluated against their end date, not today’s date. Allow for the displayed aggregate cache interval and queue delay. A quiet or empty report does not prove nobody visited: consent and tracking choices affect what can be recorded.
Tracking is disabled describes the effective runtime configuration. Existing reports remain available while collection is off. Saved settings are preserved; the consuming installation must apply its matching runtime configuration, as explained in the operator reference.
Explore a question
Section titled “Explore a question”Expand a labelled section when you need detail:
- Popular / Trending shows the five leading pages and, with comparison enabled, pages whose views increased over the previous equal-length period.
- Journeys / Actions shows up to five recent matching journeys (step counts and last paths, without visitor identifiers), followed by the leading tracked actions. Journey steps are limited to the selected dates and language.
- Acquisition shows the leading sources, media, campaigns and referrers for visits that started in the selected window.
- Funnel detail accepts up to ten custom event names, one per line. Put the starting action first, then select Update workspace. Each rate compares distinct visitors at that action with visitors at the first action; it does not claim the visitor completed an ordered sequence.
Each section explains empty results, hides the previous report while a refresh is loading, and repeats the stale-data warning when applicable. The separately registered overview, popular, trending, journeys, actions, acquisition and live statistics widgets remain available on the main admin dashboard.
How to turn tracking on and choose what is measured
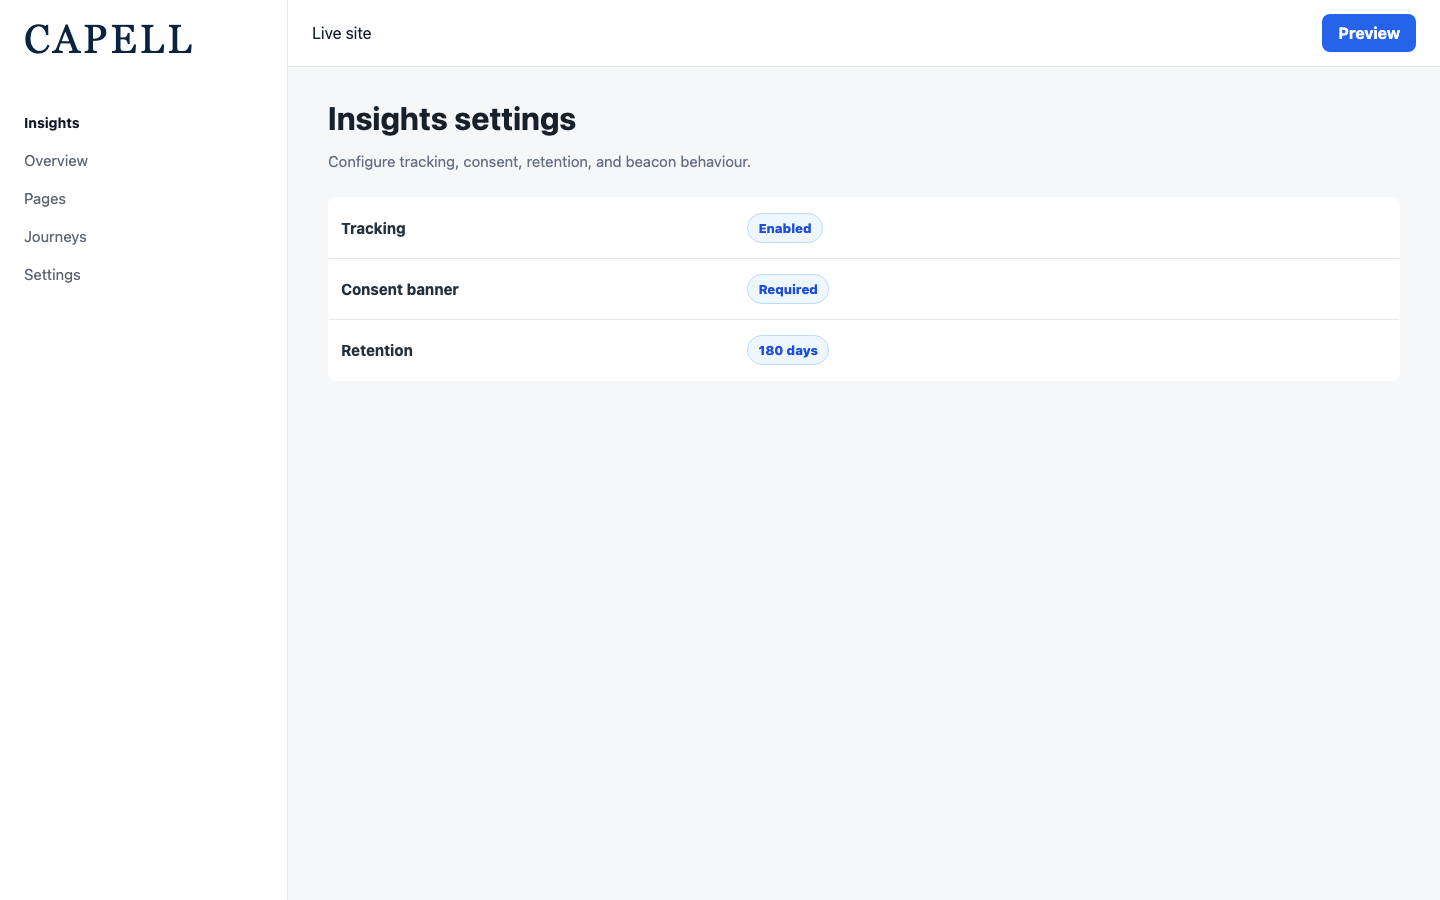
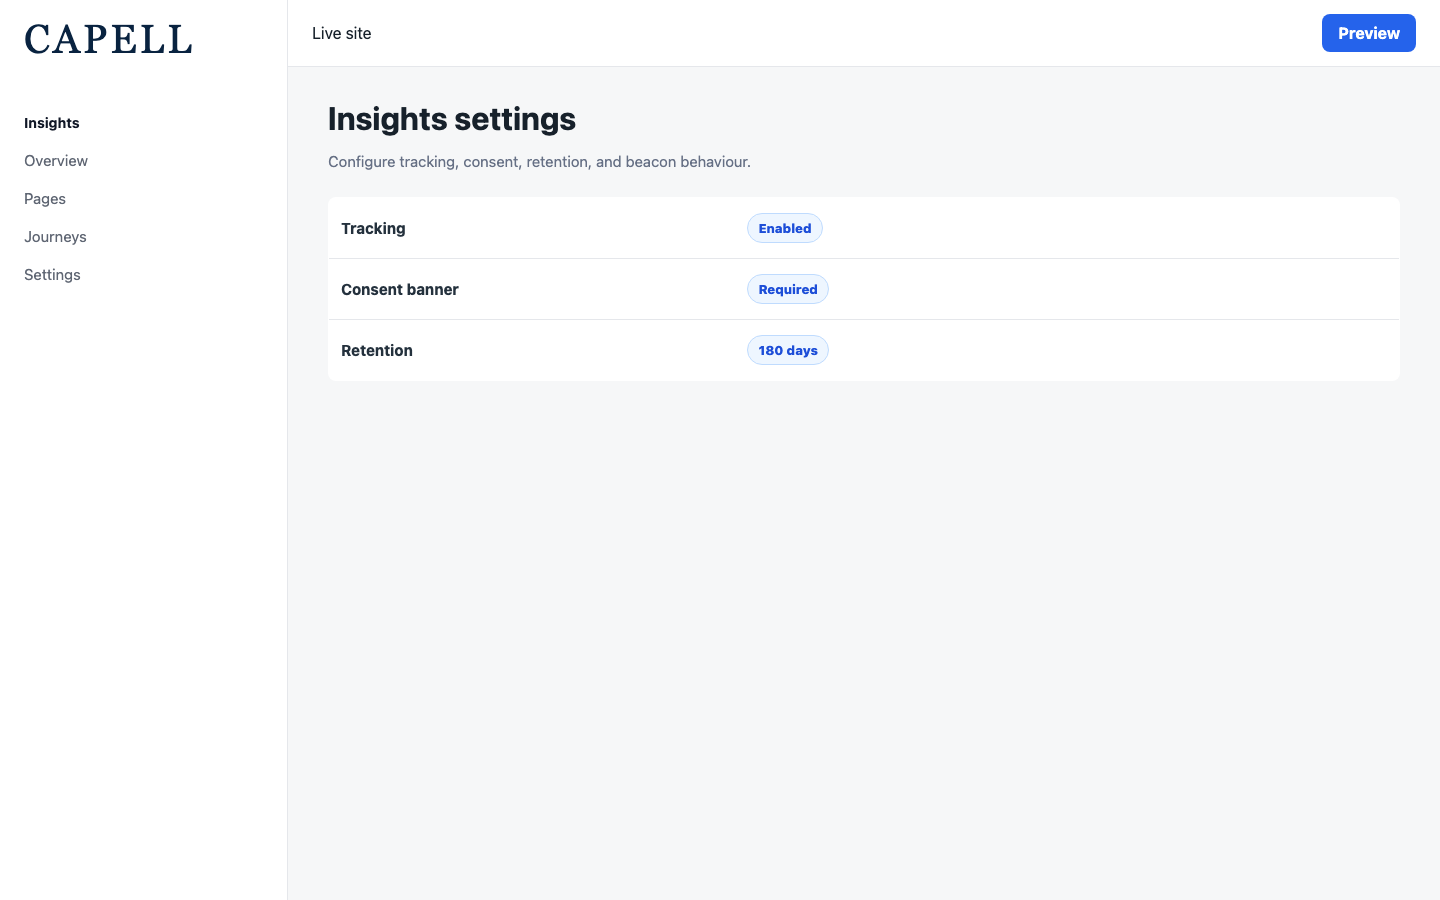
Section titled “How to turn tracking on and choose what is measured”- Go to Settings in the admin and find the Insights section.
- Turn on Enable insights.
- Expand Advanced > Collection and choose what to record using Track page views, Track clicks, and Track forms.
- Under Advanced > Developer: endpoint, hashing and exclusions, use Ignored paths to leave certain pages out of measurement, and Ignored selectors to leave out specific page elements from click tracking.
- Save the settings.
How to set consent and privacy options
Section titled “How to set consent and privacy options”- Go to Settings > Insights.
- Review the recommended Require consent for all regions choice beside Enable insights. Existing values are not changed automatically. Find Default consent region under Advanced > Consent and retention.
- Under Advanced > Developer: endpoint, hashing and exclusions, turn on Hash visitor data to store visitor details in a disguised form, and set a Hash salt if your developer asks you to.
- Update the Policy version when your privacy notice changes, so returning visitors are asked again.
- Save the settings. Visitors see a consent banner where they can accept analytics, reject non-essential tracking, or manage their choices before anything is recorded.
How to set how long data is kept
Section titled “How to set how long data is kept”- Go to Settings > Insights.
- Under Advanced > Consent and retention, set Retention to the number of days you want to keep visit and event data.
- Save the settings. Older data is removed automatically once it passes the retention period, so review or note anything important before it ages out.
Troubleshooting
Section titled “Troubleshooting”| What you see | What it means | What to do |
|---|---|---|
| No numbers appear on the Insights page | Tracking is off, or no visits have been recorded yet | Turn on Enable insights in Settings > Insights, then wait for real visits |
| A page you expected is missing from Popular pages | It may be listed under Ignored paths, or it has no recorded views | Check Ignored paths in settings, and confirm the page has had visits |
| Clicks are not being recorded | Track clicks is off, or the element is excluded | Turn on Track clicks, and review Ignored selectors in settings |
| A number drops suddenly | Something changed, on the site or in how visitors behave | Look for a recent change to that page or campaign that could explain it |
| Old data is missing | It aged out past the Retention period | Increase Retention going forward; past data that was removed cannot be recovered |
| A metric is unfamiliar | The figure measures one part of visitor behaviour | Note what it measures before acting; for example Unique visits counts distinct visitors rather than total visits |