
Using Login Audit
This guide is for owners and operators who watch sign-in activity. Login Audit records who signed in, when, from where, and on which device, keeps a record of failed attempts, and can alert you to suspicious sign-ins. It helps you spot unusual activity and keep a record for compliance. No technical knowledge is needed. Every step uses the labels you see on screen.
Using Login Audit (how-to)
Section titled “Using Login Audit (how-to)”How to review sign-in activity
Section titled “How to review sign-in activity”- In the admin sidebar, open the Users group.
- Click Access Logs.
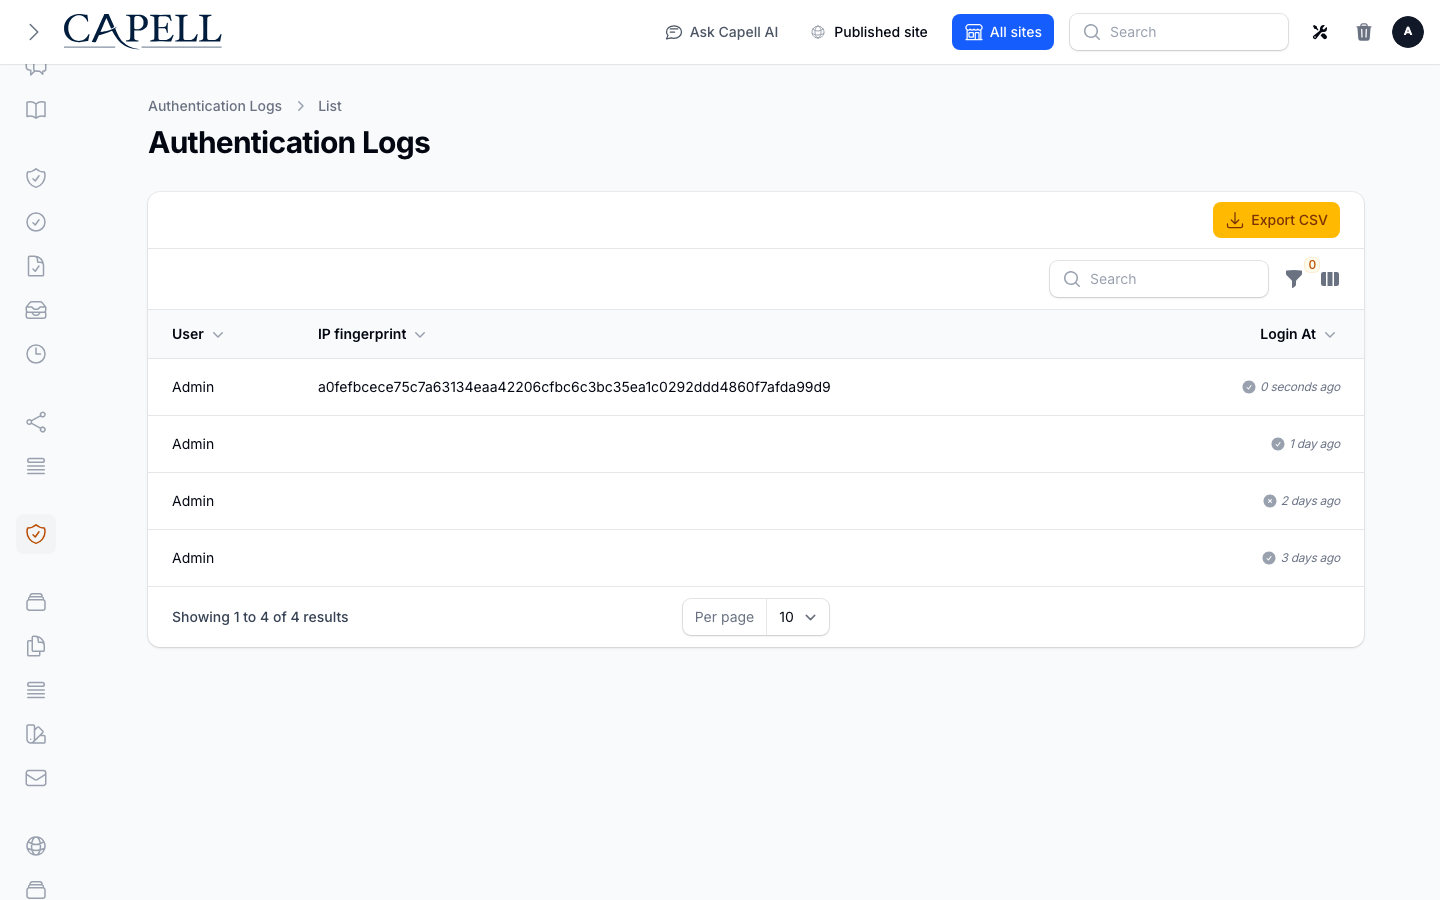
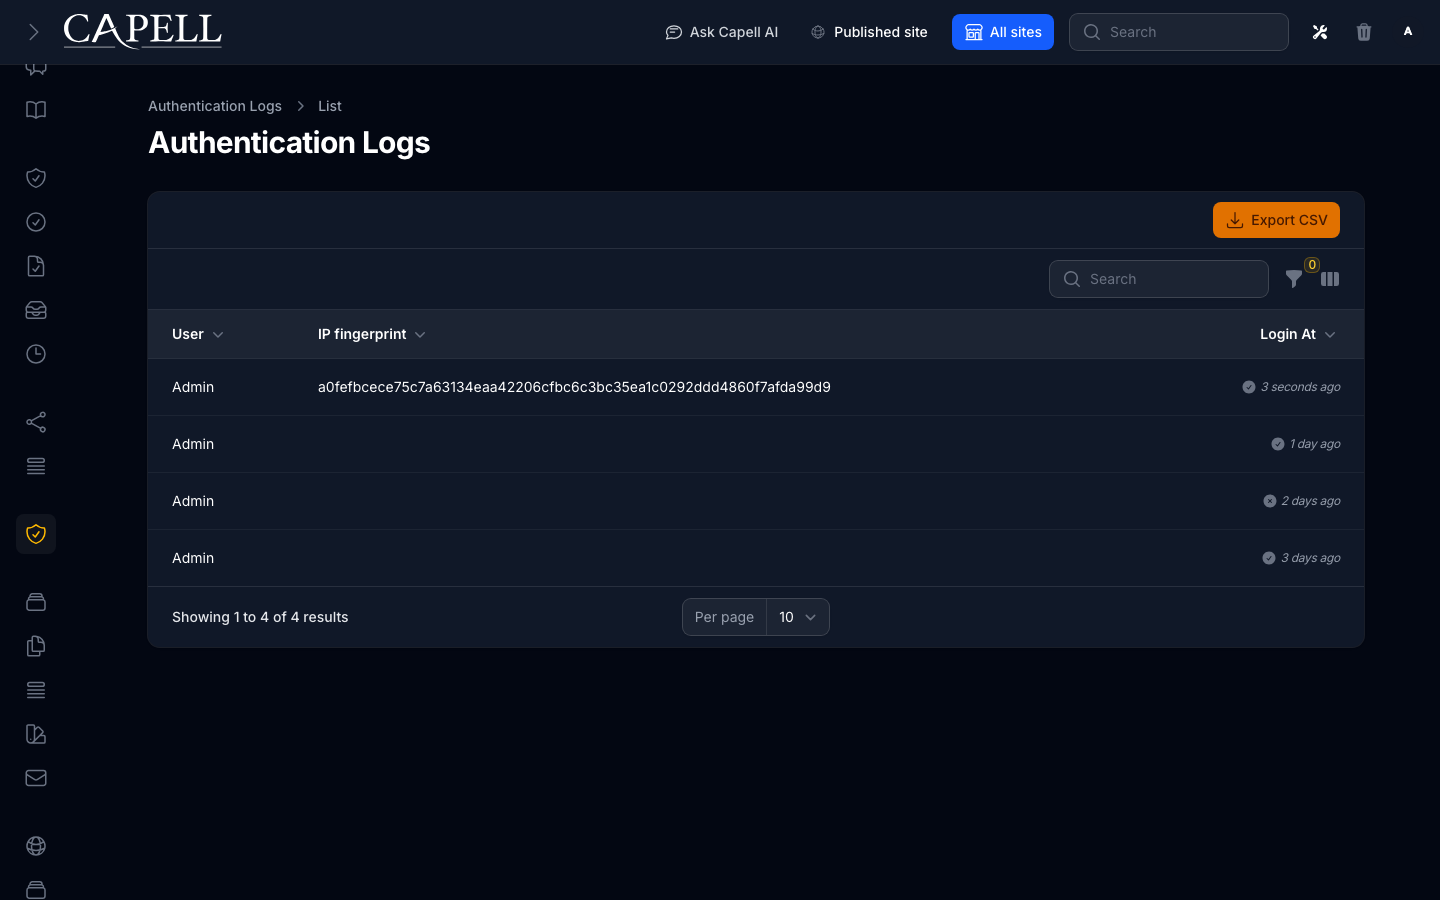
- The list shows the Access status (Successful or Failed), the user, the sign-in time, the device or browser, whether the Session is still Active or has Ended, and any Suspicious finding recorded for that attempt.
- Both successful and failed attempts appear, so you can see the full history at a glance.
- Click Inspect on a row to see the full detail: the complete IP fingerprint with a copy button, the user agent, the location, the trusted-device state, last activity and logout times, and the reasons the row was flagged as suspicious. The IP fingerprint is shortened in the list so it does not crowd out the information you read first.
How to filter the log to find specific events
Section titled “How to filter the log to find specific events”- Open Users > Access Logs.
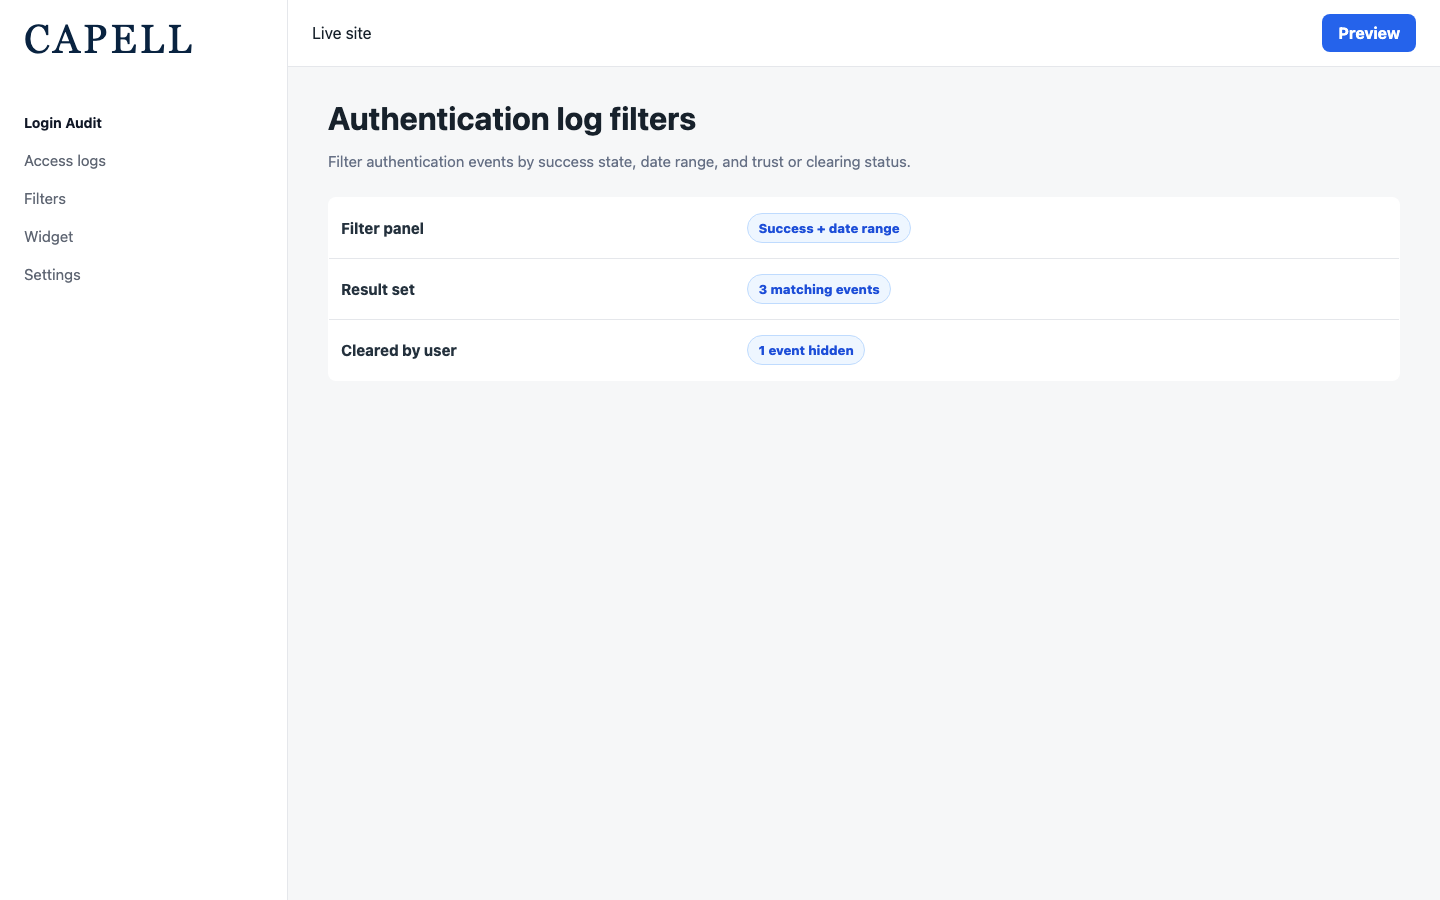
- Open the filter panel at the top of the list.
- Use Access status to show only Successful or only Failed attempts.
- Use Suspicious to show only the attempts detection flagged.
- Use Session to separate sessions that are still Active from those that have Ended. Failed attempts open no session and appear under neither option.
- Filter by a login date range to focus on a particular period.
- Use the trusted-device filter to separate known devices from new ones.
How to export the log for compliance
Section titled “How to export the log for compliance”- Open Users > Access Logs.
- Apply any filters so the list shows only the period or events you need.
- Click Export CSV.
- Save the file and share it with whoever requested the records. The export contains the access-log dataset; table filters help your on-screen review but do not narrow the CSV.
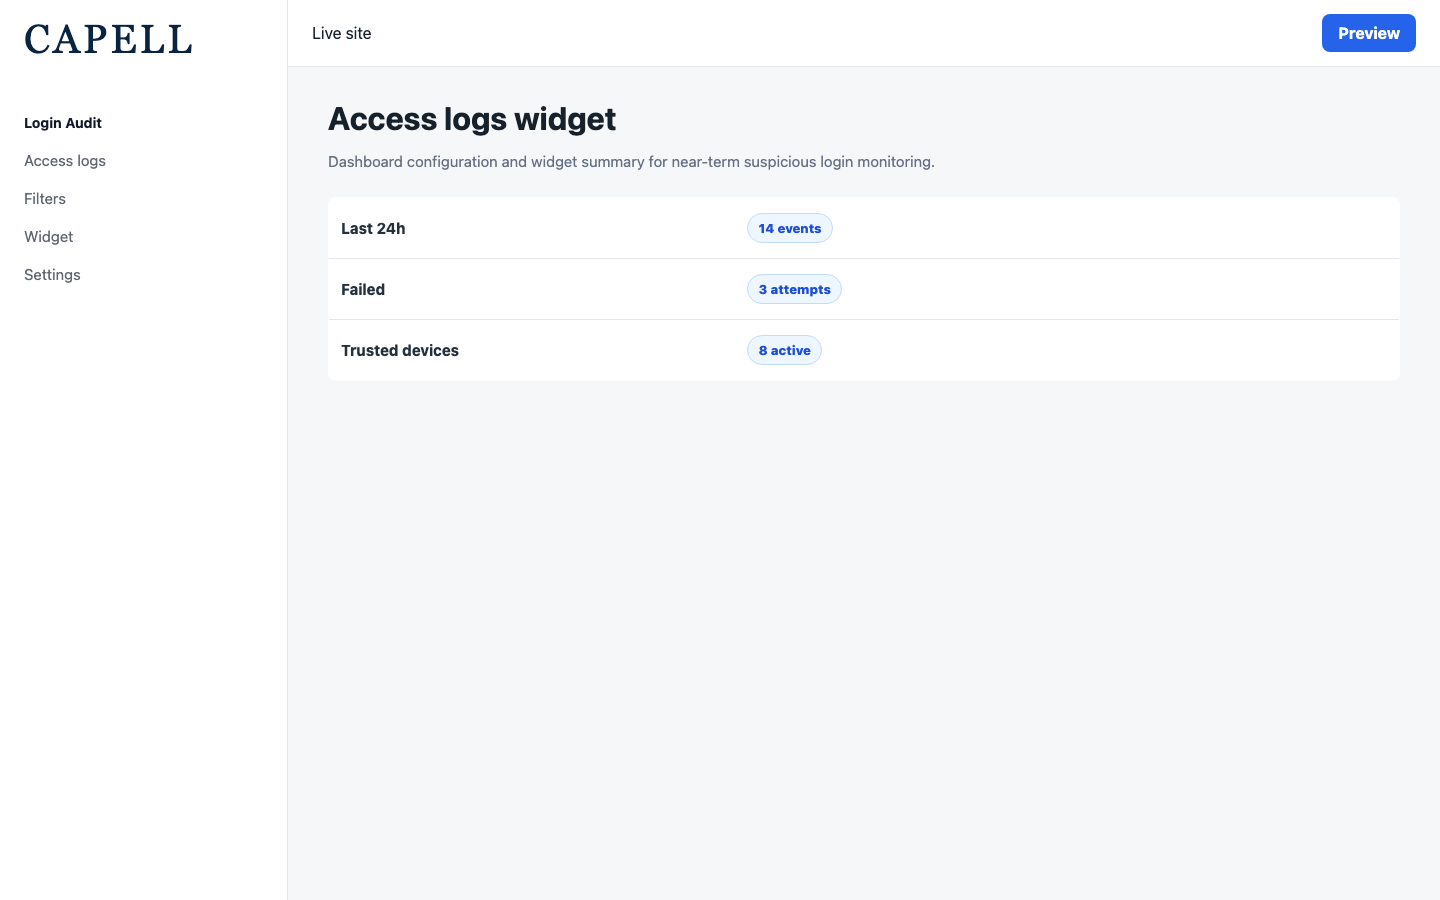
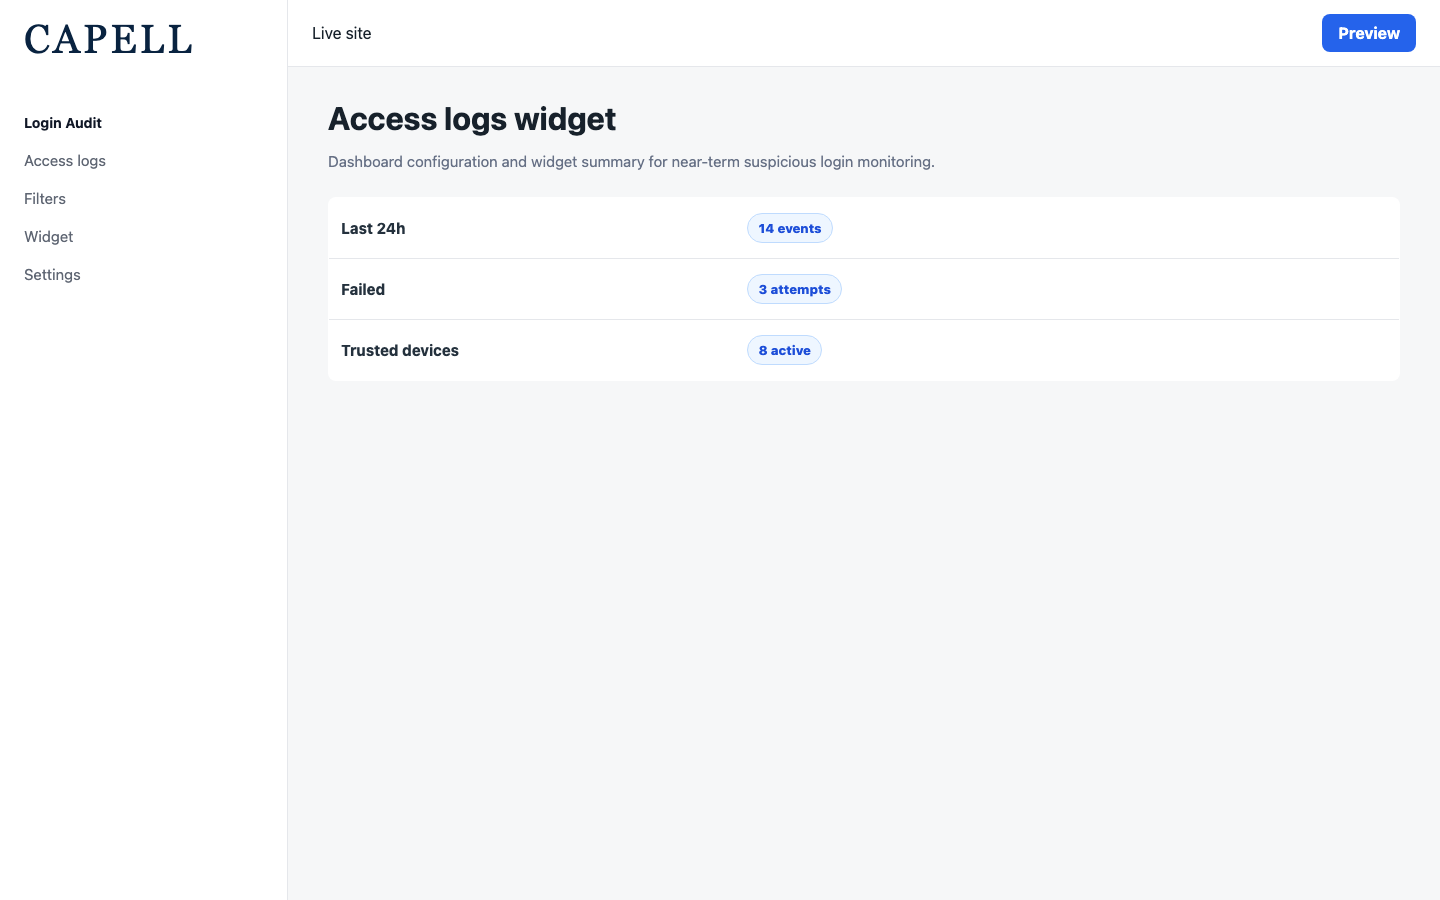
How to add the Access Logs panel to a dashboard
Section titled “How to add the Access Logs panel to a dashboard”- Open your dashboard configuration in the admin.
- In the list of available panels, find Access Logs.
- Add it to a dashboard so recent sign-in activity is visible without opening the full log.
How to check one user’s sign-in history while editing them
Section titled “How to check one user’s sign-in history while editing them”- Open the user’s record in the admin (this requires Show Access Logs on Users to be turned on in settings).
- Look at the access summary on the user’s edit screen. It shows recent login counts, failed attempts, recent devices, and active sessions.
- Open the Access log history for that user to see each of their authentication attempts, including which devices are trusted and when each was last active.
How to turn on security alerts
Section titled “How to turn on security alerts”- Go to Settings in the admin and find the Login Audit security alerts section.
- Turn on Alert on Failed Logins to be notified about failed sign-in attempts.
- Turn on Alert on New Devices to be notified when someone signs in from a device not seen before.
- Turn on Alert on Suspicious Logins to be notified when a sign-in is flagged as unusual.
- Save the settings.
How to tune suspicious-login detection
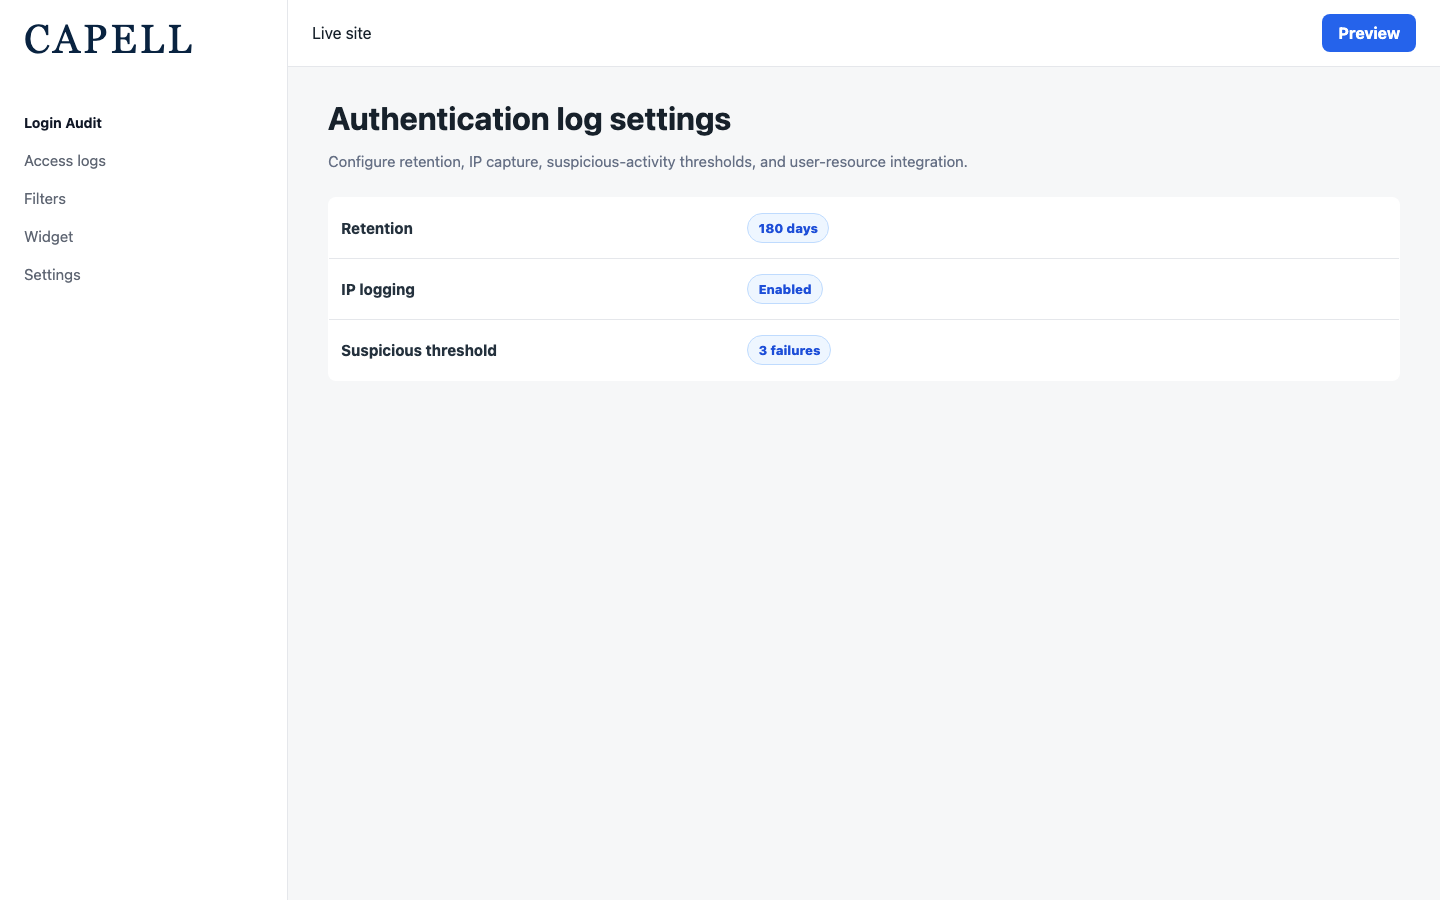
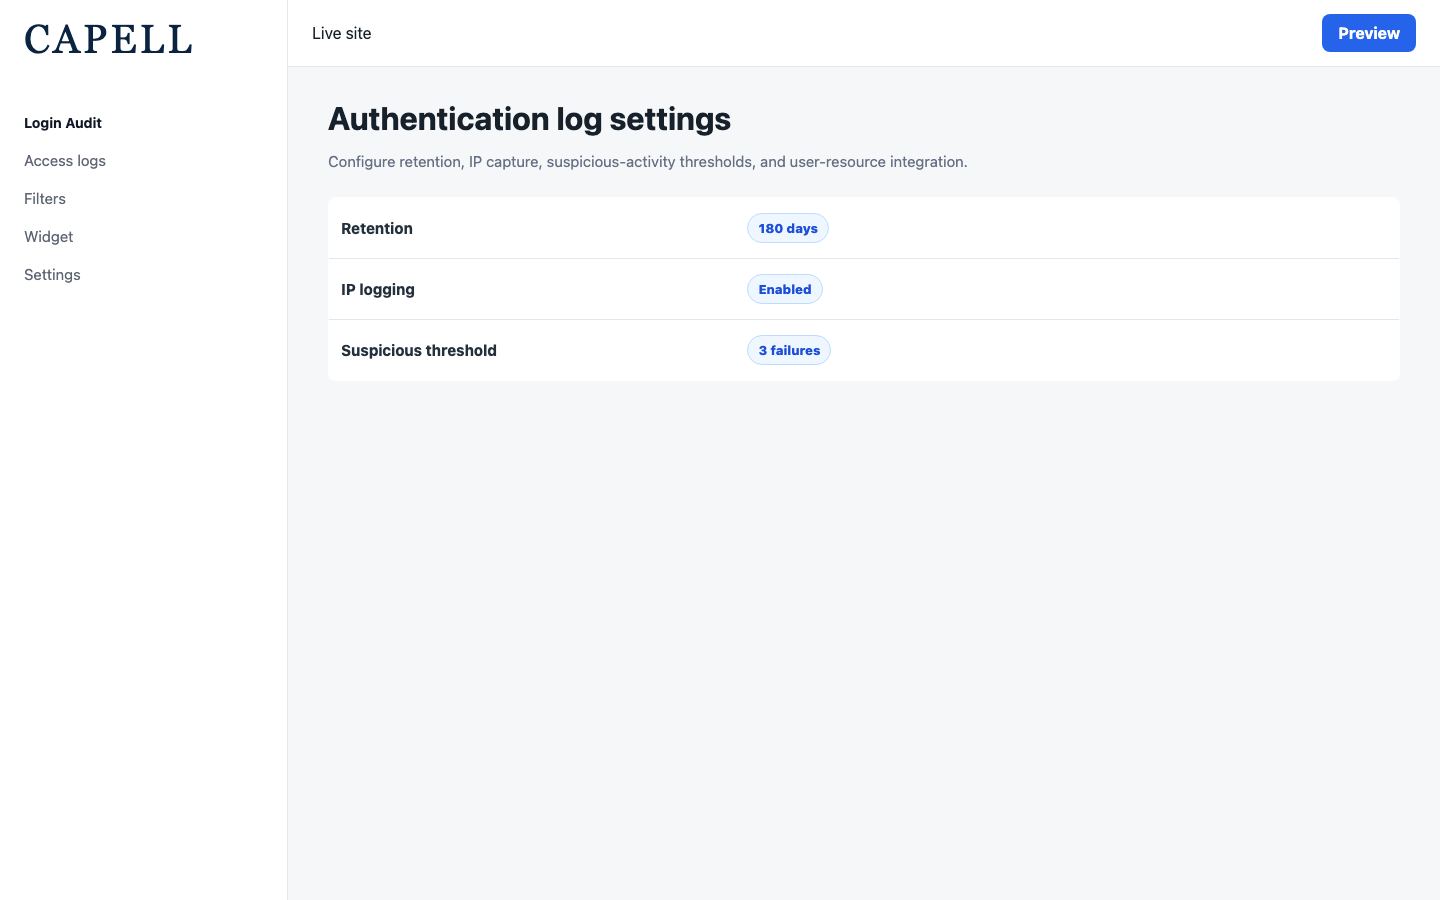
Section titled “How to tune suspicious-login detection”- Go to Settings and find the Security & Access section.
- Turn on Detect Suspicious Logins to flag repeated failures, rapid location changes, and successful logins straight after recent failures.
- Set the Failed Login Threshold and Failed Login Window to control how many failed attempts within a period count as suspicious.
- Turn on Check Unusual Login Times only if your team signs in within predictable hours.
- Save the settings.
For example, a threshold of 5 and a window of 60 minutes means the first four failed attempts remain ordinary failed-login records. The fifth failure for that account within the same 60-minute period is marked suspicious and raises the configured suspicious-login alert once for that exact record.
How to investigate a suspicious-login alert
Section titled “How to investigate a suspicious-login alert”- Open the suspicious-login notification. Detection runs only after the matching access-log record has committed, so the notified record is available for review.
- Go to Users > Access Logs and filter to failed logins and the time range shown in the notification.
- Find the notified record ID, click Inspect, then compare the surrounding records for that account, device, IP fingerprint, and location.
- Contact the account owner to confirm the activity. If they do not recognise it, follow your incident process, such as resetting credentials and reviewing active sessions.
- Record the outcome outside Login Audit if your organisation requires an investigation log; this package supplies the authentication evidence but does not manage incident cases.
How to control privacy and what is recorded
Section titled “How to control privacy and what is recorded”- Go to Settings > Security & Access.
- Turn Track User IP Addresses off if your site policy requires access logs without IP retention.
- Turn Resolve Geo Location on only if you have a location provider configured and a lawful basis for keeping location data.
- Use Show Access Logs and Show Access Logs on Users to control where the log and the per-user summary appear.
- Save the settings.
How to set how long entries are kept
Section titled “How to set how long entries are kept”- Go to Settings > Security & Access.
- Set Access Log Retention to the number of days you want to keep entries.
- Save the settings. Older entries are removed automatically after that many days, so review or export anything you need before it ages out. The Last Purged line shows when old entries were last cleared.
Troubleshooting
Section titled “Troubleshooting”| What you see | What it means | What to do |
|---|---|---|
| You want to check one person | You need that user’s sign-ins only | Open their access summary from the user edit screen, if Show Access Logs on Users is enabled |
| Repeated failed sign-ins for one account | A possible attempt to break in | Treat it as suspicious; contact the user, and consider tightening sign-in rules with your developer |
| A new-device alert you did not expect | Someone signed in from an unfamiliar device | Contact the user to confirm it was them; if not, have them reset their password |
| The per-user summary is missing from a user’s record | Show Access Logs on Users is off, or the user model does not support it | Turn on Show Access Logs on Users in Settings > Security & Access |
| Compliance asks for records | You need a file of the log | Review the requested period on screen, then use Export CSV; the CSV is not limited by the table filters |
| Old entries are gone | They aged out past Access Log Retention | Increase Access Log Retention going forward, and export future records before they age out |
| No location appears on entries | Resolve Geo Location is off, or no location provider is set up | Turn on Resolve Geo Location in settings if you have a provider and a lawful basis for it |